DIY Rain Barrel
Creating your own rain barrel with a few supplies from Home Hardware is easy! Within an afternoon, you’ll have your own source of clean and free rainwater. You’ll have a positive impact on the environment and save money on your water bill.


Here’s what you’ll need to get started:
Here’s How to Build It:
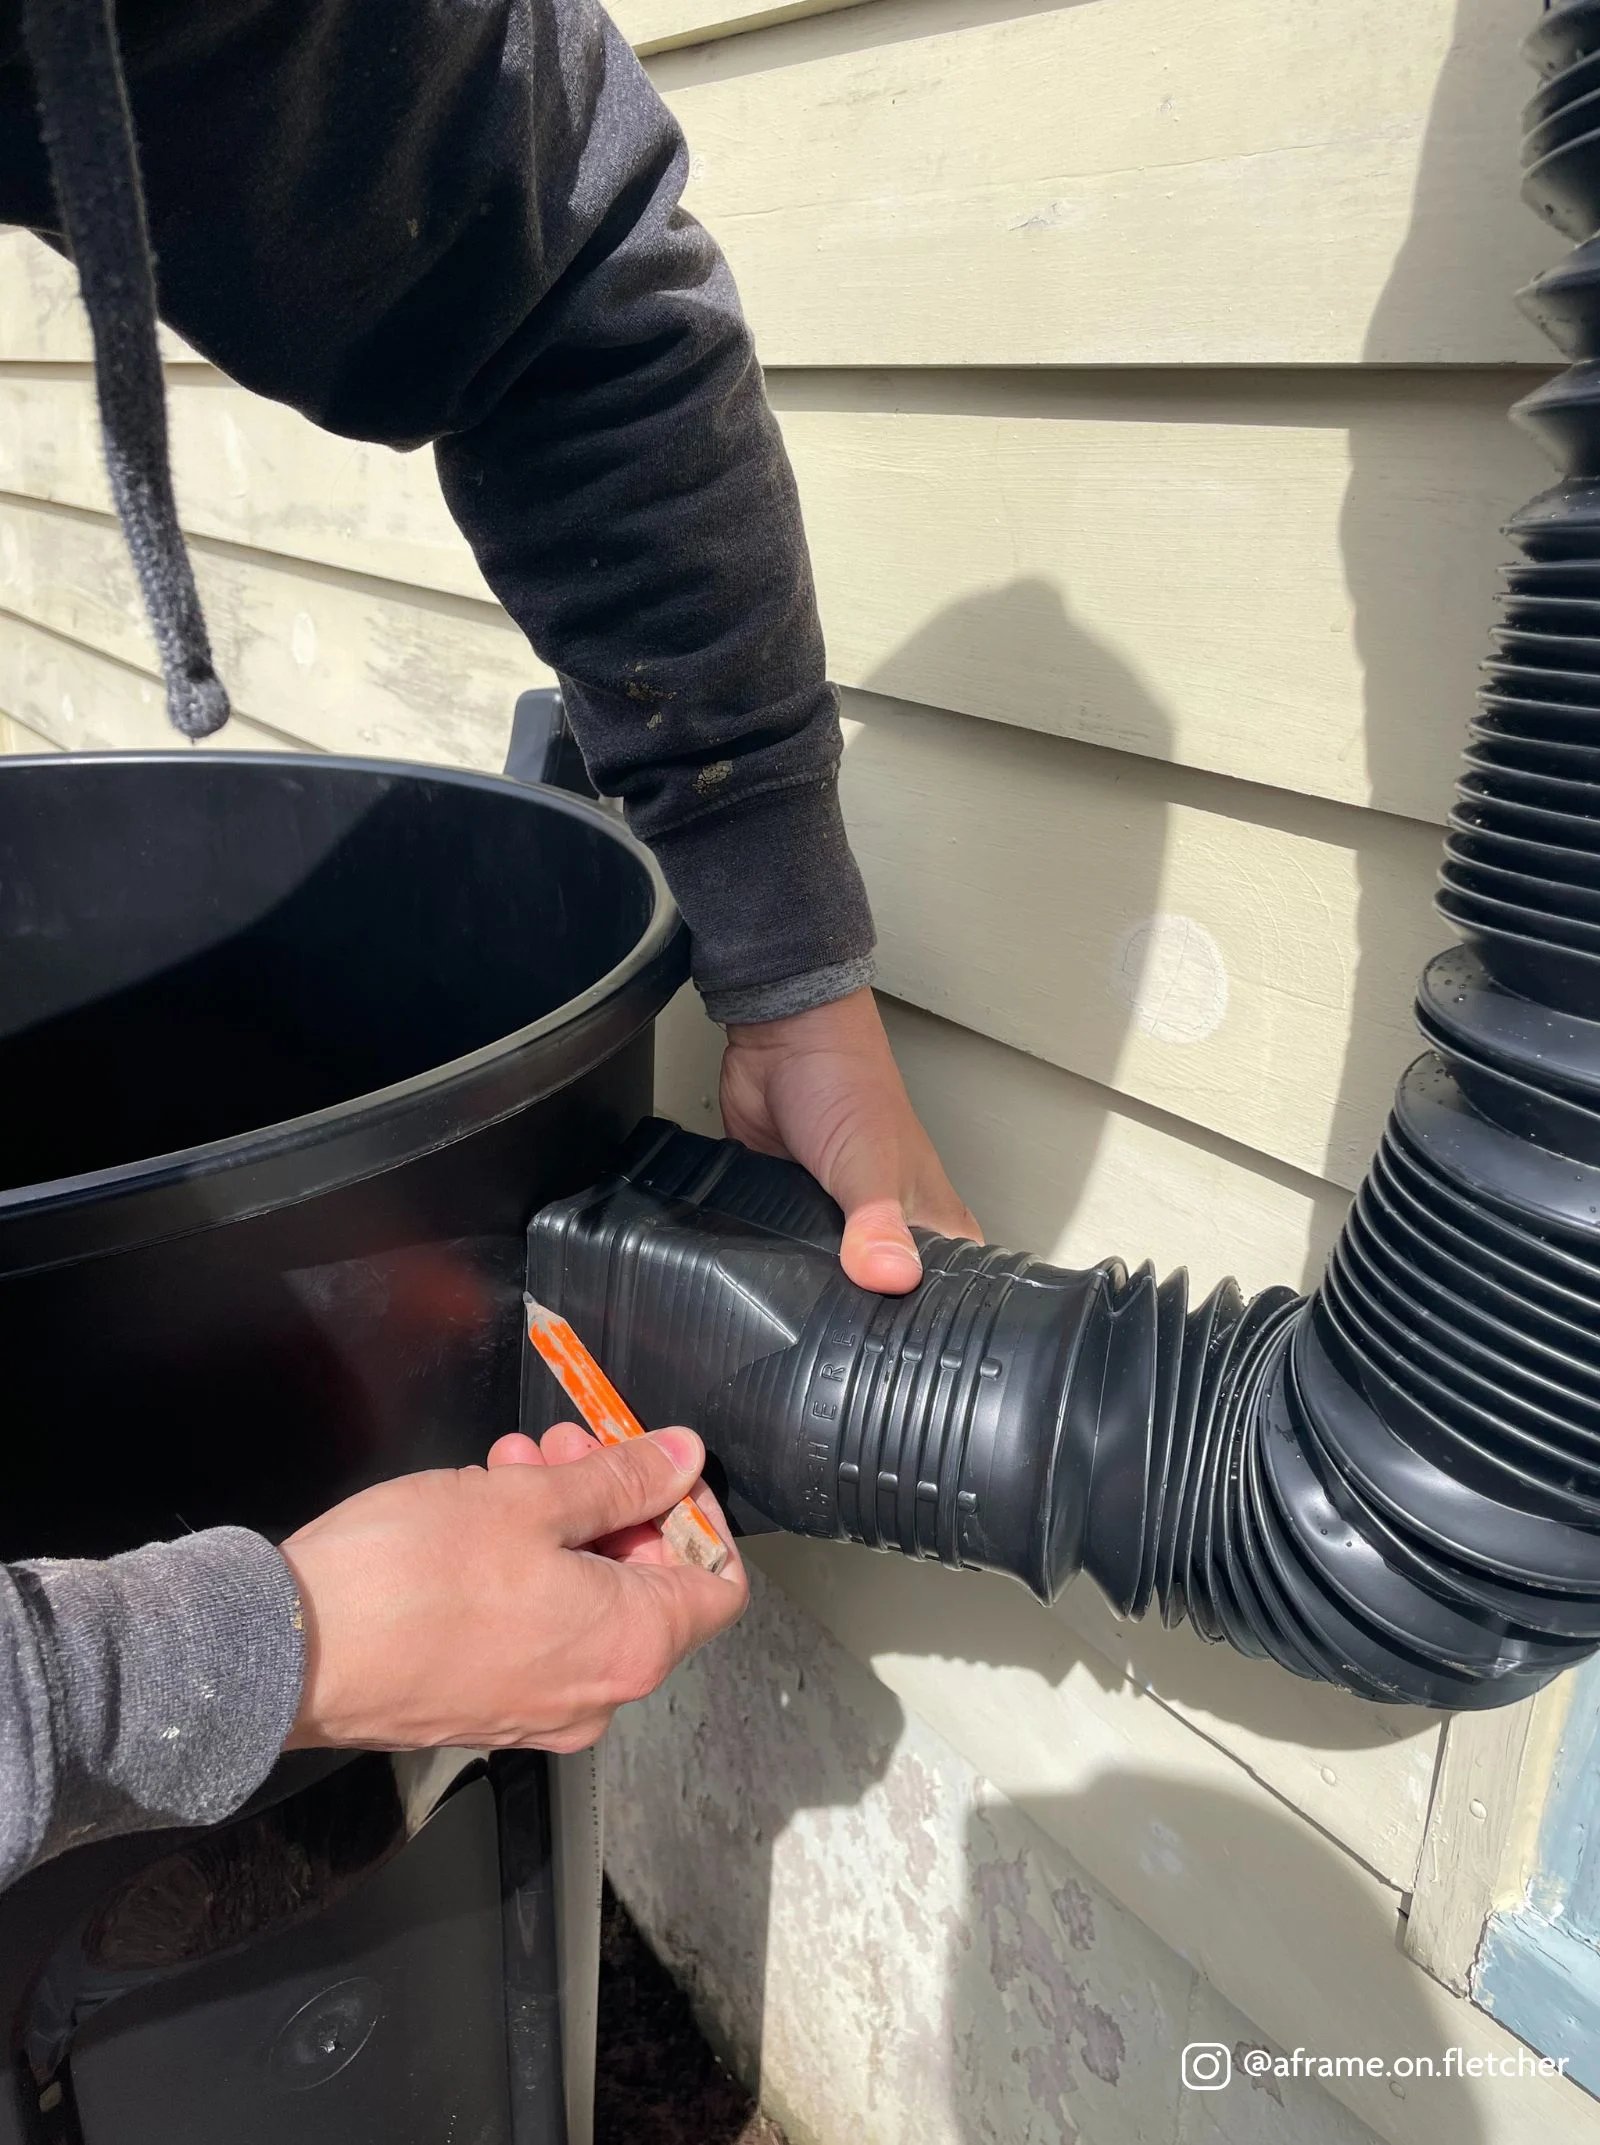
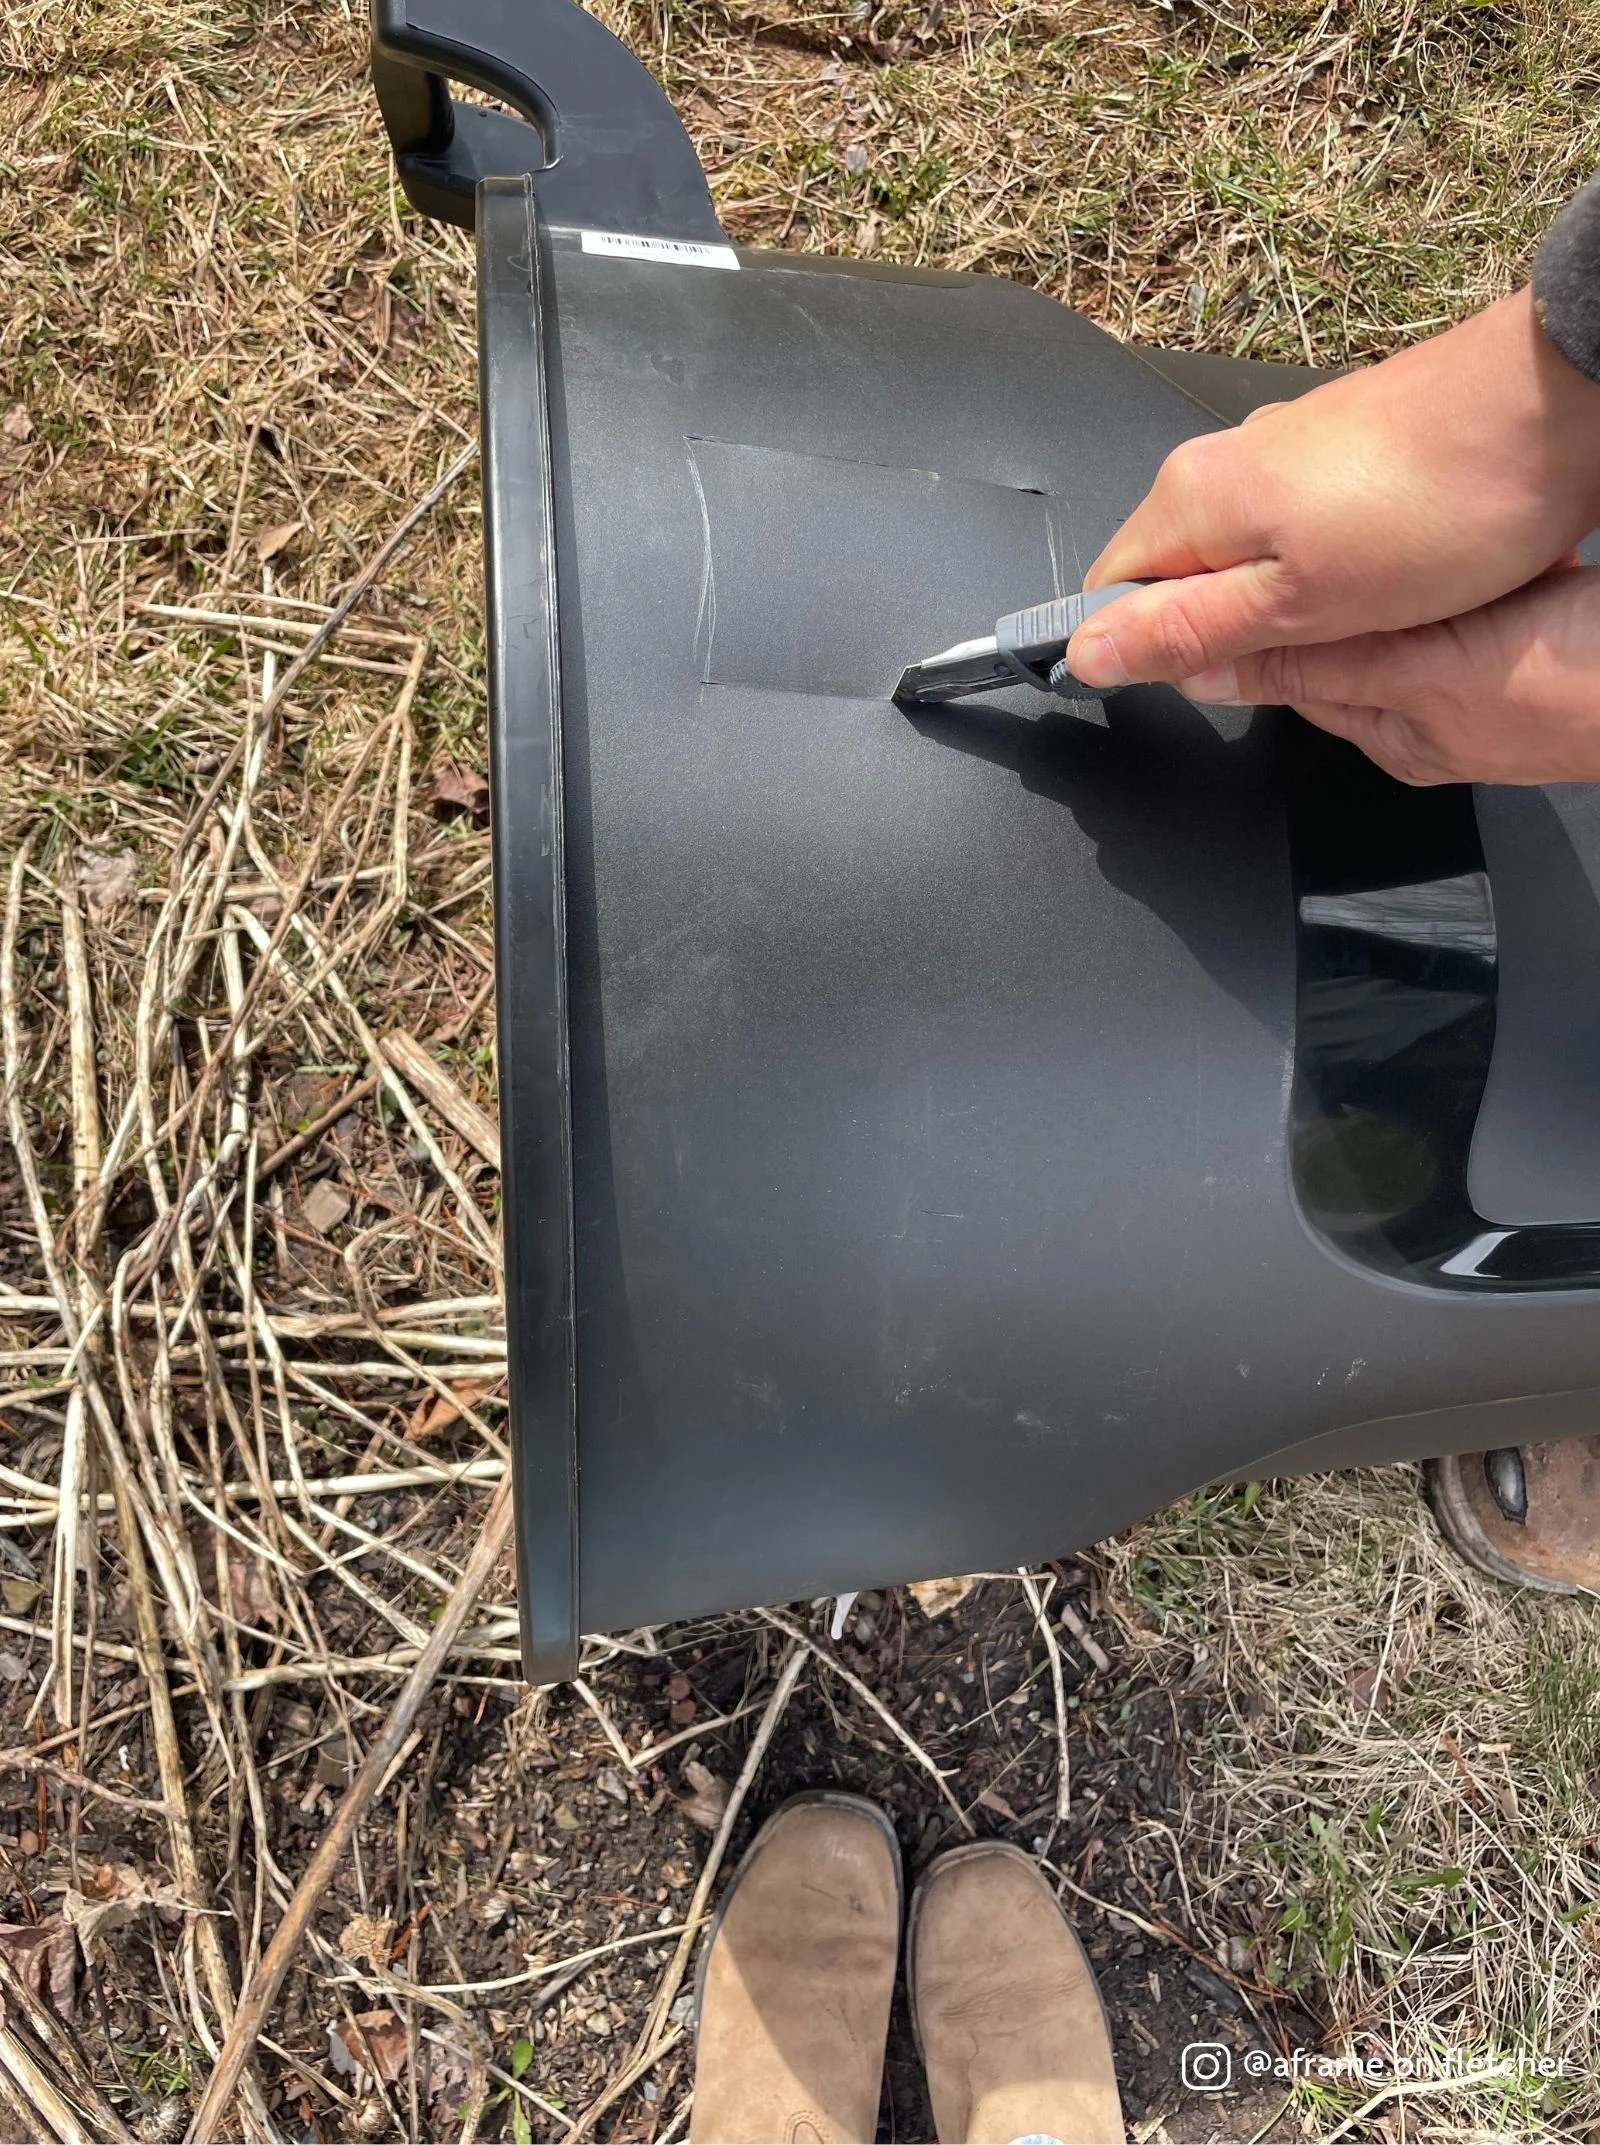
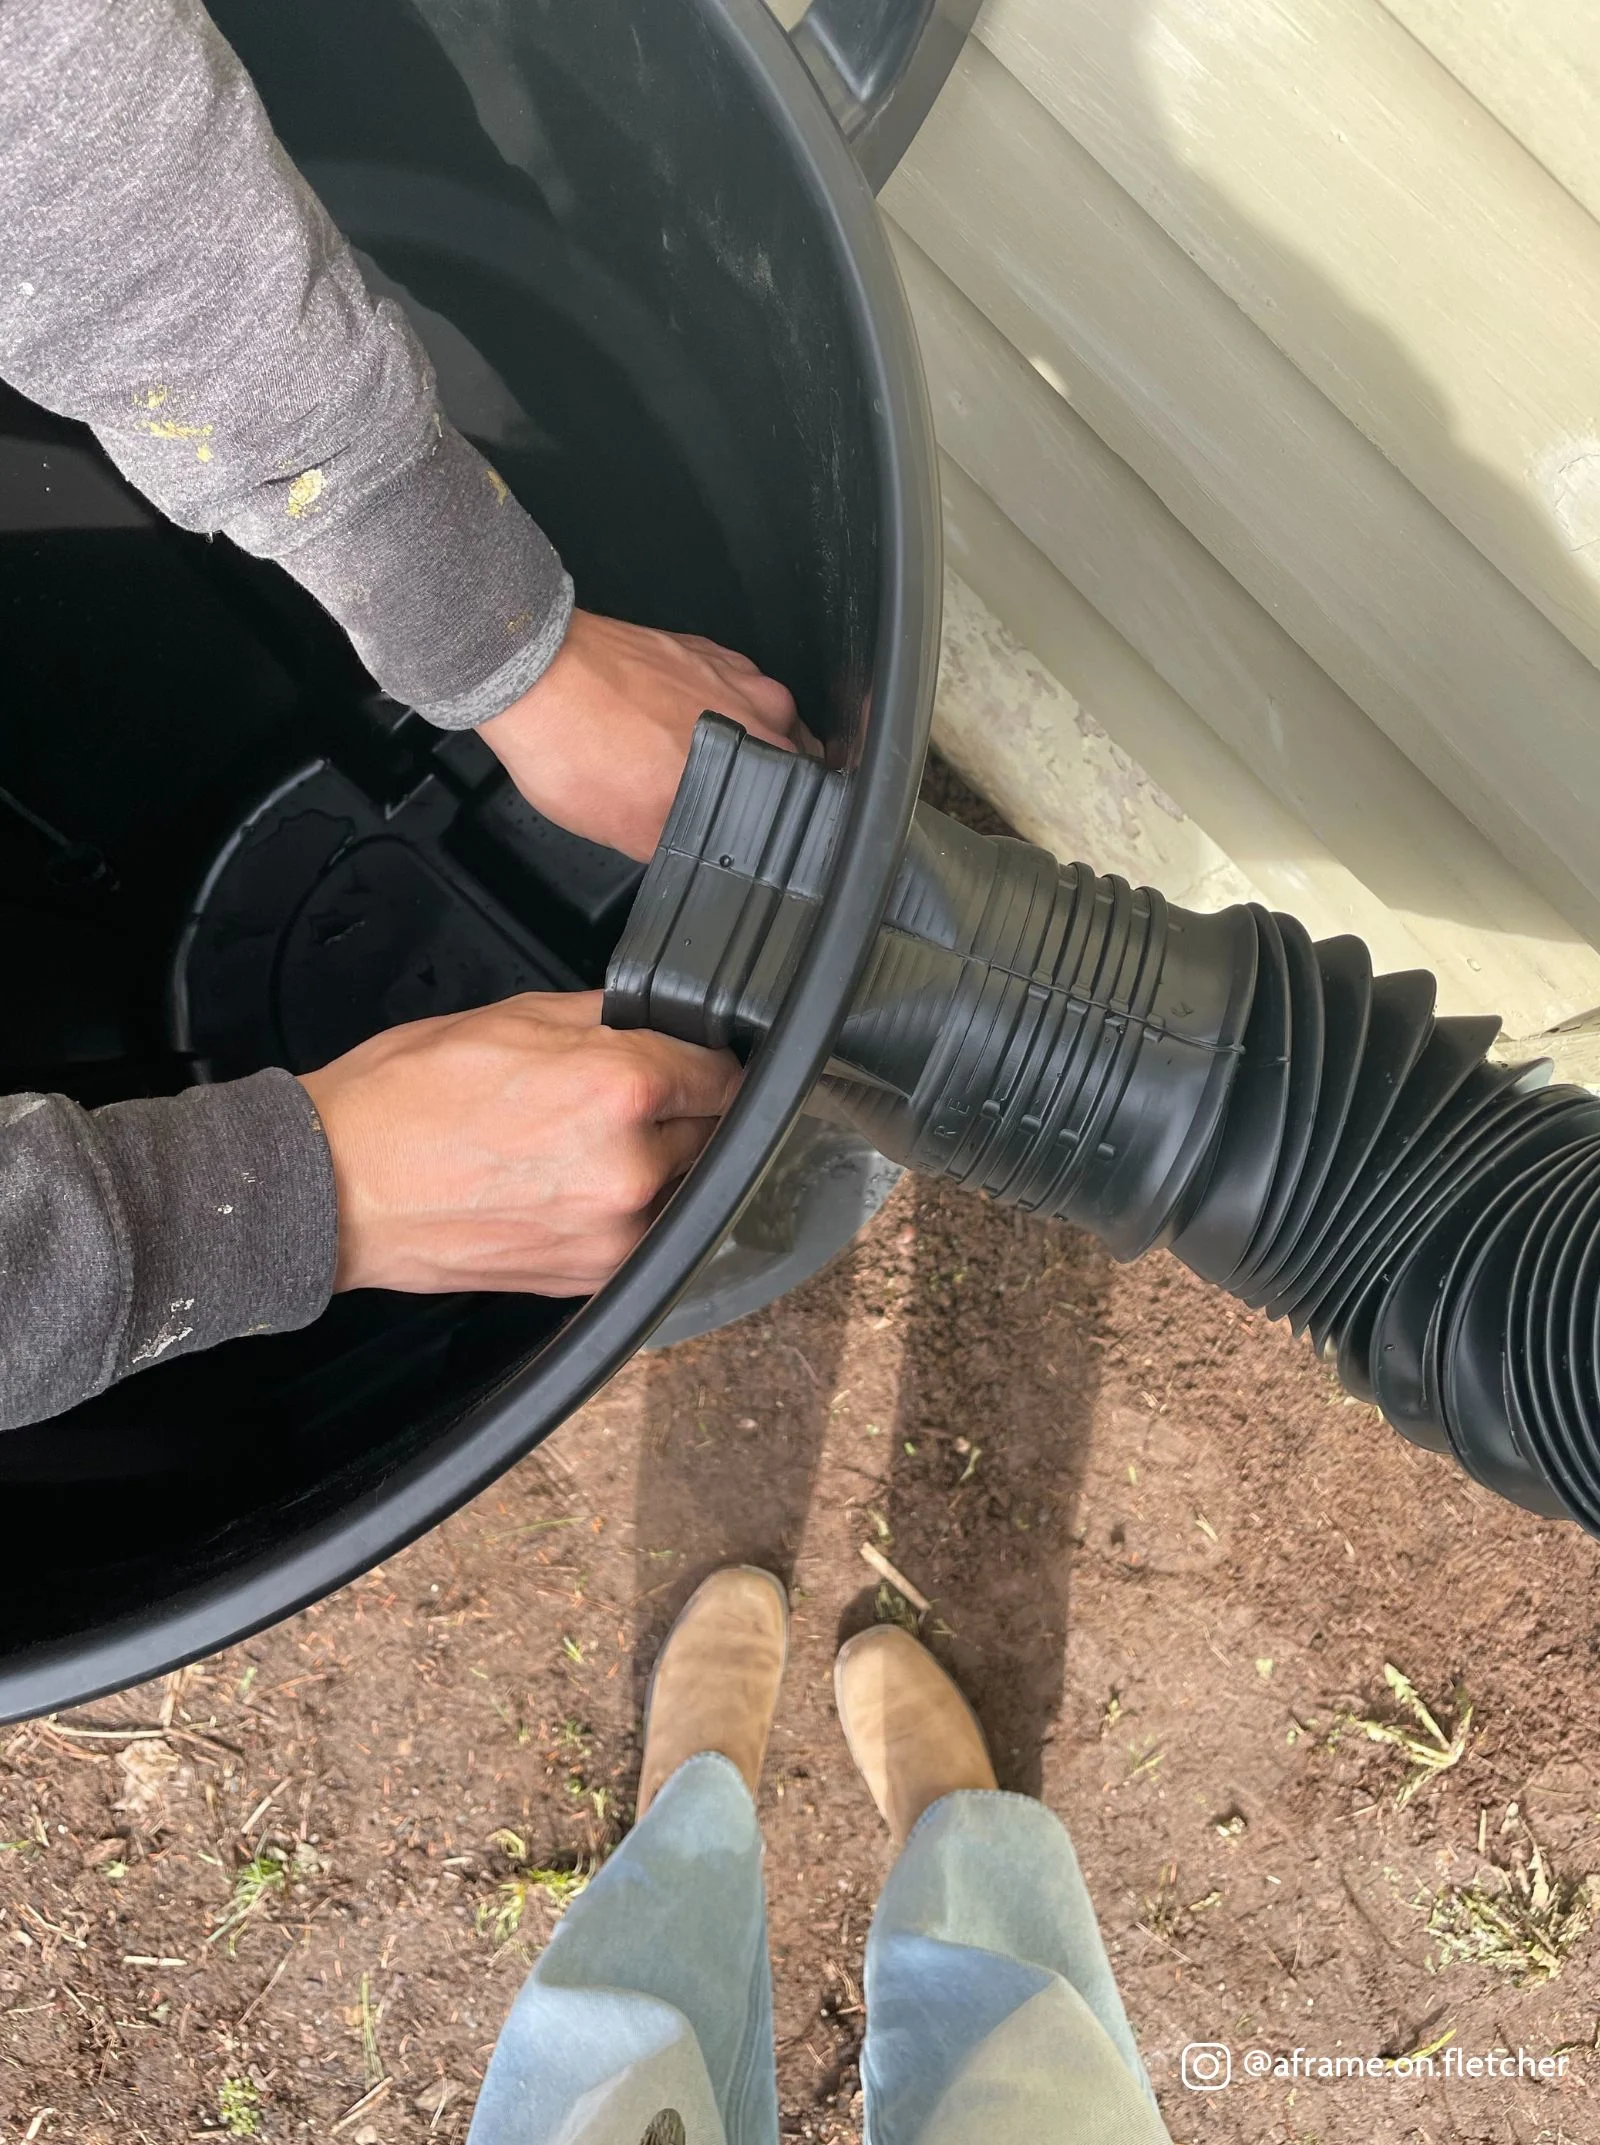
1. First, choose a spot for your rain barrel. You can replace your regular downspout with the flexible downspout extension, or create a break in your horizontal gutter for the new flexible downspout if you’d like to choose a new spot for your rain barrel. Cut a section of gutter guard to place over the opening of the downspout, so that no large debris or creatures will enter your barrel. Be sure the ground is level. Set down your rain barrel stand, and place the can on top. Place the downspout extension somewhere near the top of the can. On the back or the side of the can is perfect. Now mark where the extension meets the can. Trace around it and cut the hole with a utility knife. Now you can insert the extension into the can.
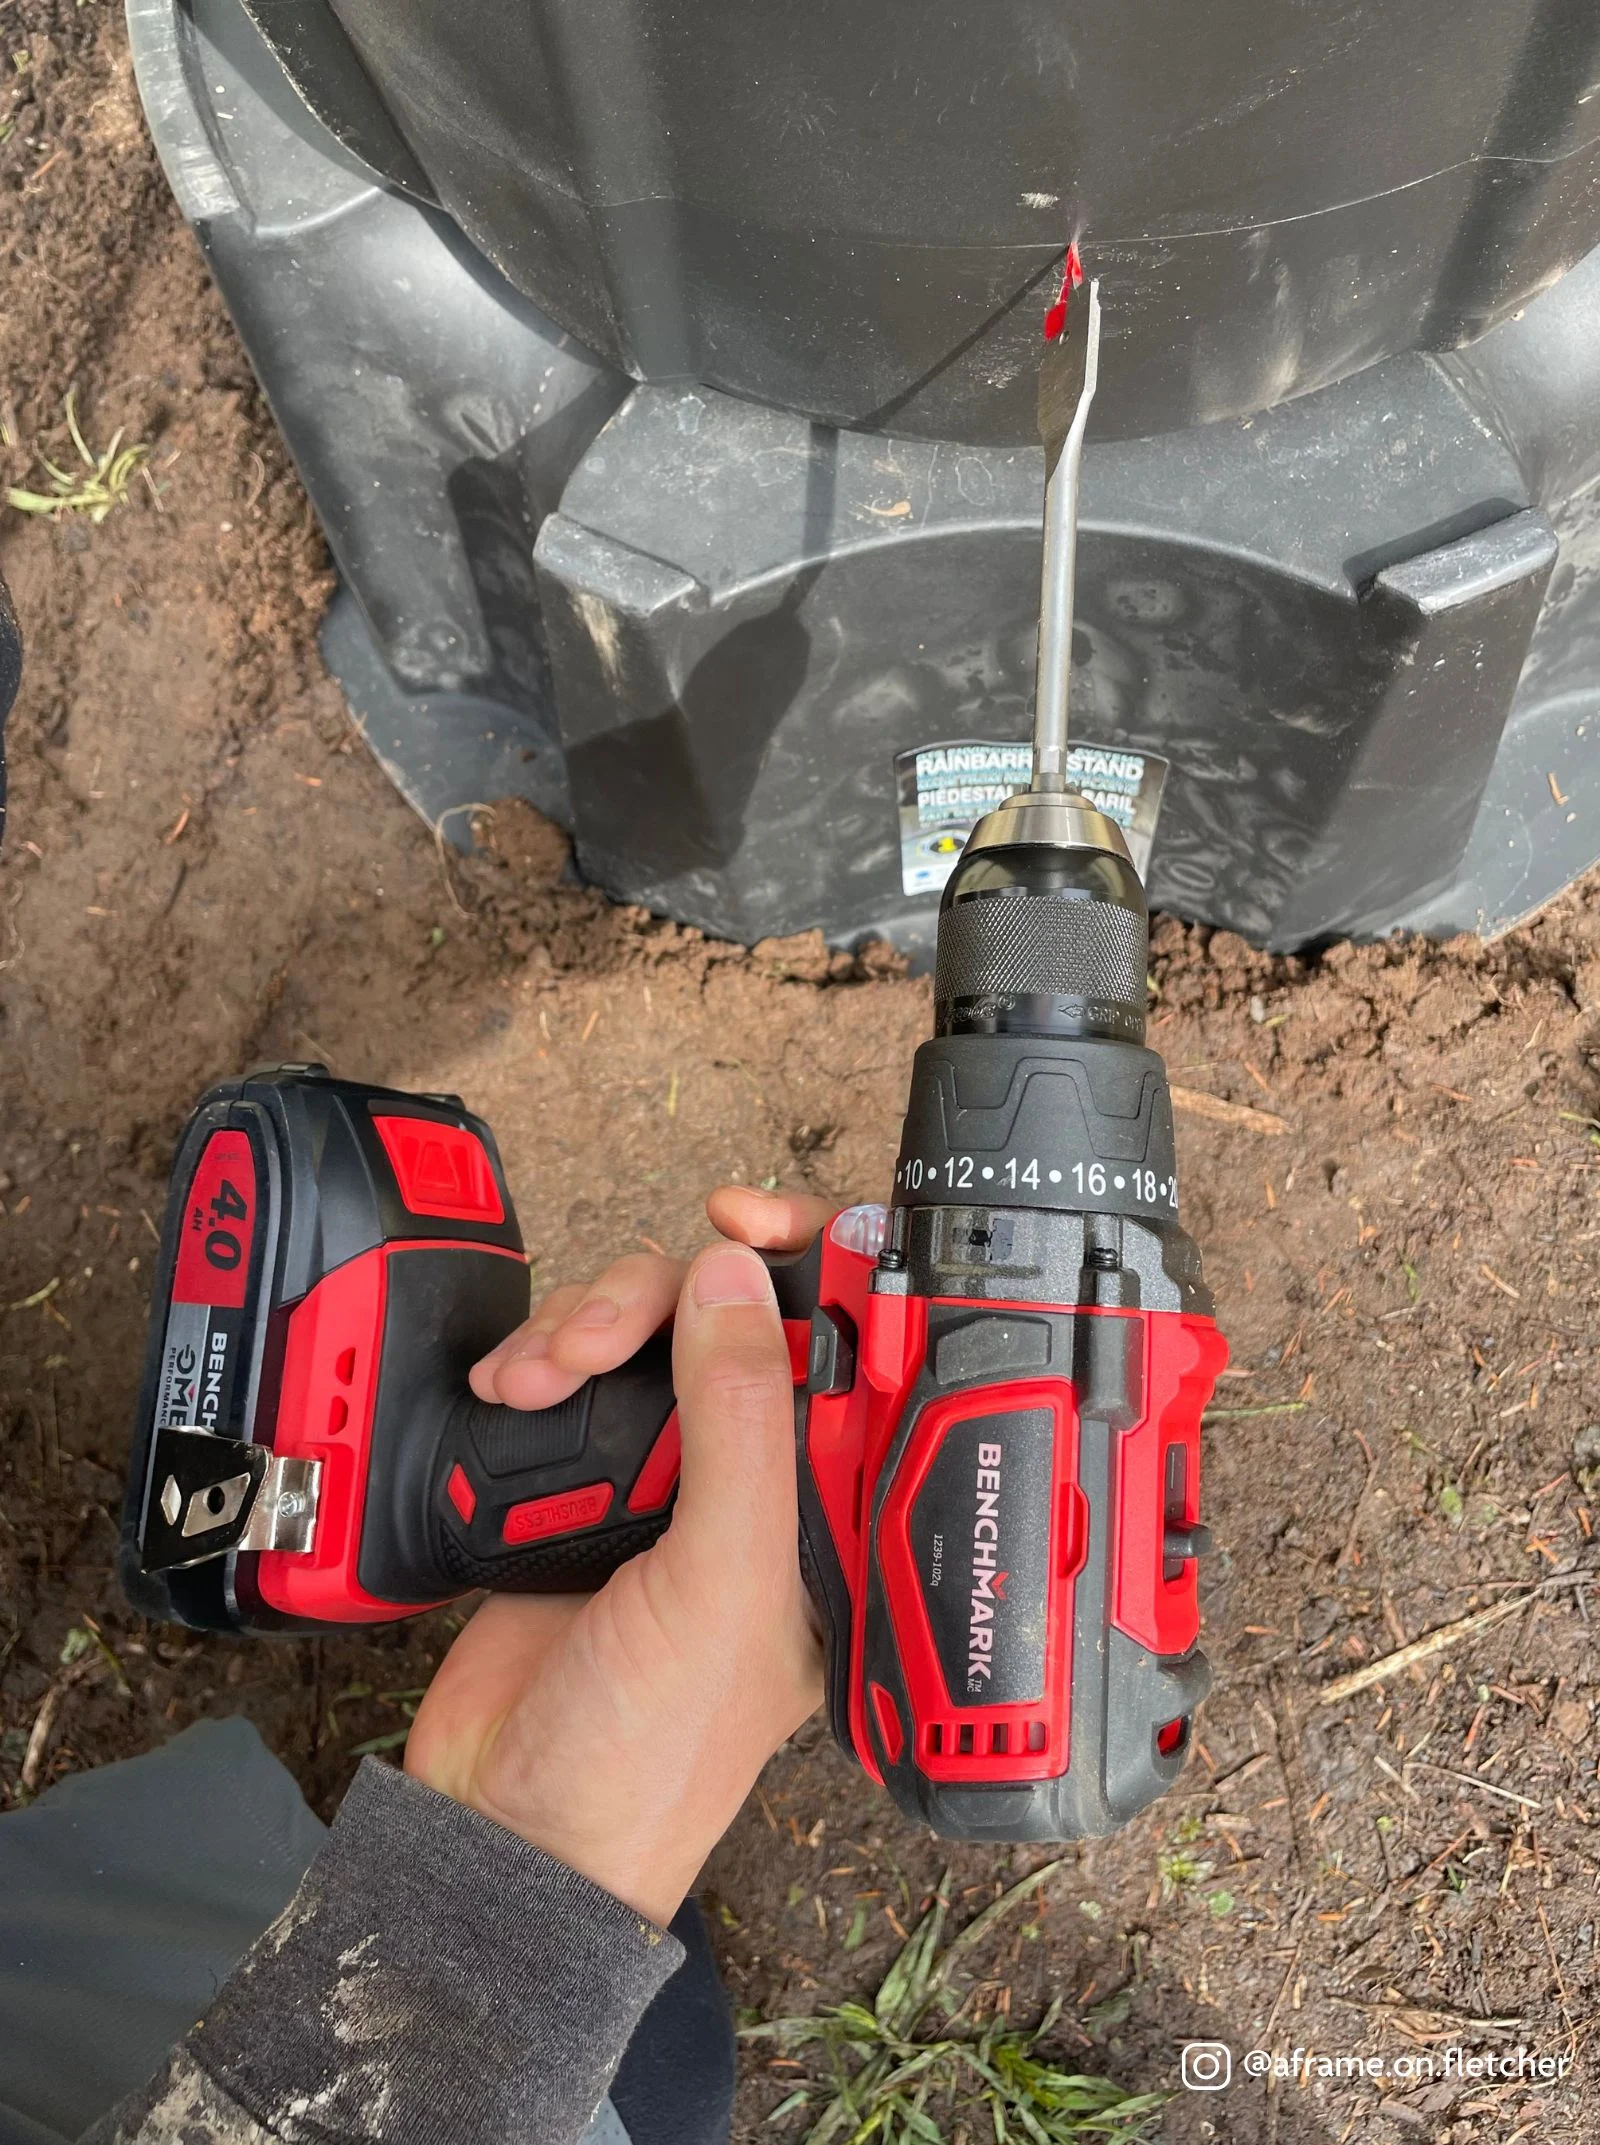
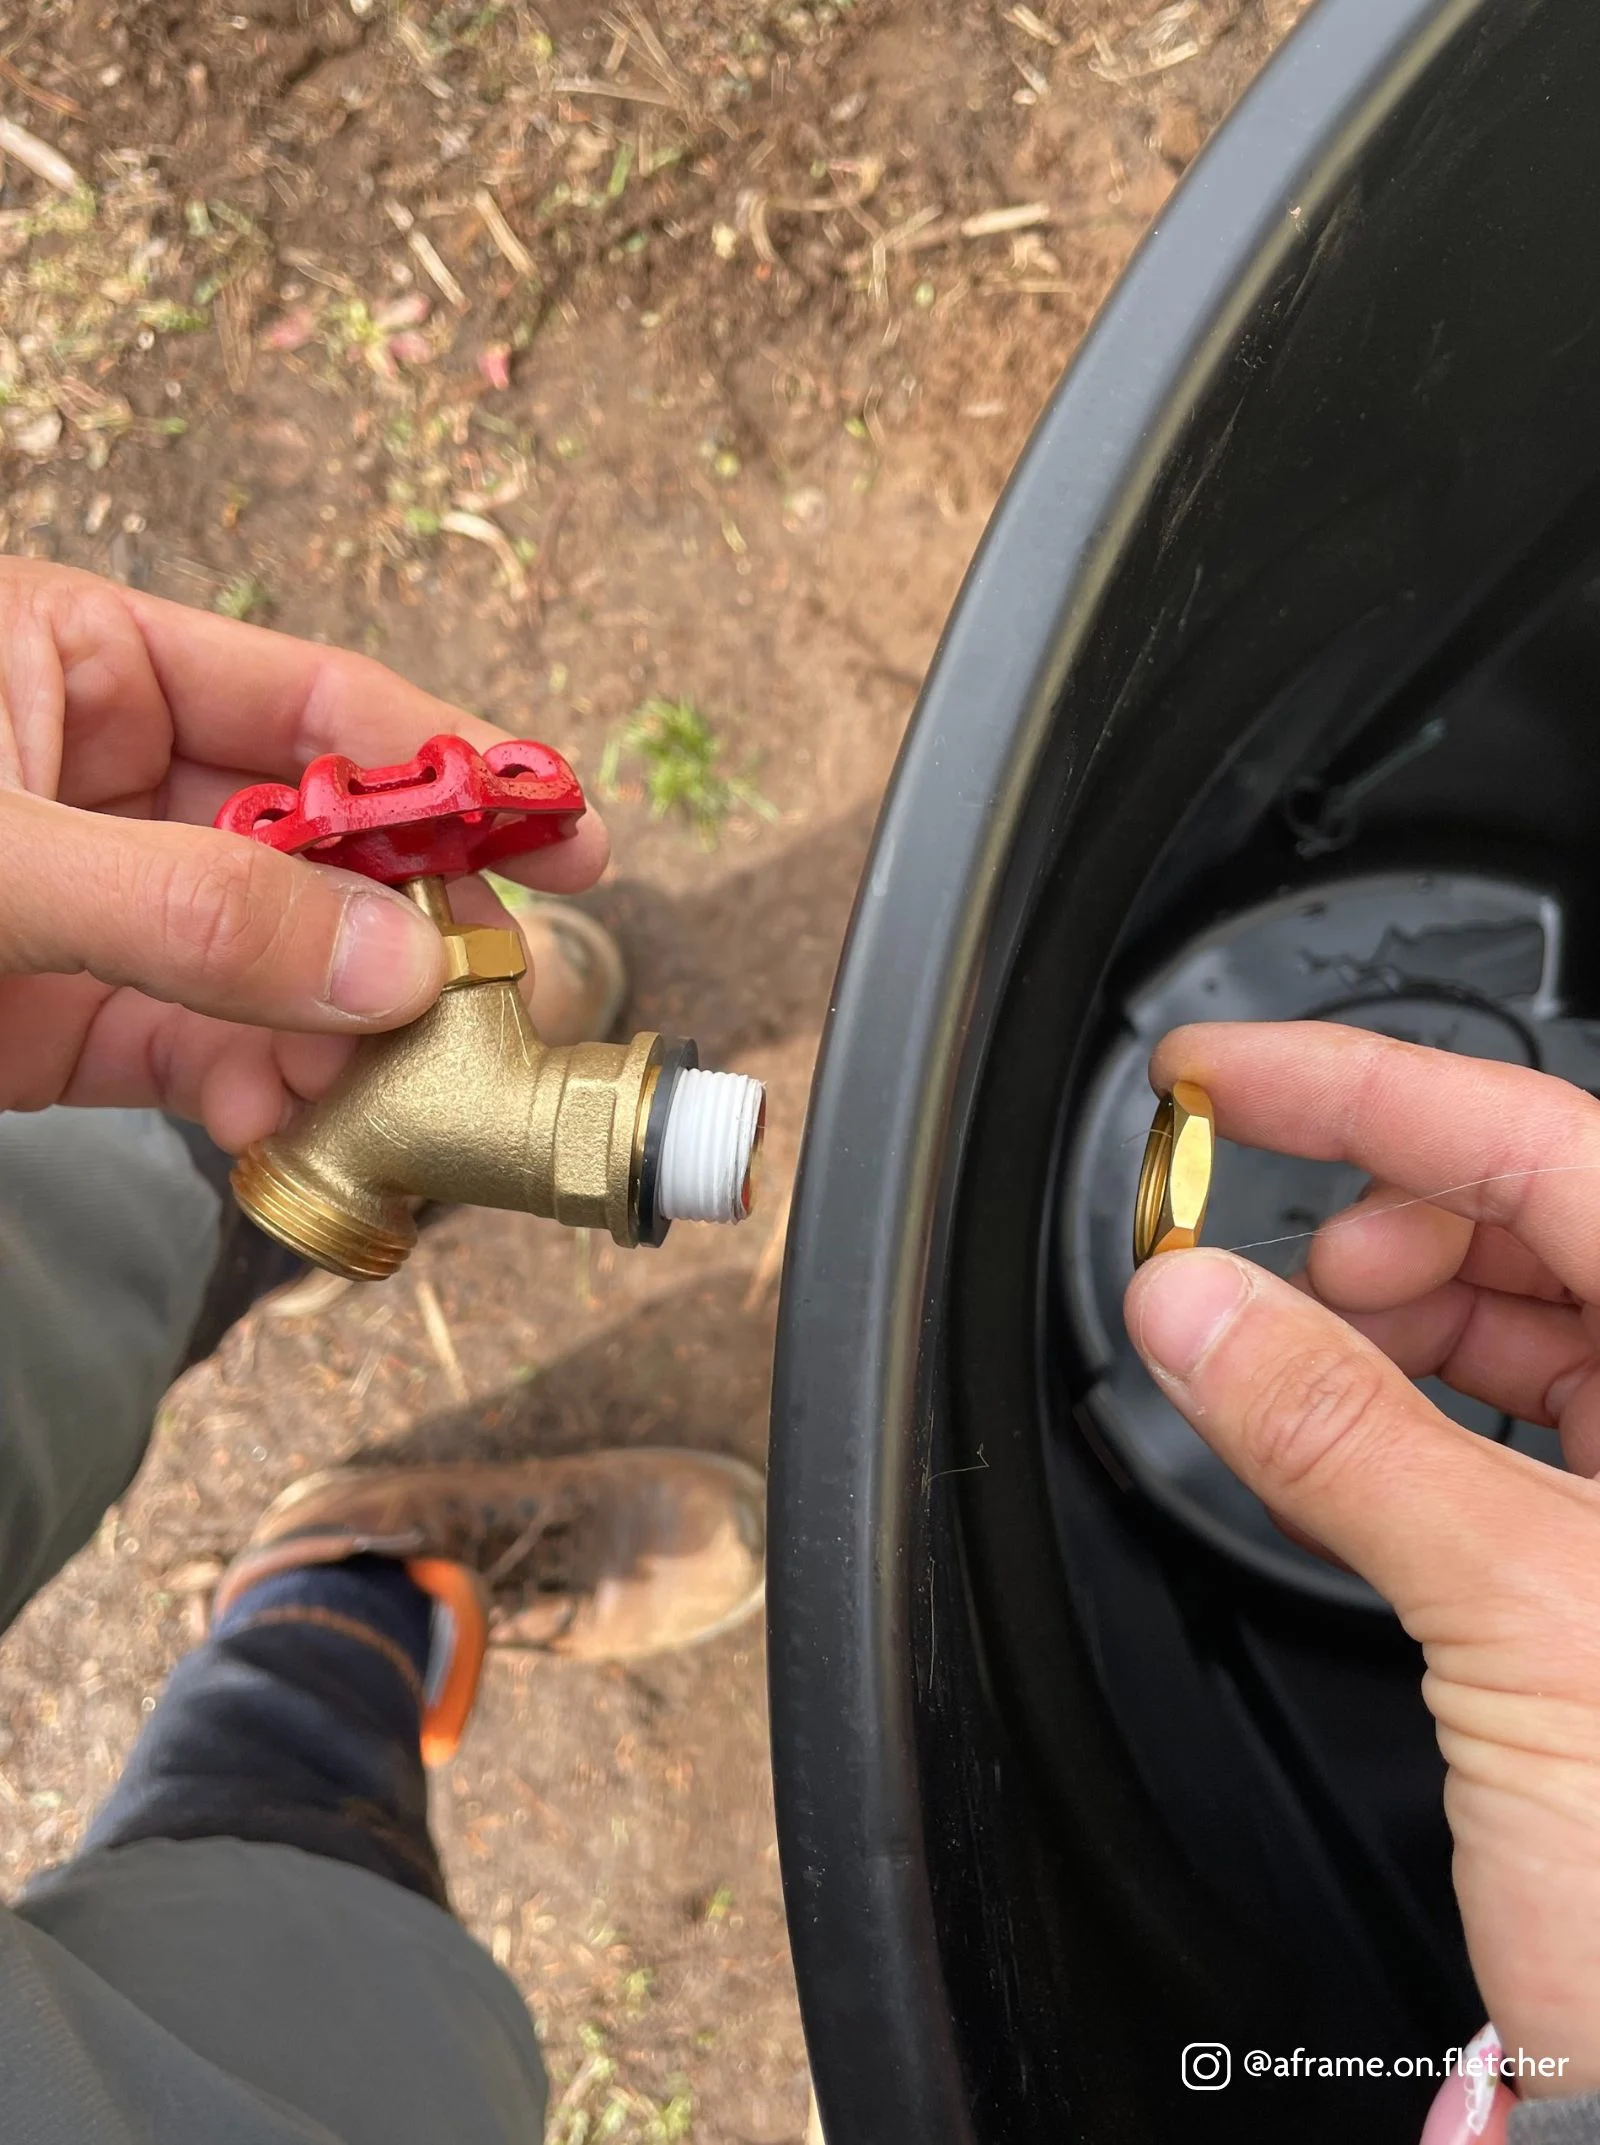
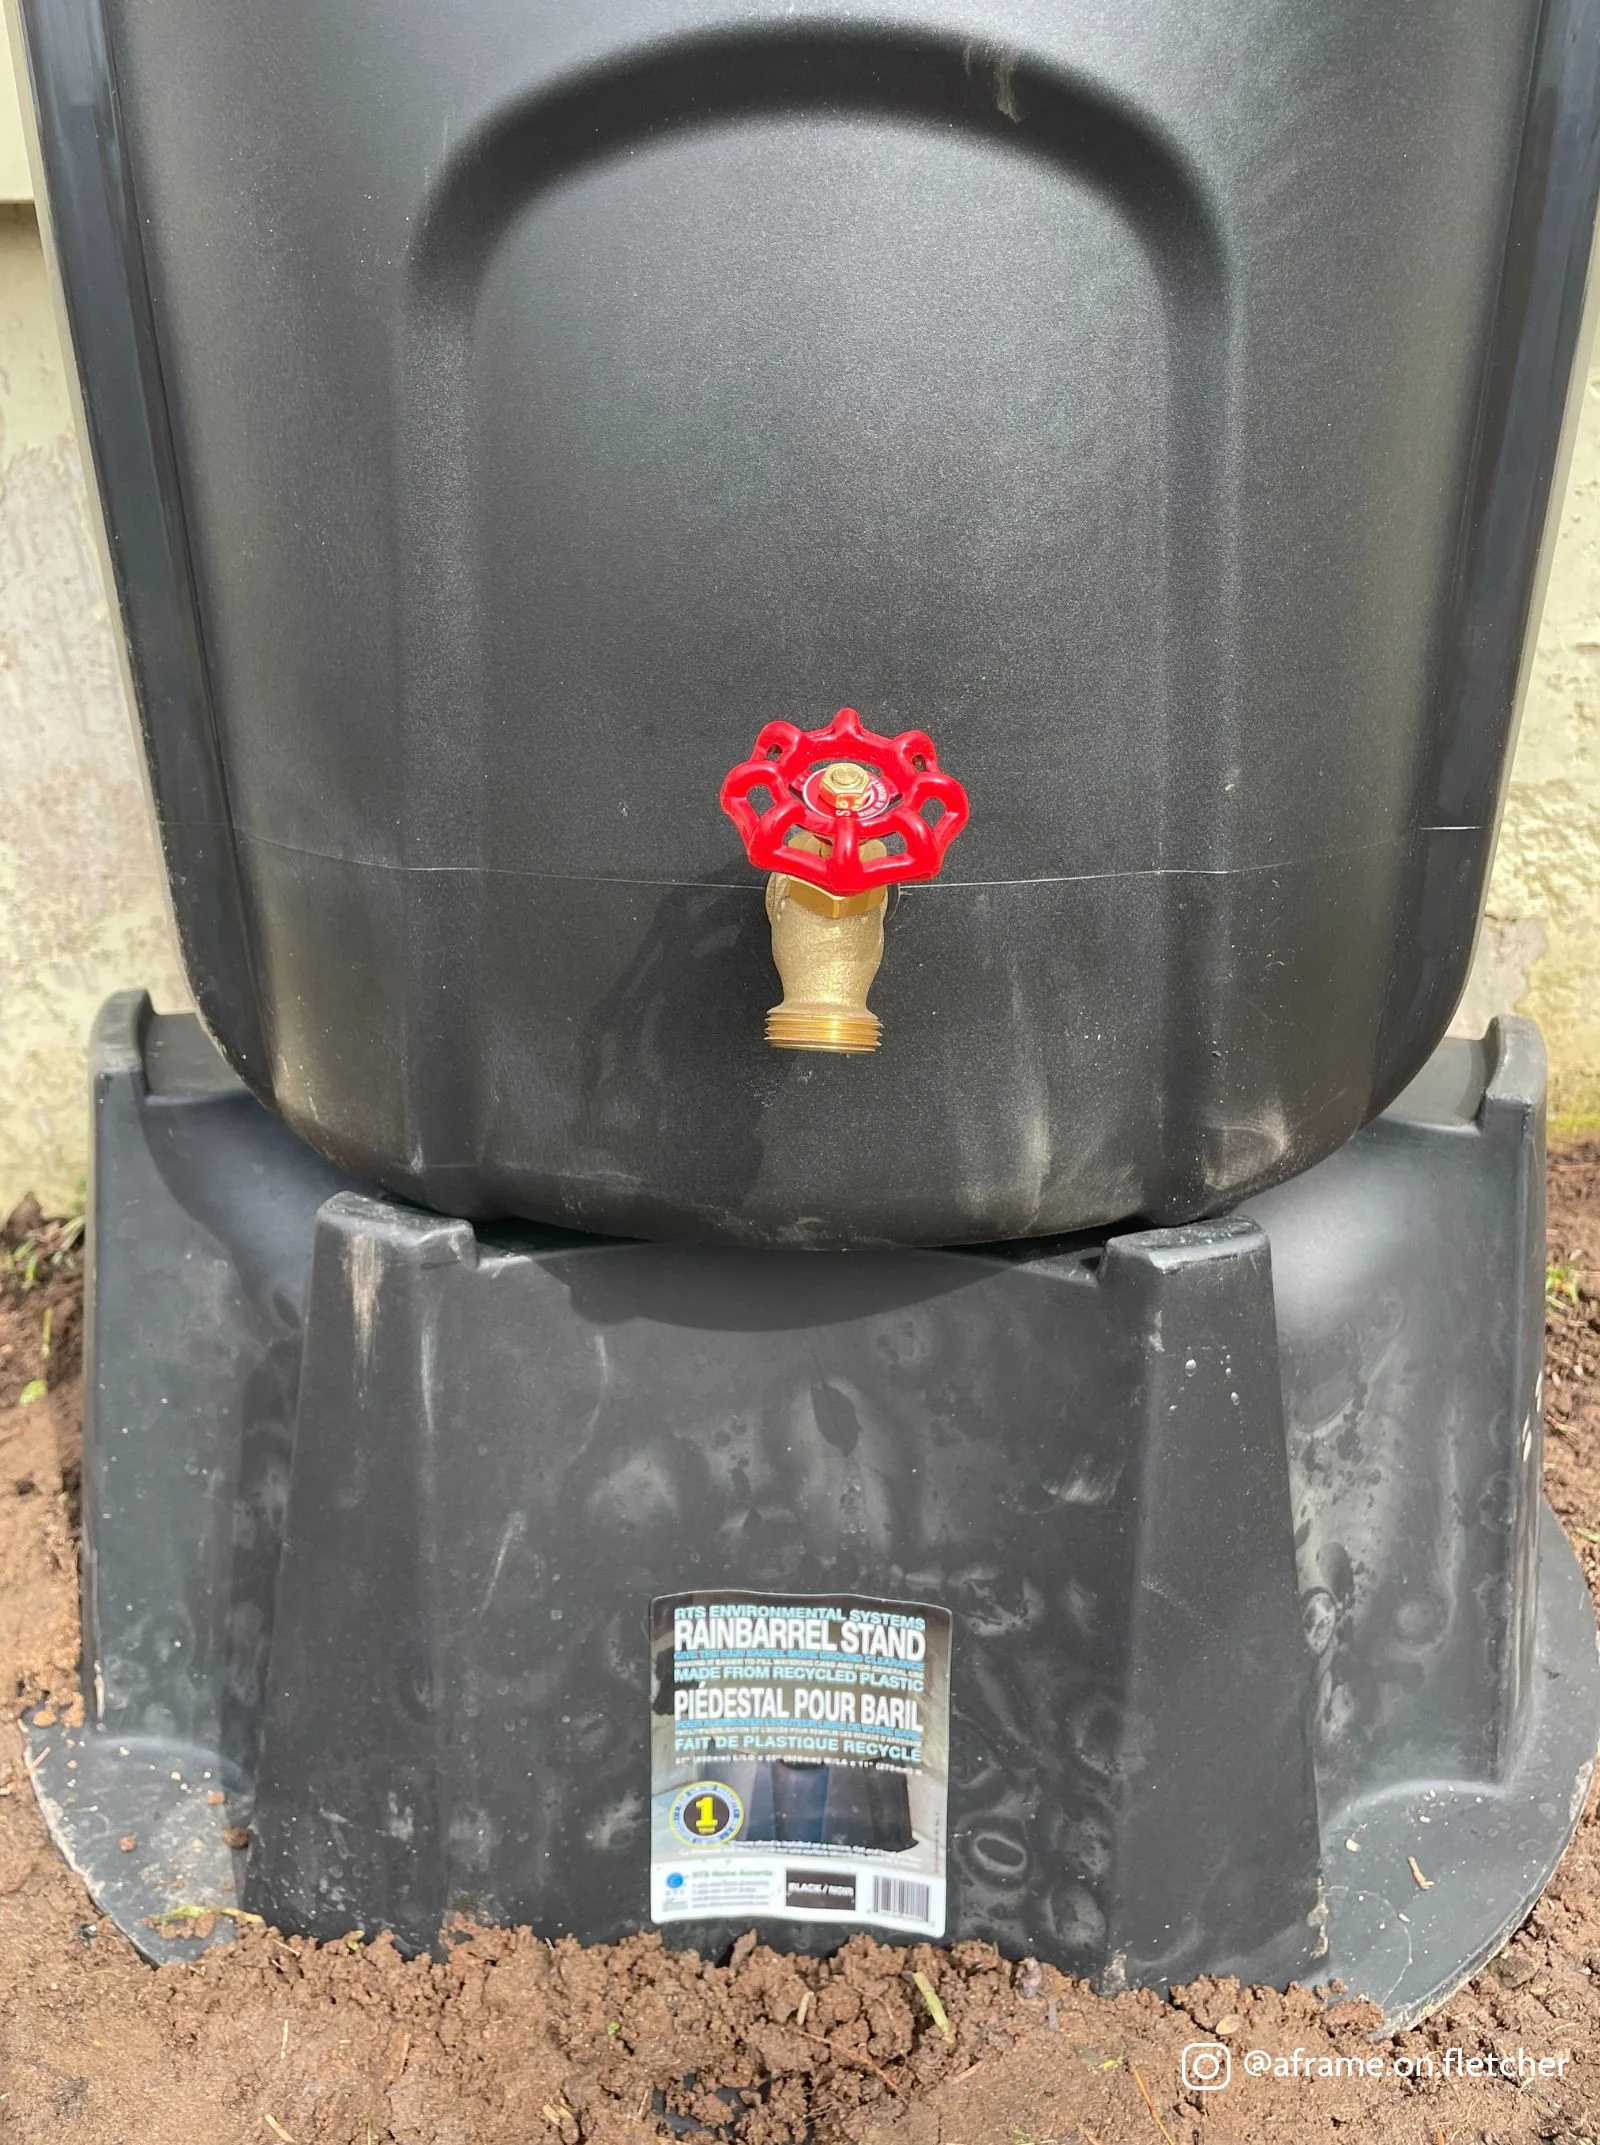
2. Near the bottom of the can, find the center and pre-drill a hole for your spigot, using a 3/4” spade bit. Take your rain barrel spigot and tape the end that will be inserted into the can with Teflon tape. Tightly wrap the Teflon tape around the thread in the direction that the fitting will turn. This will give you a tight seal to prevent leaking. Screw it into the rain barrel and fasten it on the inside of the can with the nut that came with the spigot. You can attach a hose to your spigot if you so desire. It’s as easy as that!
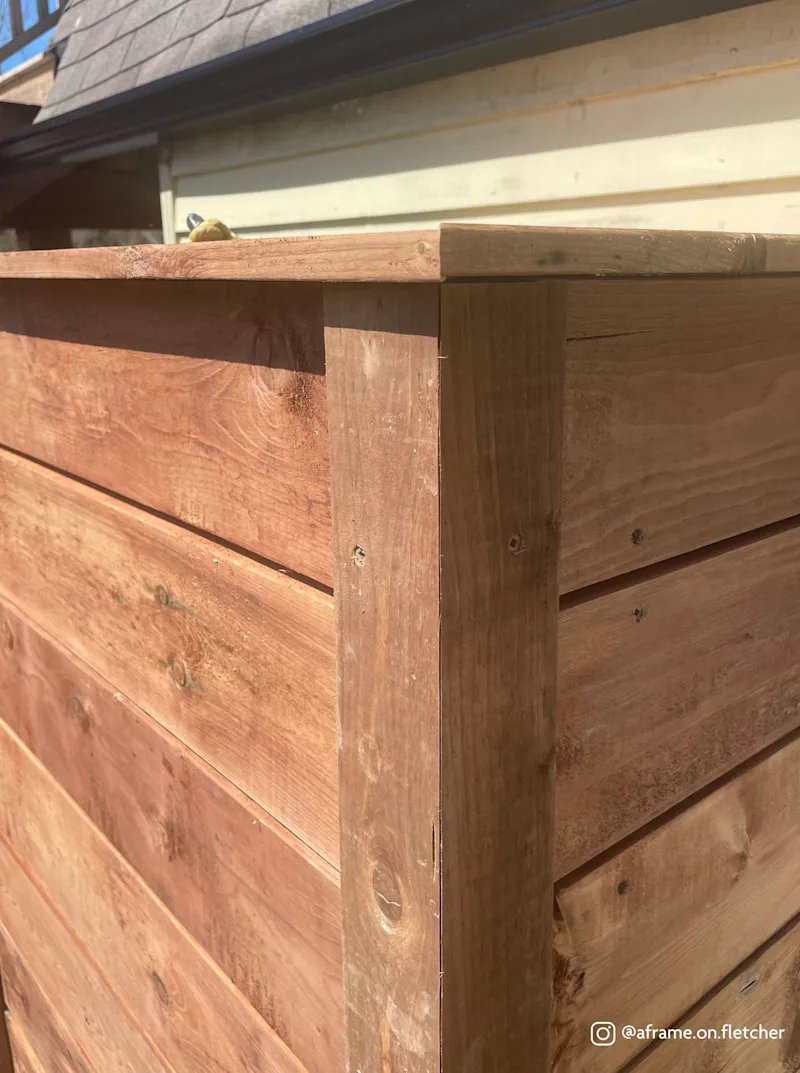
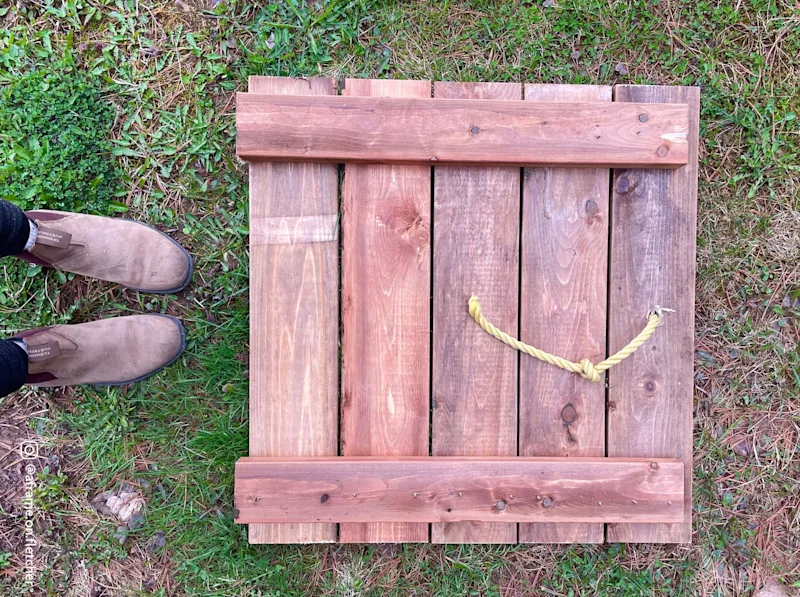
Optionally, you may want to create a cover to conceal your rain barrel.
Here’s what you’ll need:
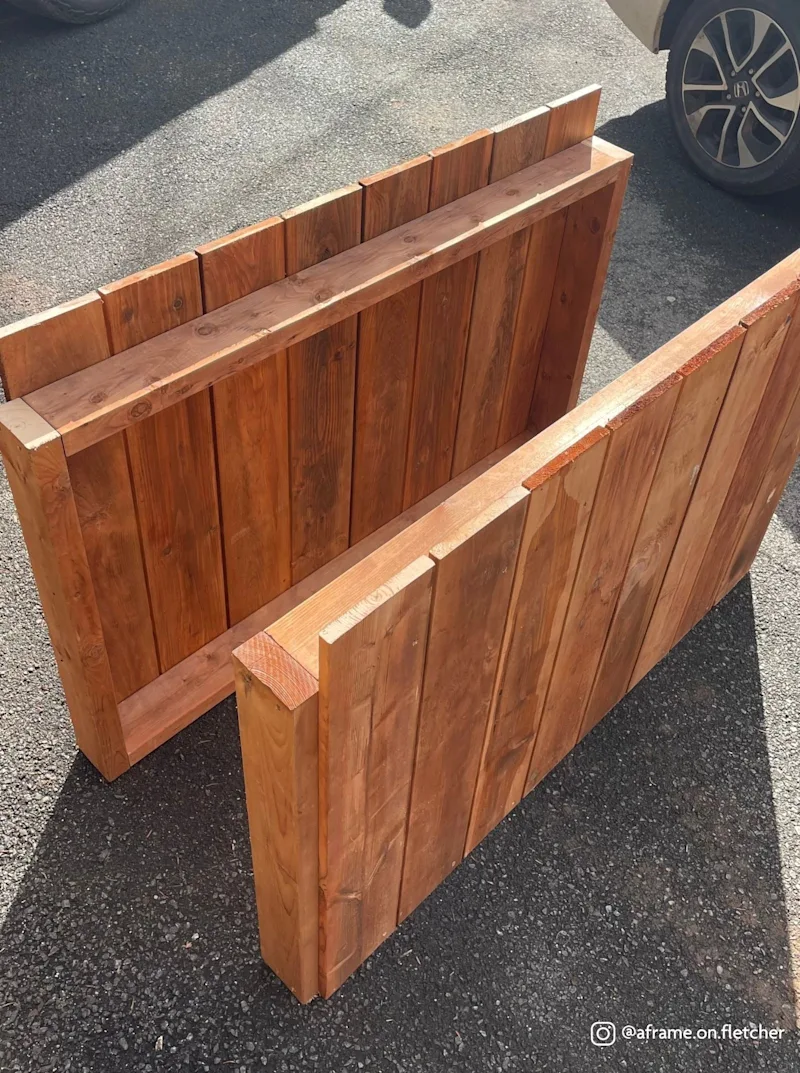
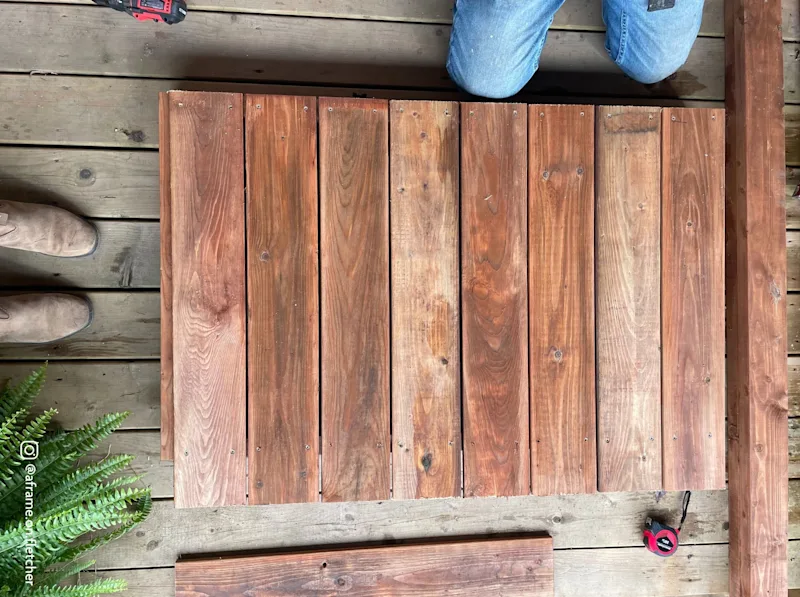
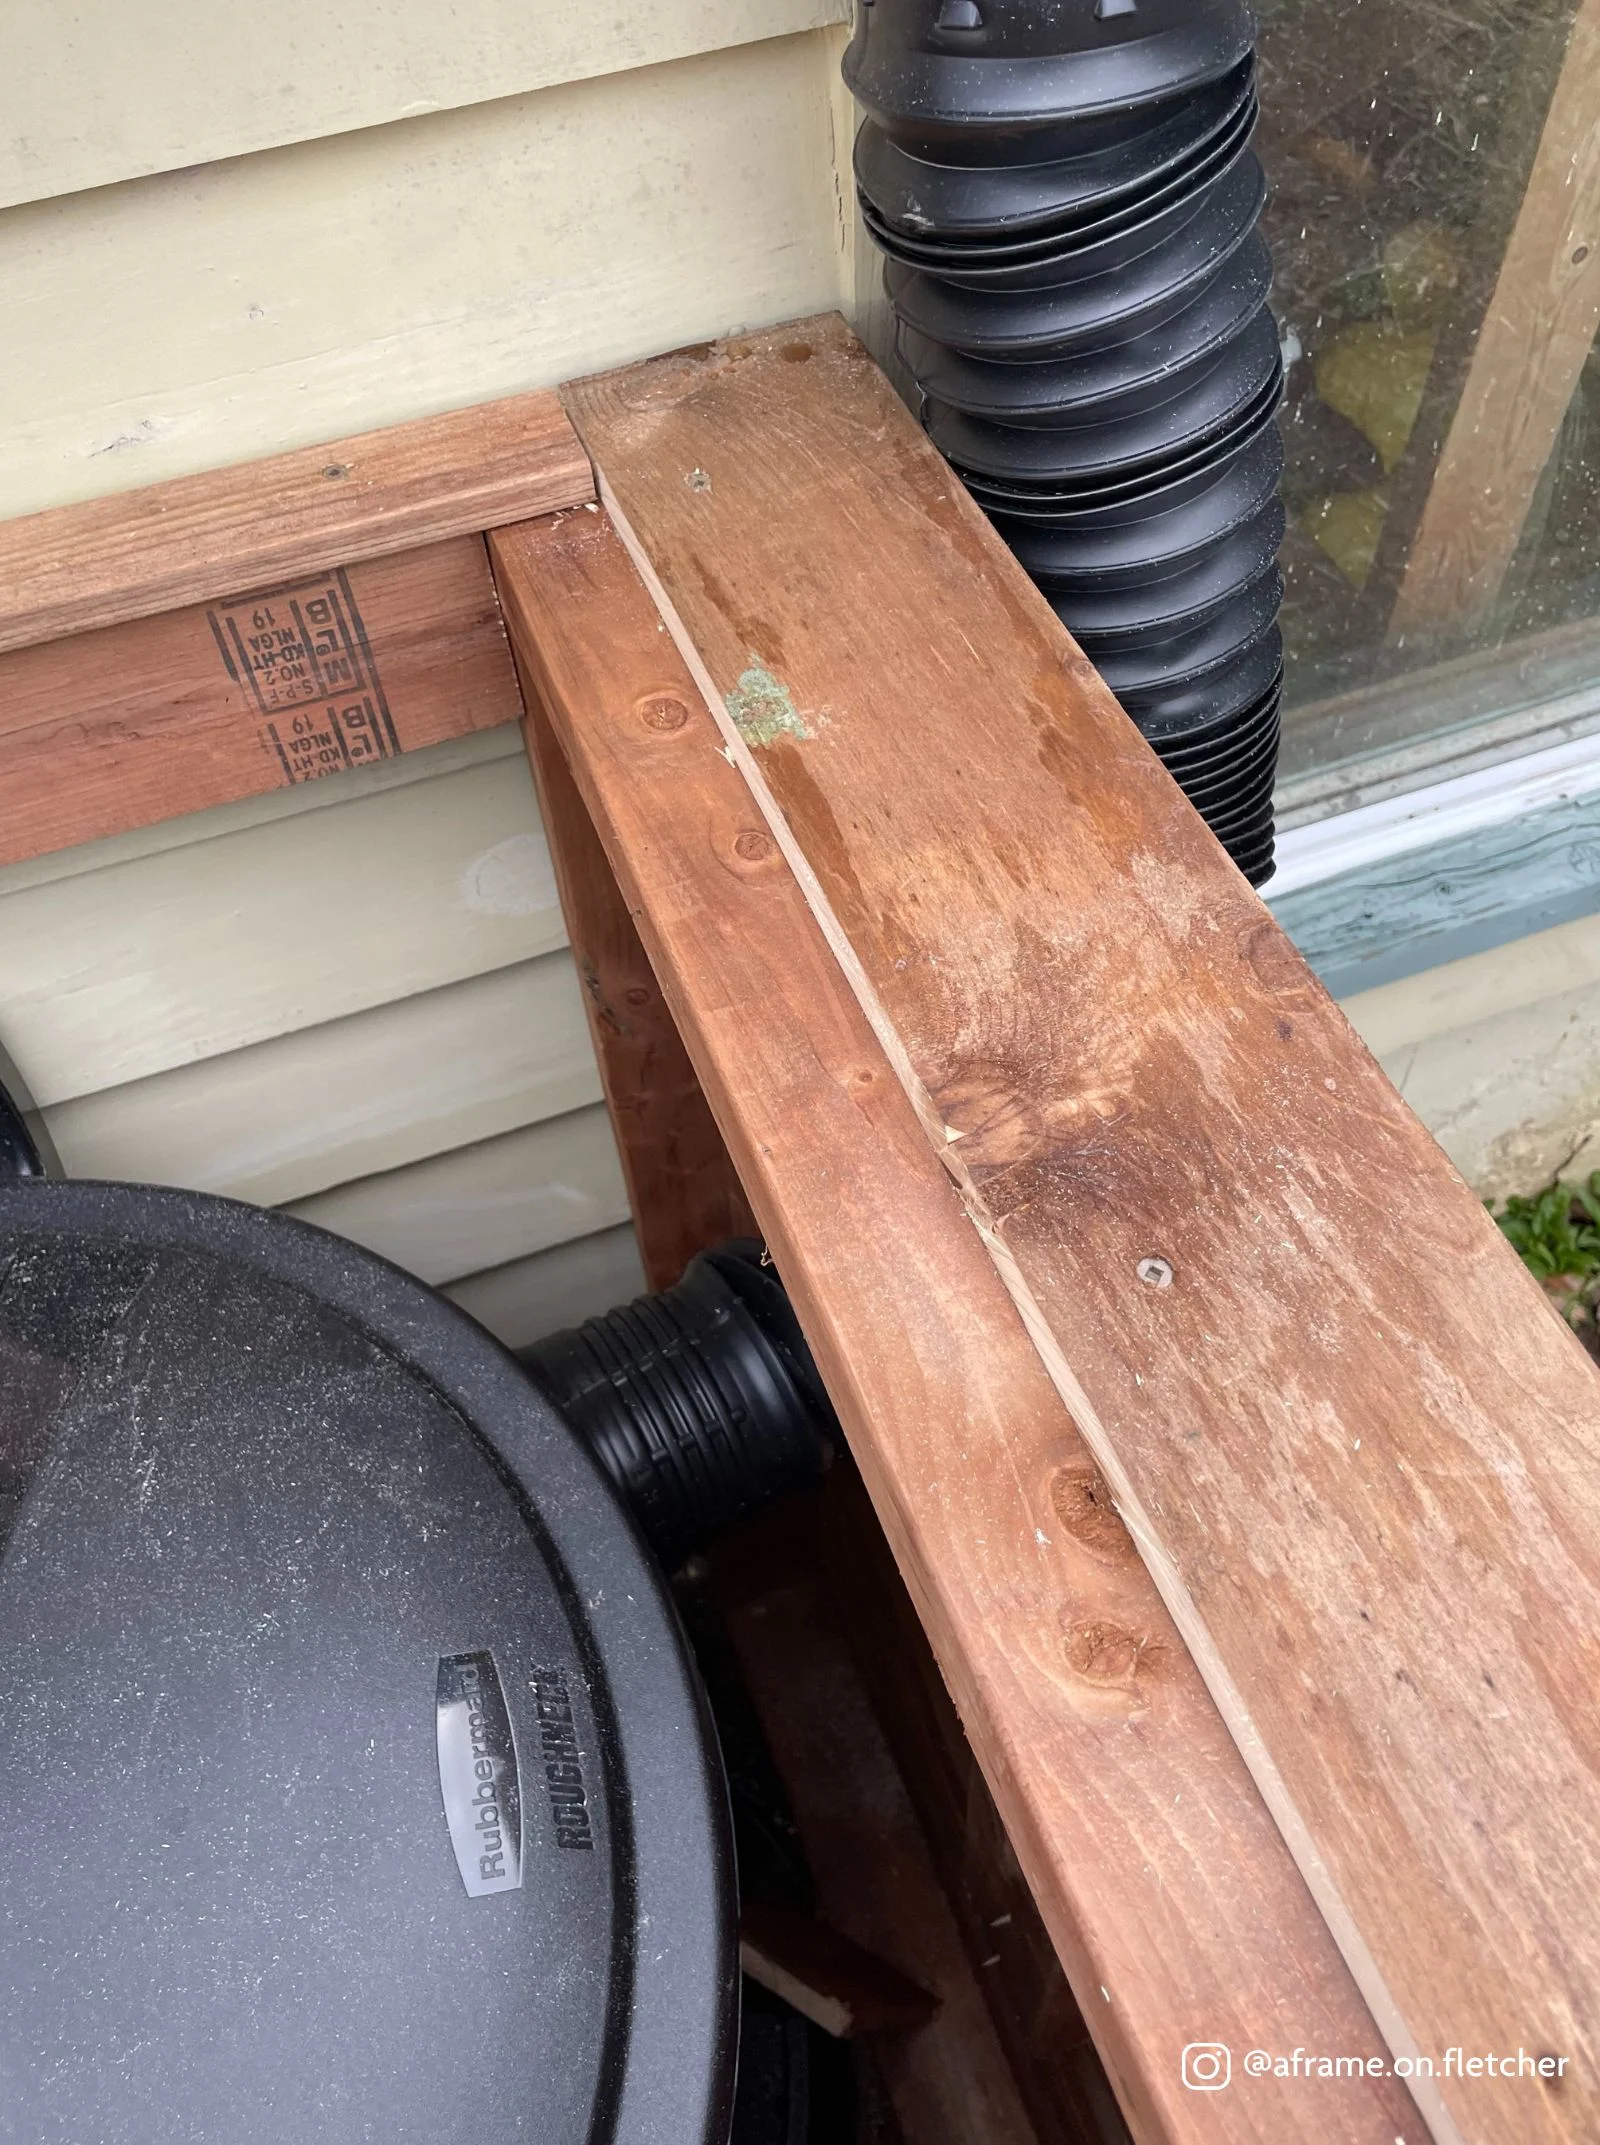
2x4x8 Pressure Treated Lumber (8 pieces)
1x6x8 Pressure Treated Fence Boards (10 pieces)
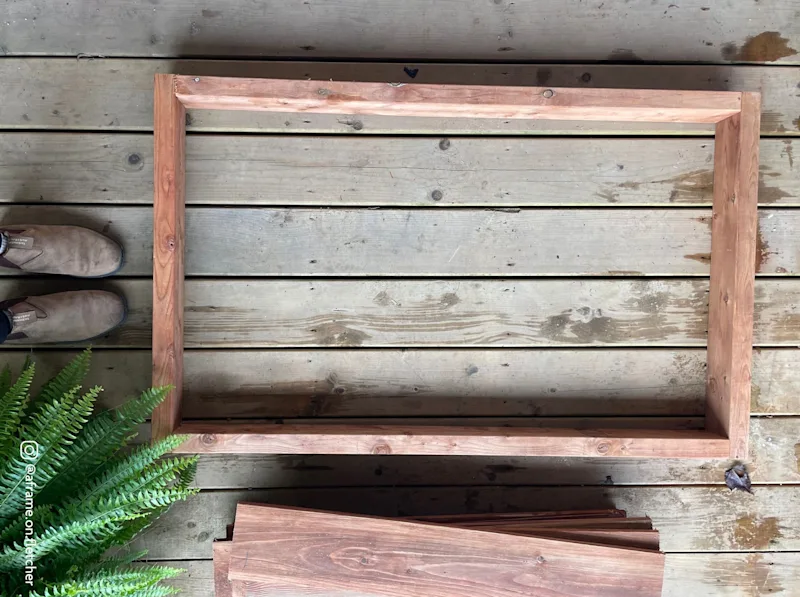
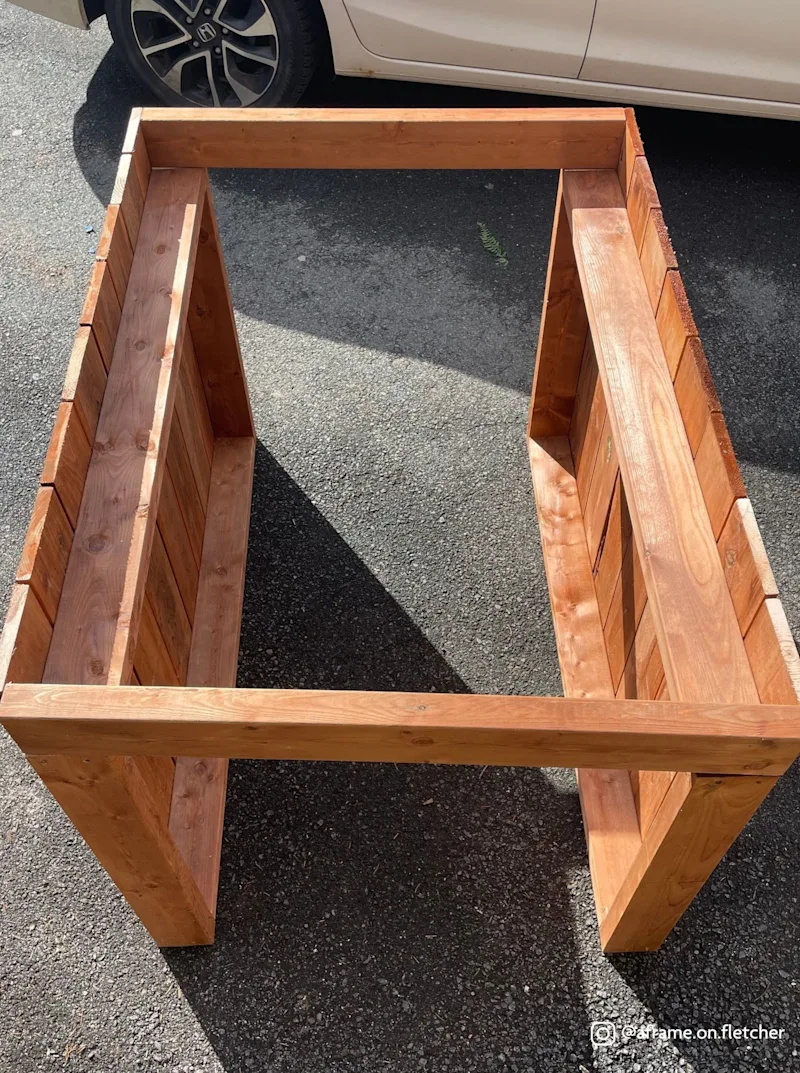
Measure the length, width and height of the can and stand together at their longest points. In this case, our measurements were 28”x28”x43”. We’ll need to make our framing for the cover a little larger than these measurements for it to fit inside comfortably.
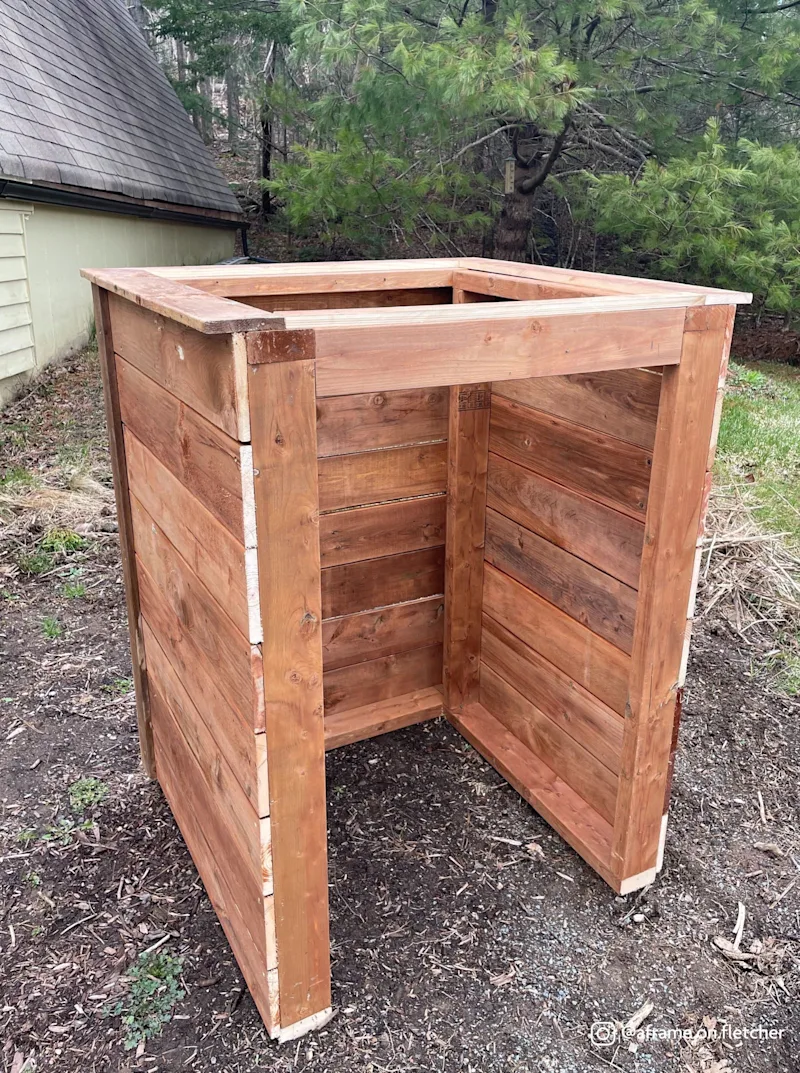
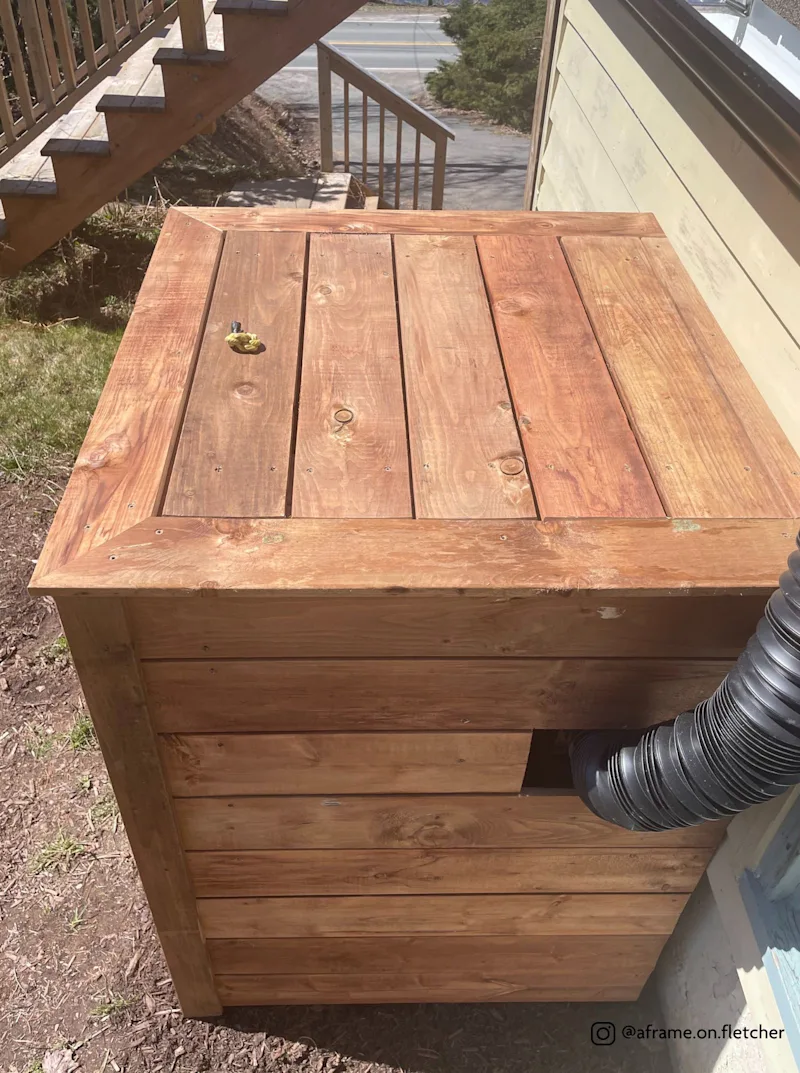

10. Detach your downspout extension from the rain barrel, move your newly constructed rain barrel cover in place, then reinsert the downspout extension. Now attach your hose to the spigot, and you’re all set to collect the rain!
Enjoy your free and clean source of beautiful rainwater for your garden!
