Here's How to Make a Convertible Outdoor Bench
Maximize Outdoor Time with a Convertible Bench-Picnic Table
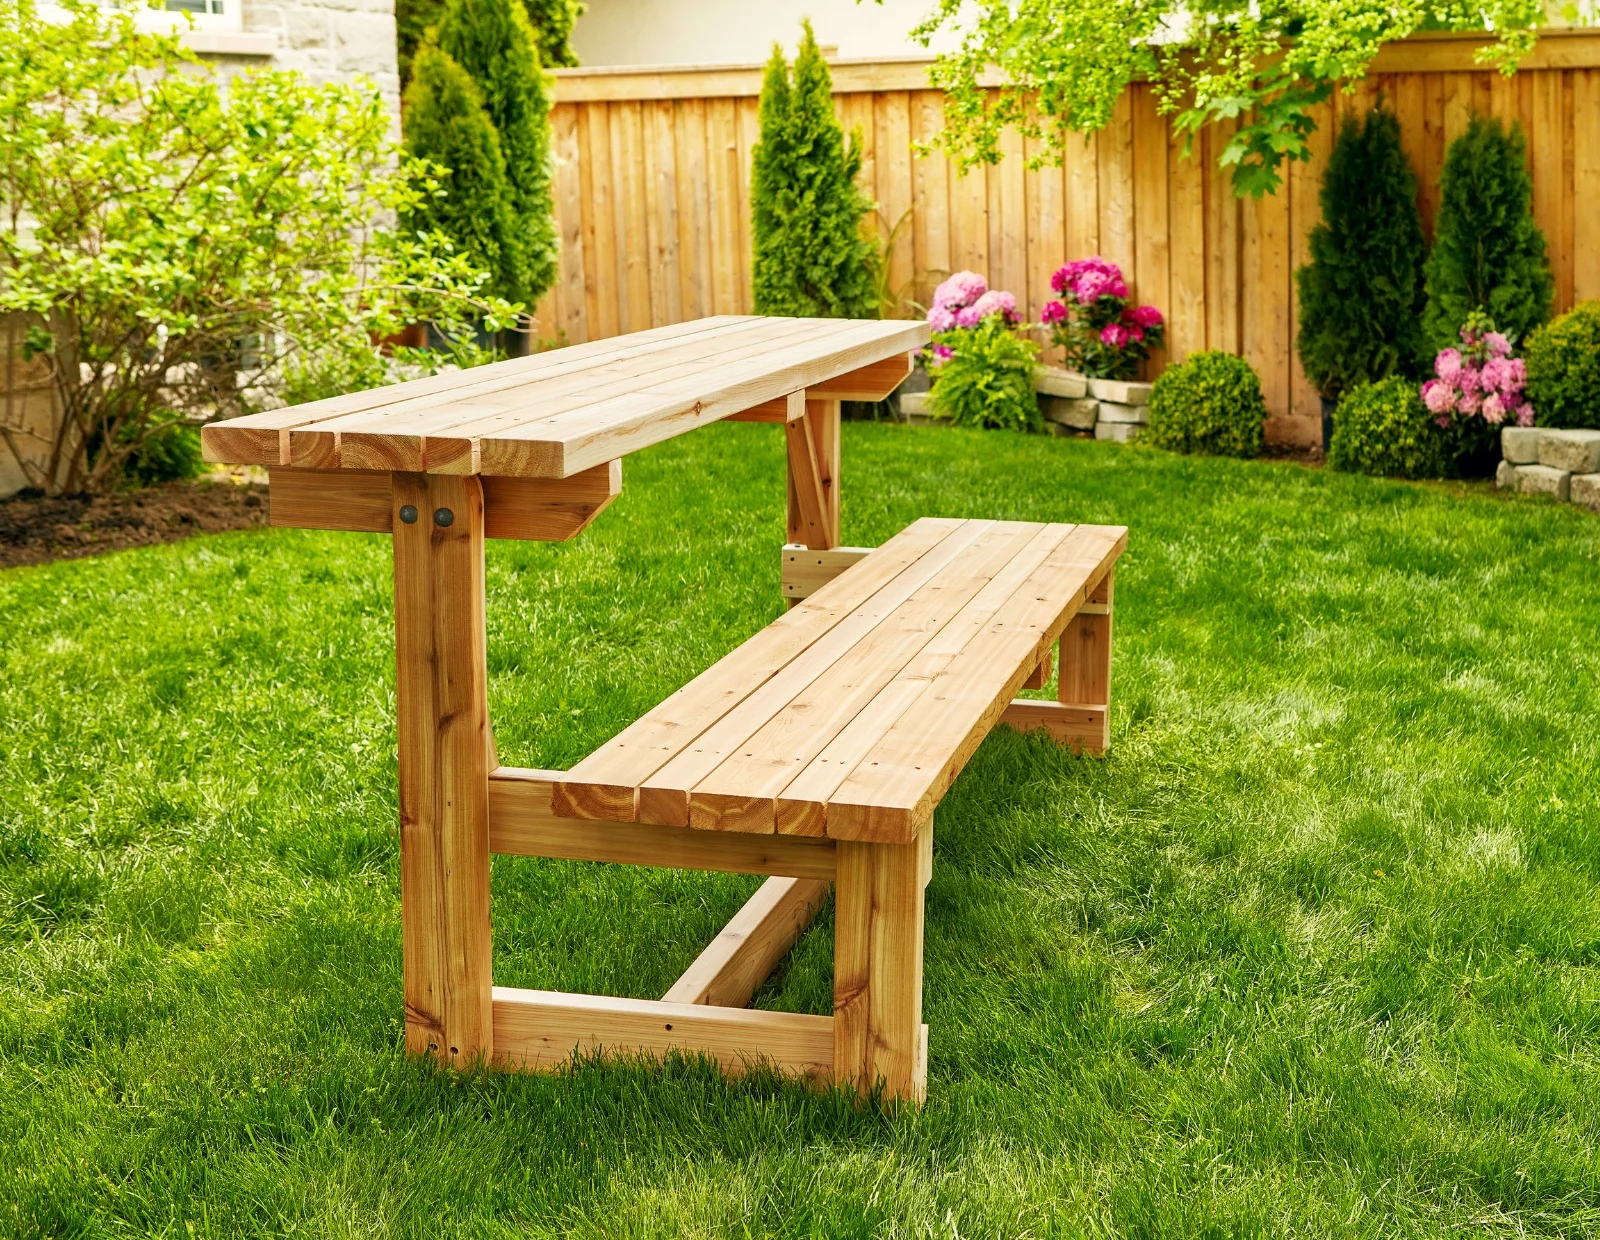
Maximizing time in the backyard this summer is easier with the right outdoor furniture. If you’re looking for a place to sit, relax and host backyard BBQs, this versatile convertible bench is the perfect solution. Build two and join them together to form a picnic table!
What You’ll Need
Steps
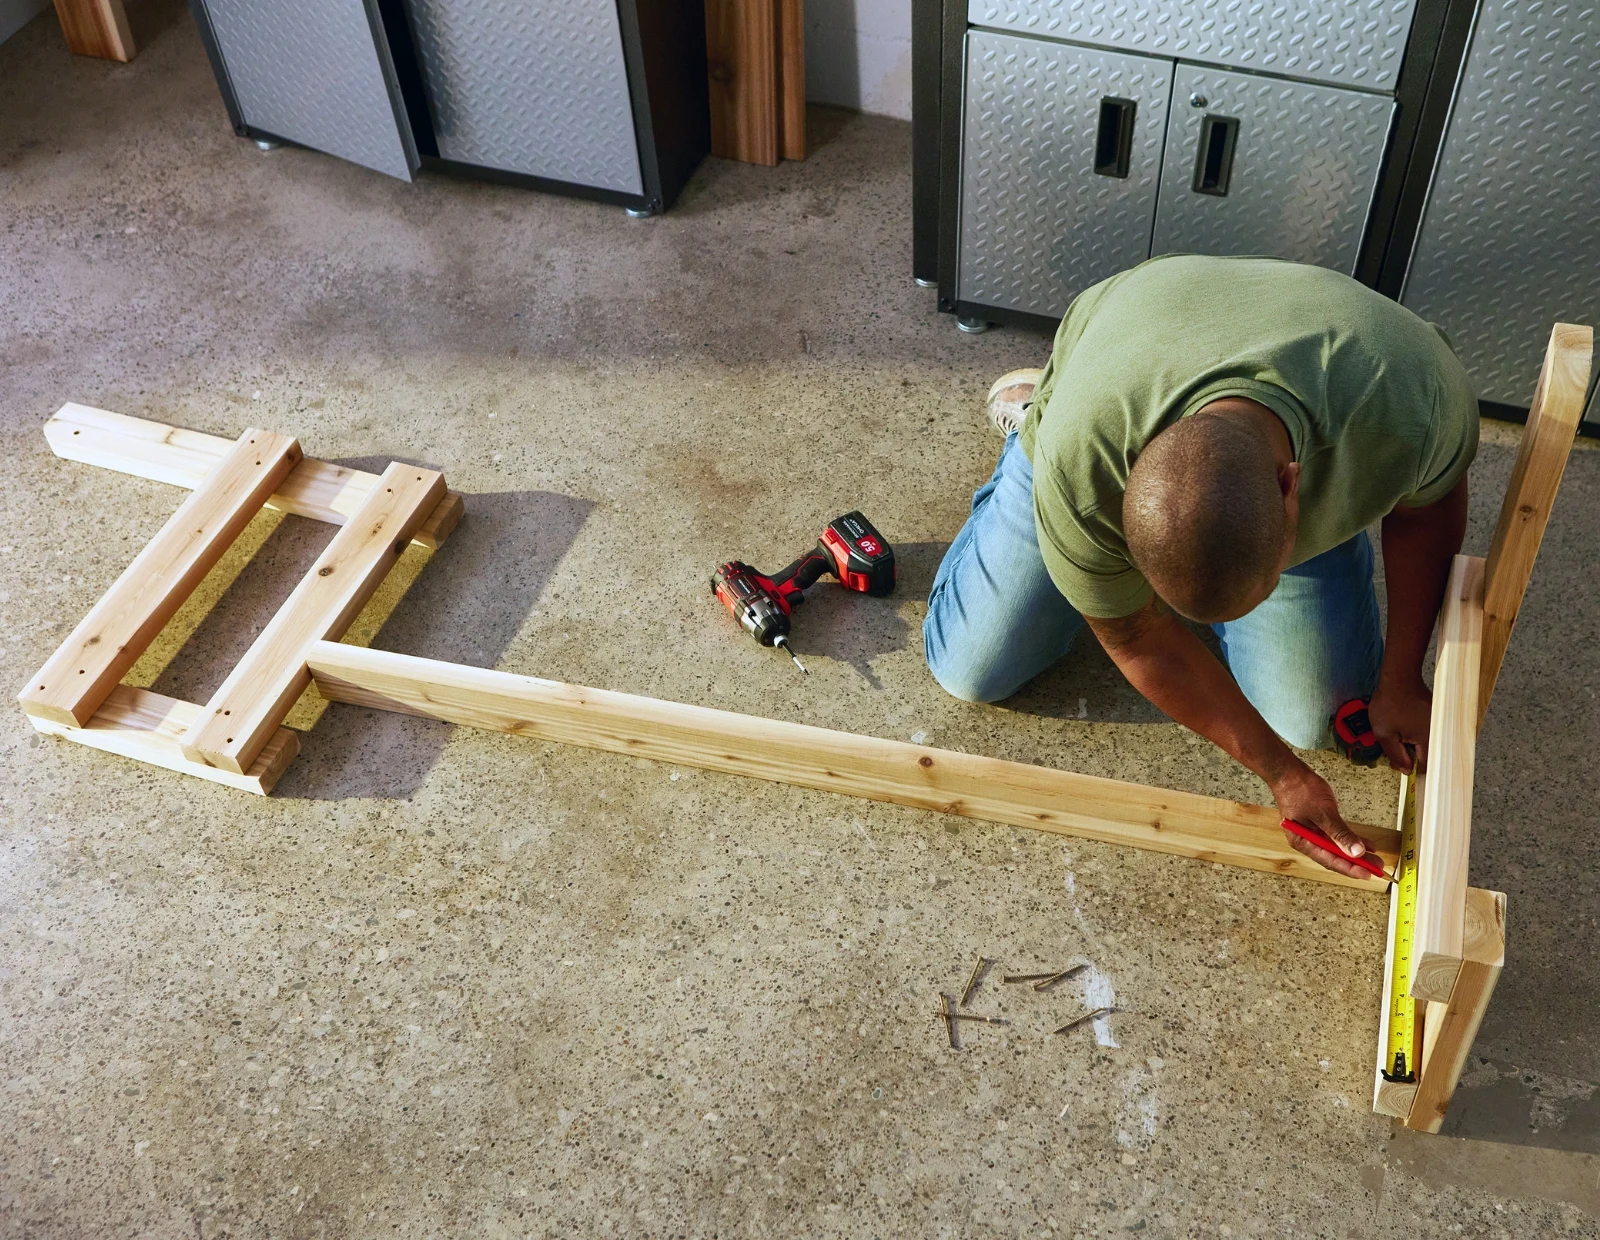
Step #1: Determine Measurements and Cut Material
Start by determining the measurement of your convertible bench (ours is 72’’ wide) and cut your material. Cut the front legs, back legs, and support pieces. See the complete cut list with measurements below.
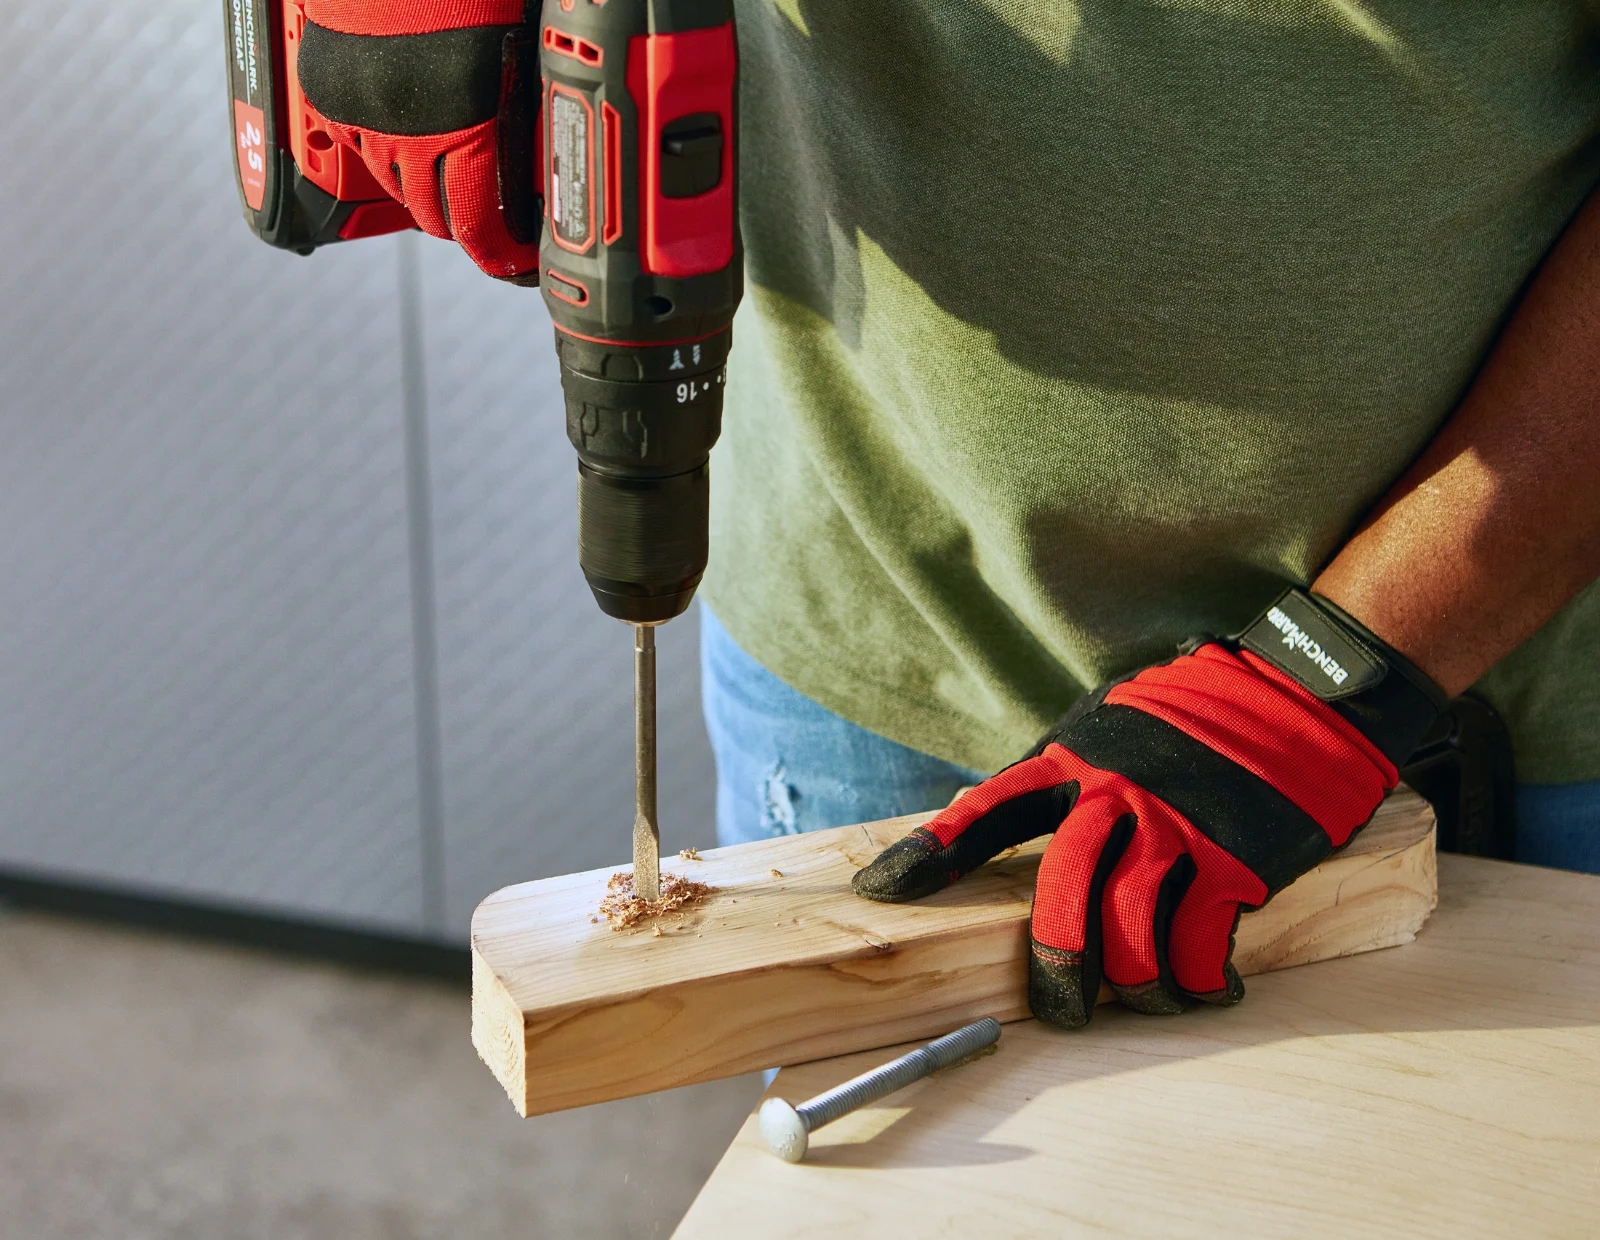
The back legs will require a radius cut at the top end. Drill a hole in each back leg to receive the carriage bolt.
Step #2: Assemble the Sides
Start assembling one side with a front and back leg and two support cross pieces. Then, create another side. Connect the 2 sides by attaching a support piece from the center of the bottom side to the center of the other.
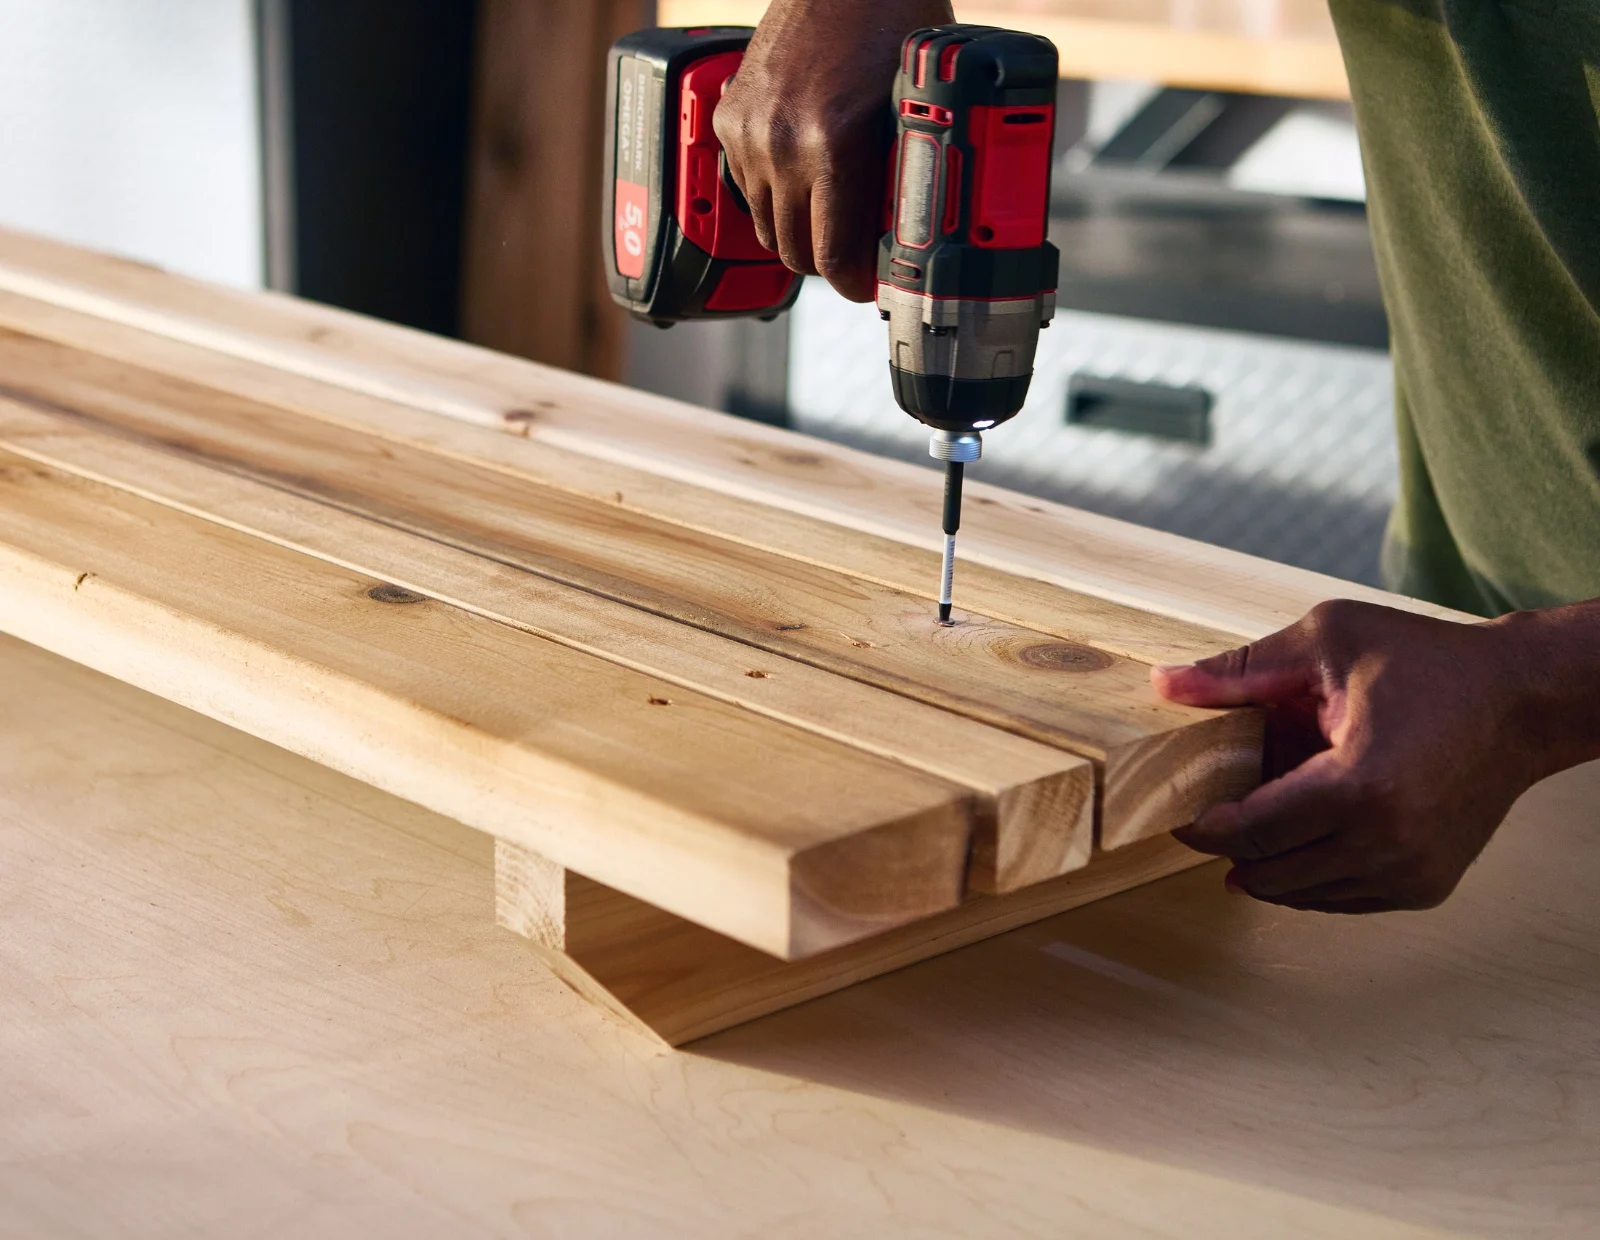
Step #3: Assemble the Bench Seat
Rip down 2’’ x 6’’ boards to 3 ½’’ and 2’’ slats. (Ripping refers to cutting the wood along the grain for a lengthwise cut). Alternate the boards and attach them to the top supports to make the seat of the bench. The slats should overhang 4’’ on either side.
Tip: Use a carpenter pencil as a spacer for each board.

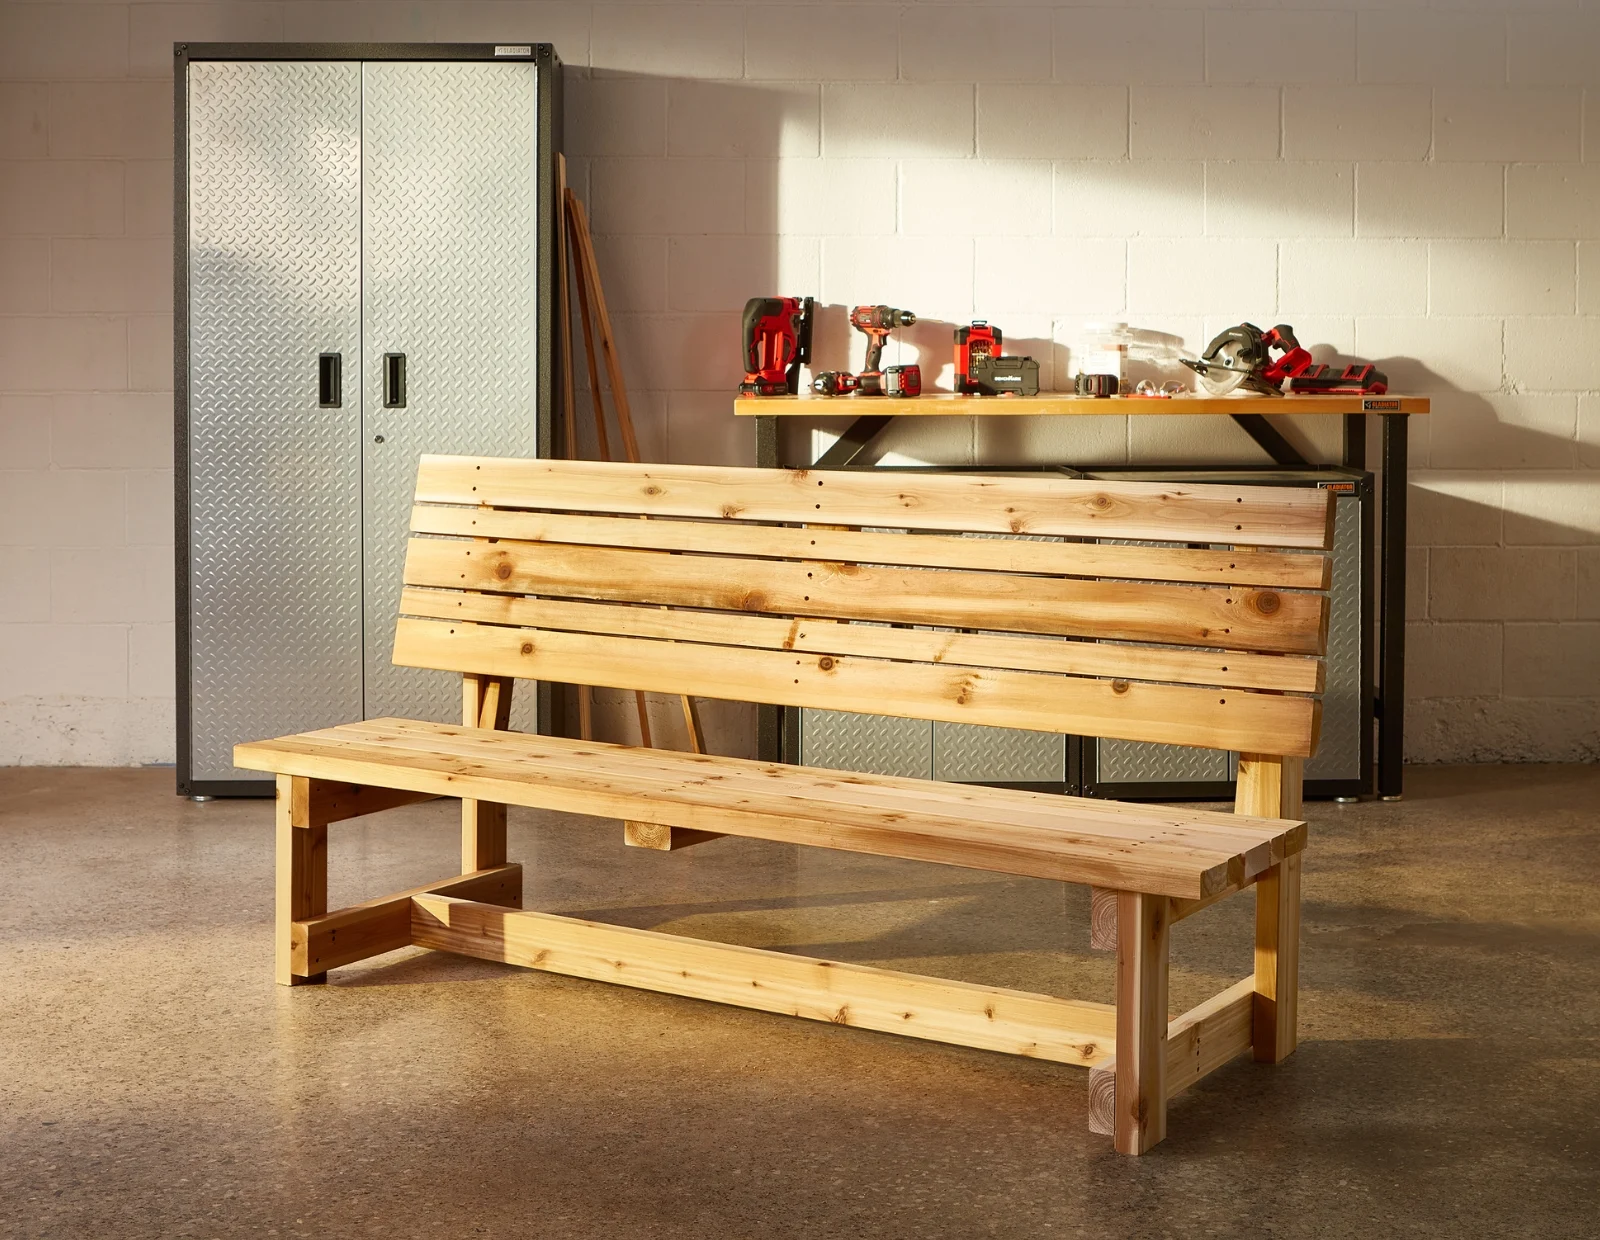
Step #4: Assemble the Back of the Bench
Next, measure the distance between the inside of each back leg. Mark this measurement on the boards.
Lay out the same number and size of slats to create the back of the bench. Cut 3 support pieces to connect the slats, allowing a 2 ½’’ overhang. Cut a 45° angle on the inside edge.
Drill a carriage bolt hole into 2 of the support pieces. Position those 2 pieces on their edges and attach them on the line. Attach the third flat support piece in the middle of the two.
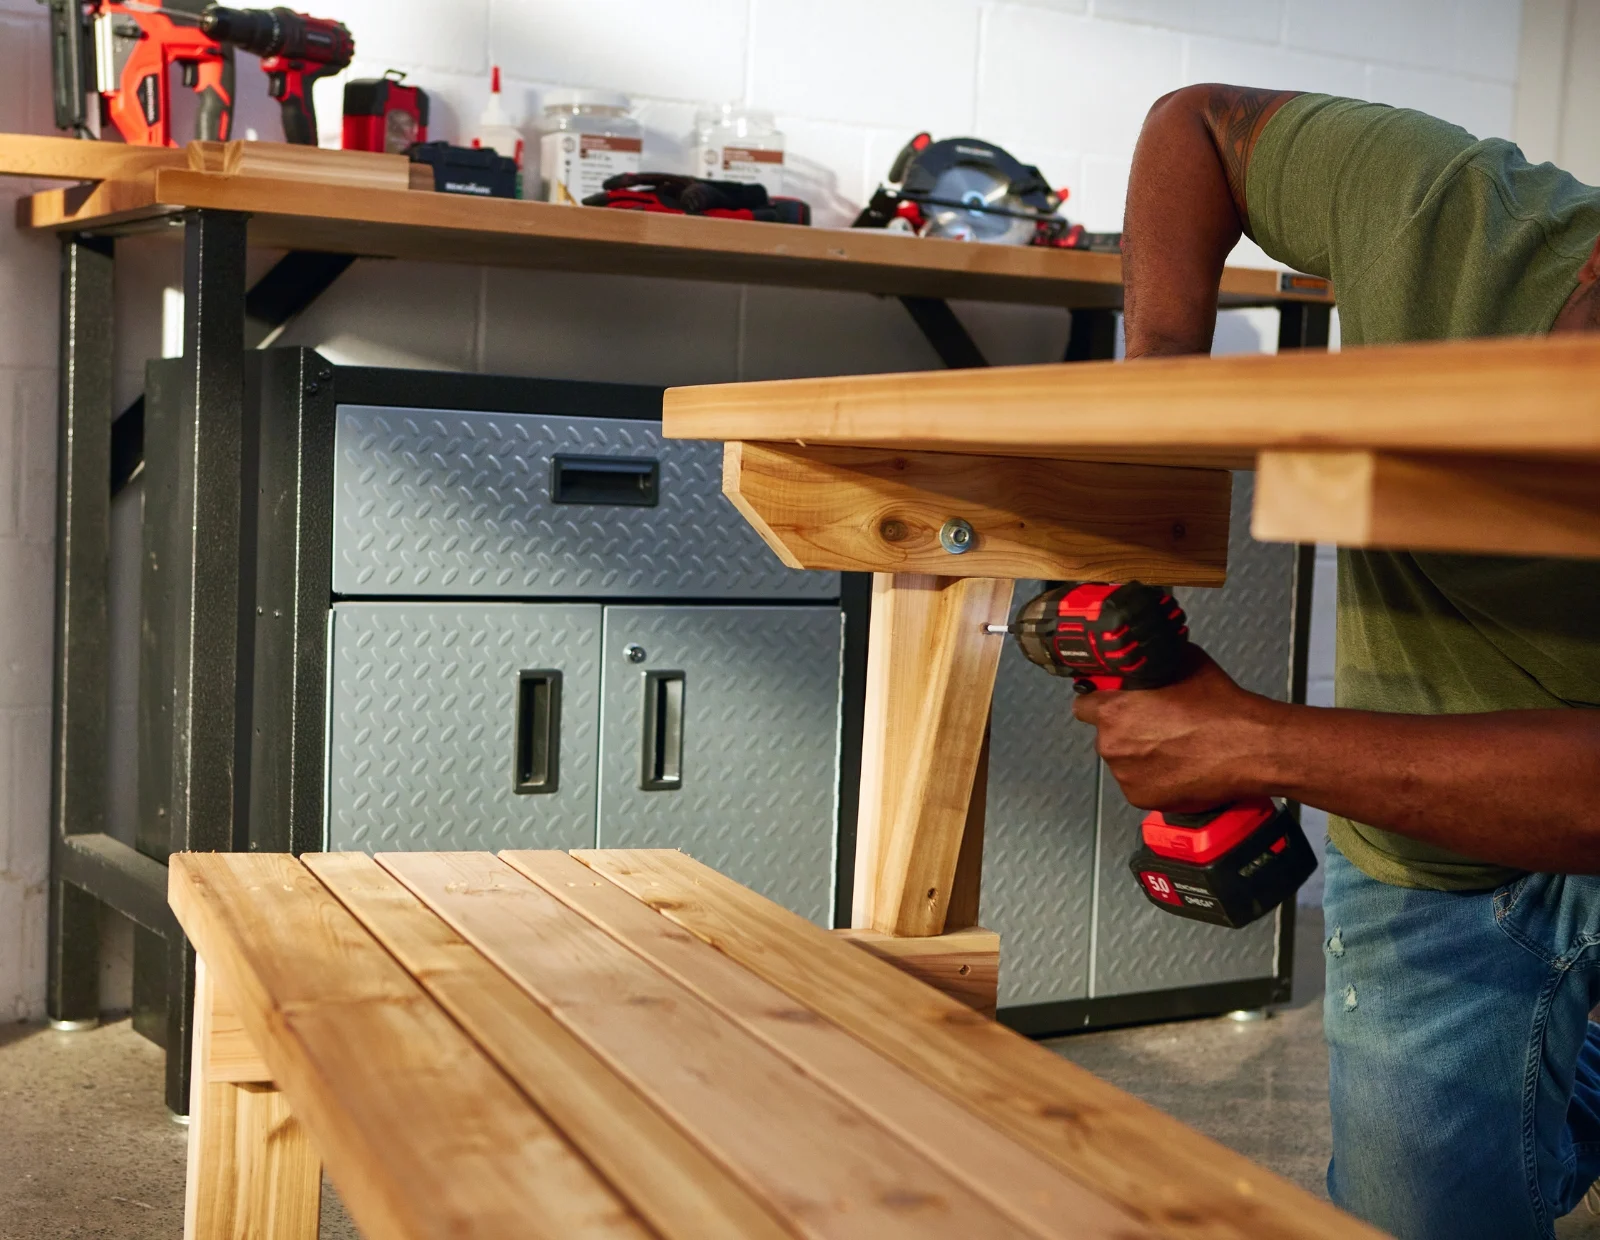
Step #5: Attach the Legs to the Back of the Bench
Now attach the assembled back to the back legs. Align the holes and secure them with a carriage bolt.
Measure, cut (at a 10° angle), and secure a support piece from the bottom of the bench to the back piece as a stop.
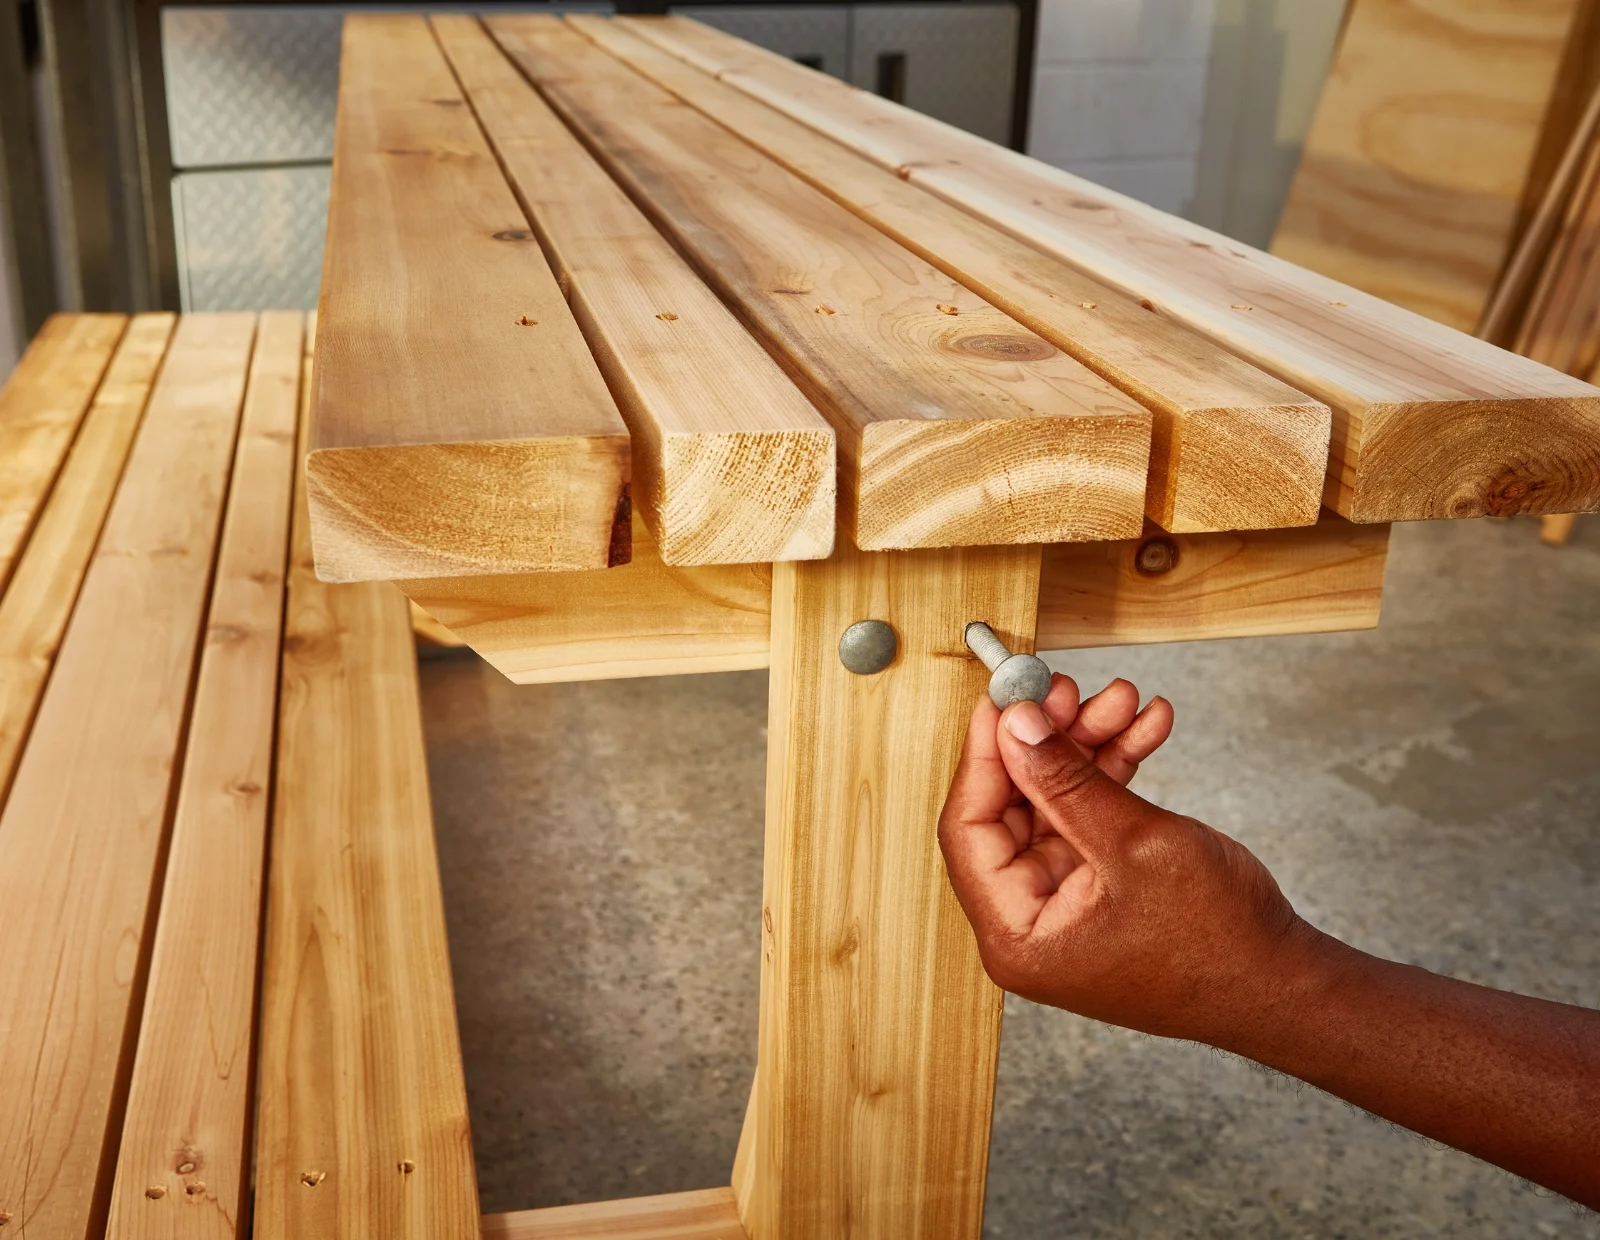
Step #6: Use Carriage Bolt as Tabletop Stopper
To prevent the tabletop from flipping down, drill another carriage bolt hole into the side of the back leg (beside the existing carriage bolt) and into the top support piece. Do not add nuts to this bolt, as it will act as a stop.
Tip: Drill a hole at the back of the seat to store this bolt when not in use.
Step #7: Sand and Seal Wood
Lightly sand surfaces and any rough cuts, then wipe them clean. Brush on an exterior sealant to keep the wood from weathering.
Step #8: Build the Second Bench
To create a full picnic table, you will need to create a second bench.
To ensure a stable top when putting 2 tables together, attach a rotating cleat to the back of the bench. Use a leftover 2’’ slat cut to a 16’’ length. Do not secure too tightly to allow the cleat to swing up and down.
Cut 2 more pieces at 7 ½” lengths. Attach one piece to the side support sandwiching the cleat in between. Attach the other piece parallel to the bench slats for the cleat to sit on when not in use.

Step #9: Place Benches Together
With the second bench already assembled, convert both to table position and bring them together. Align and swing the cleats under the tabletops to lock them into place.
Enjoy your backyard picnic!
