Here’s How to Make an Outdoor Garbage Storage Bin
Follow along as we show you how to transform your outdoor space with a custom garbage bin cover that hides the mess and adds a touch of style.
Steps
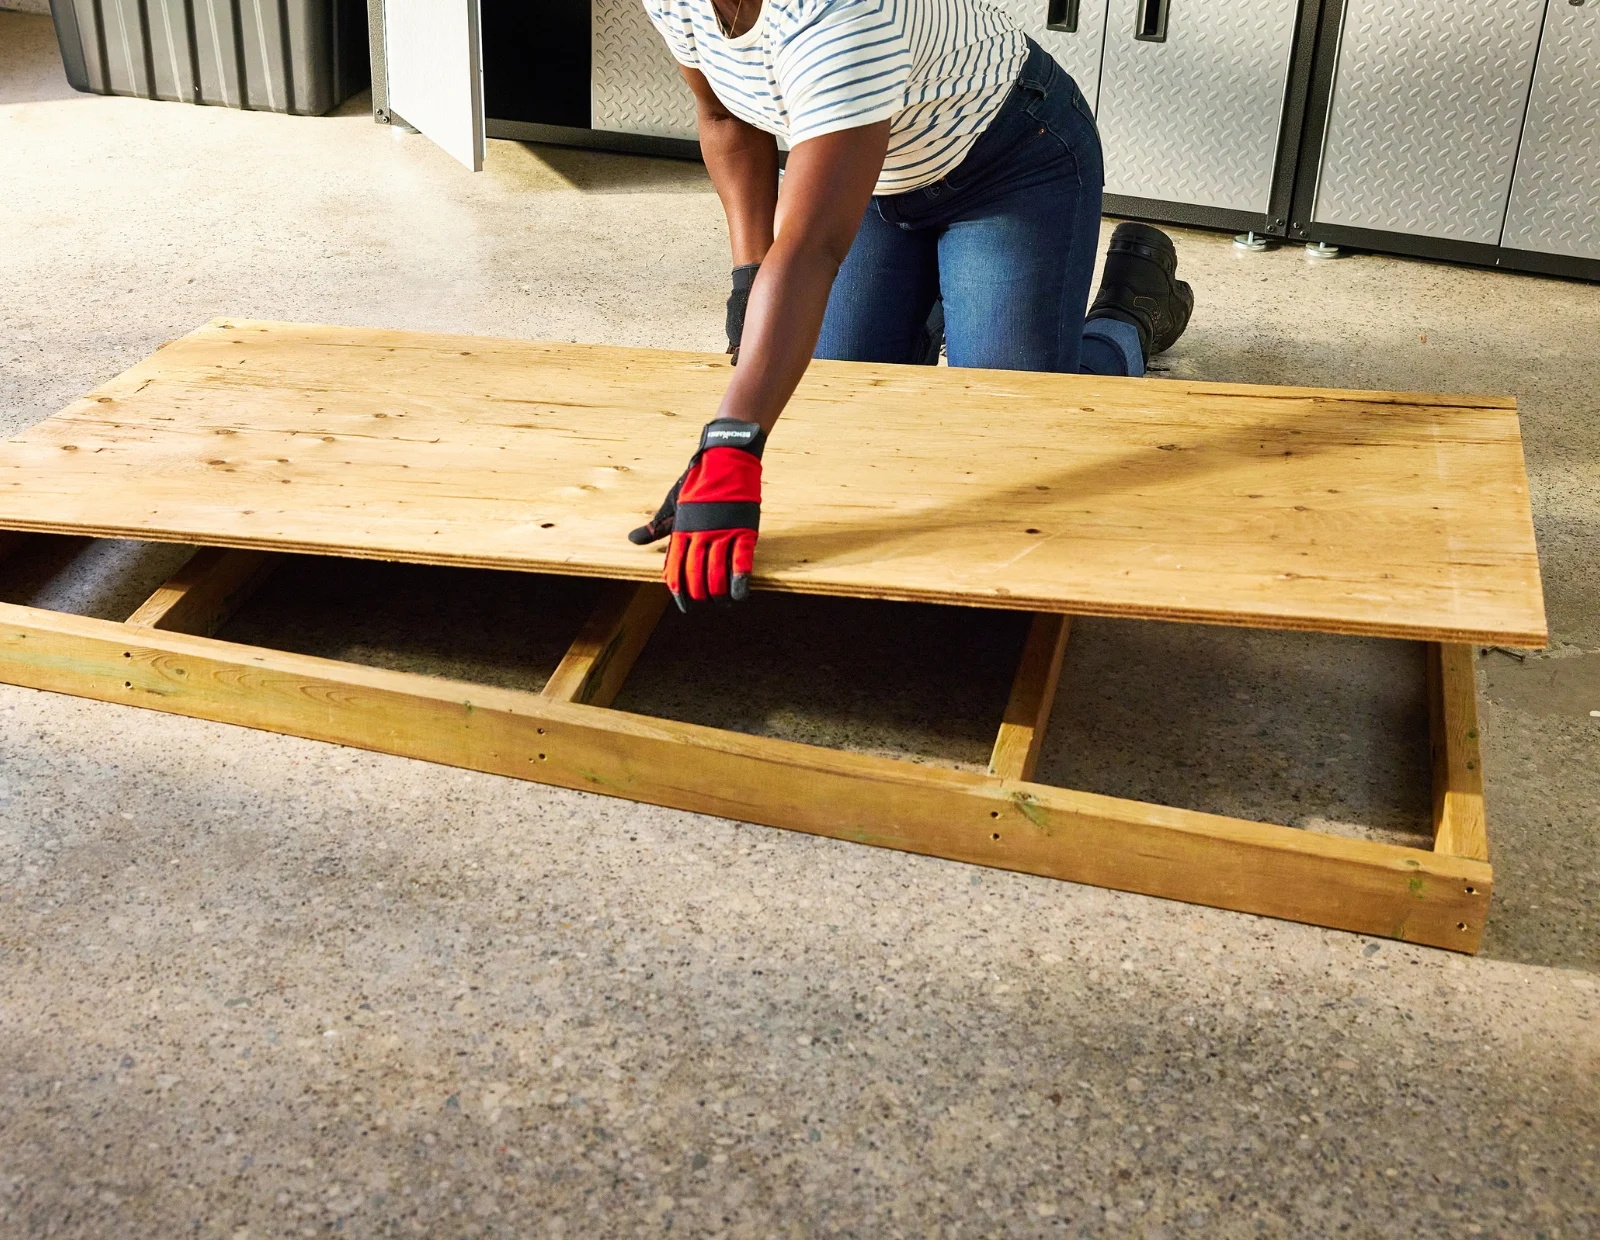
Step #1: Build the Base
Once you have determined the length, width, and height, build the unit's base with pressure-treated 2” x x 4”s and with the 2’’ x 4’’ pieces laid flat attach the plywood on top.
Step #2: Determine the Angle Pitch
Before cutting the plywood for the sides, you must determine the angle pitch (4/12). You can make a paper or cardboard template or use a professional tool to give you the correct answer every time. The idea is that a reference line is established on one wall, and then the tool expands or contracts against the adjacent wall to reveal the correct angle needed for the cut.
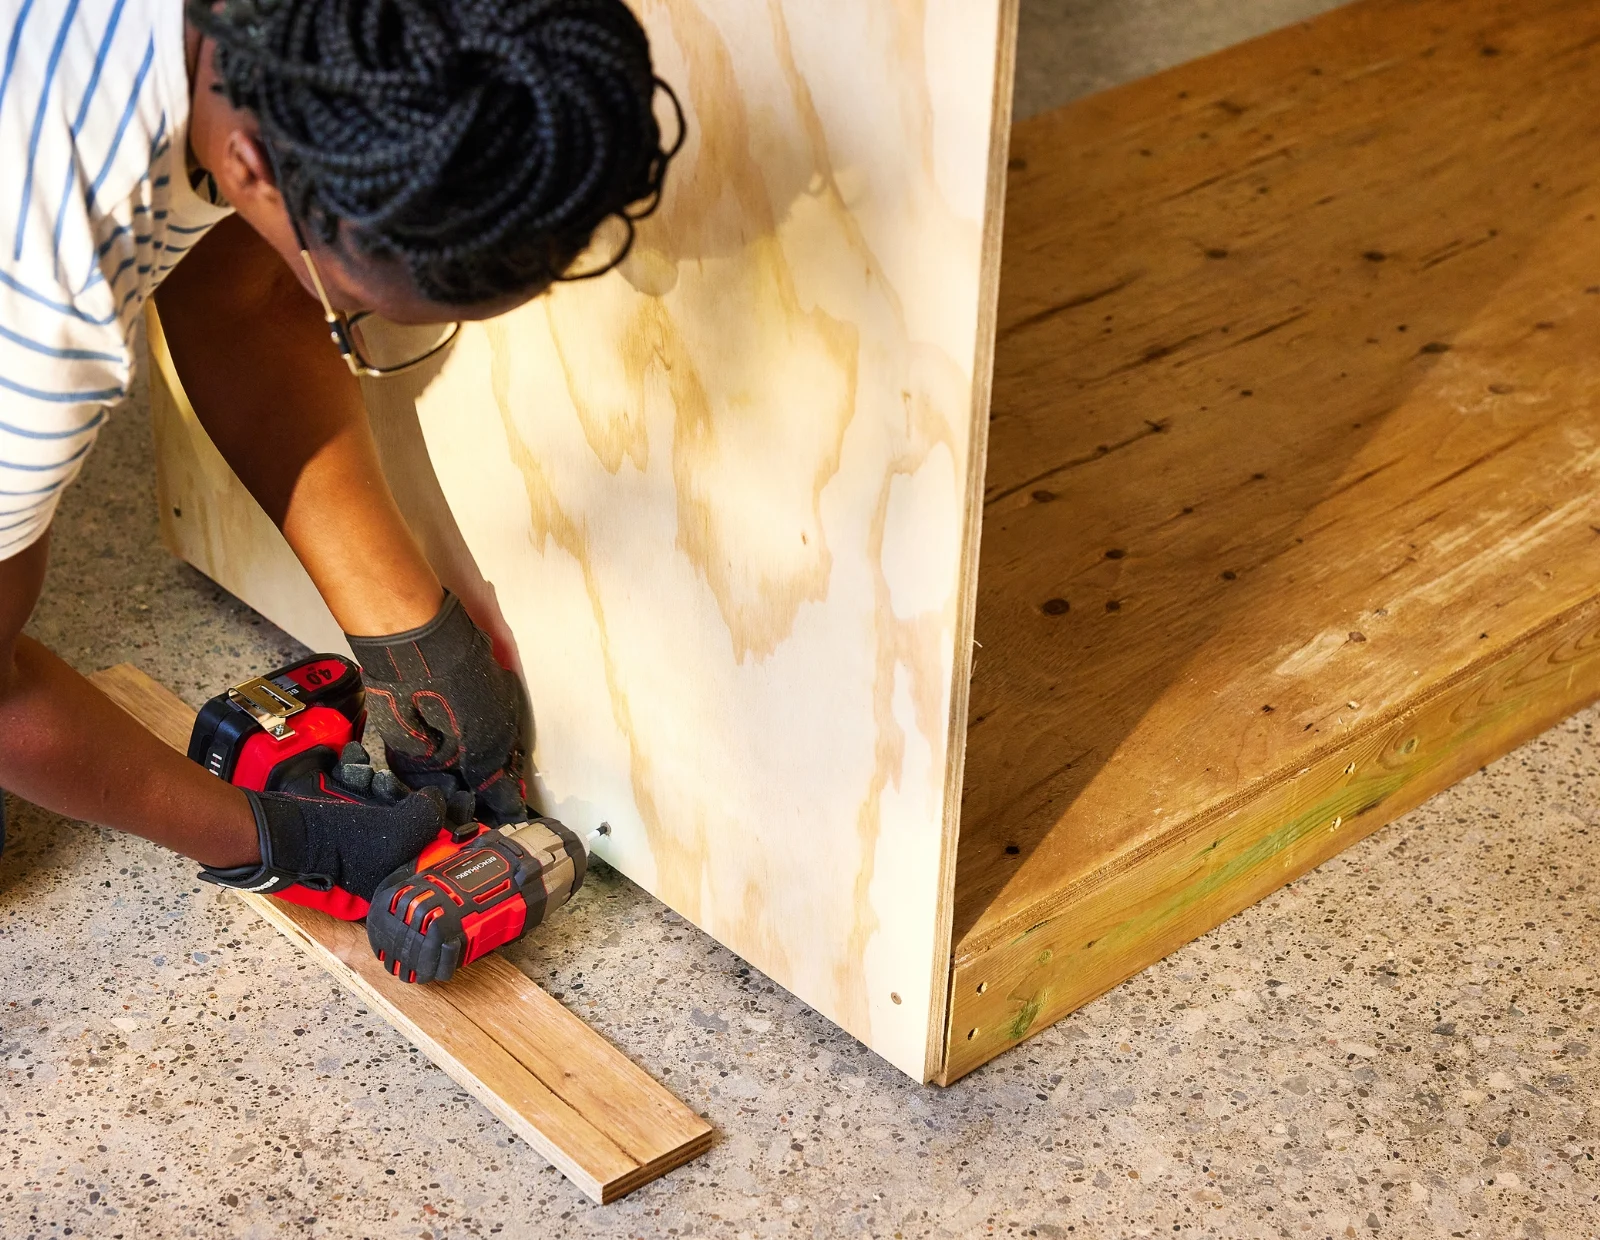
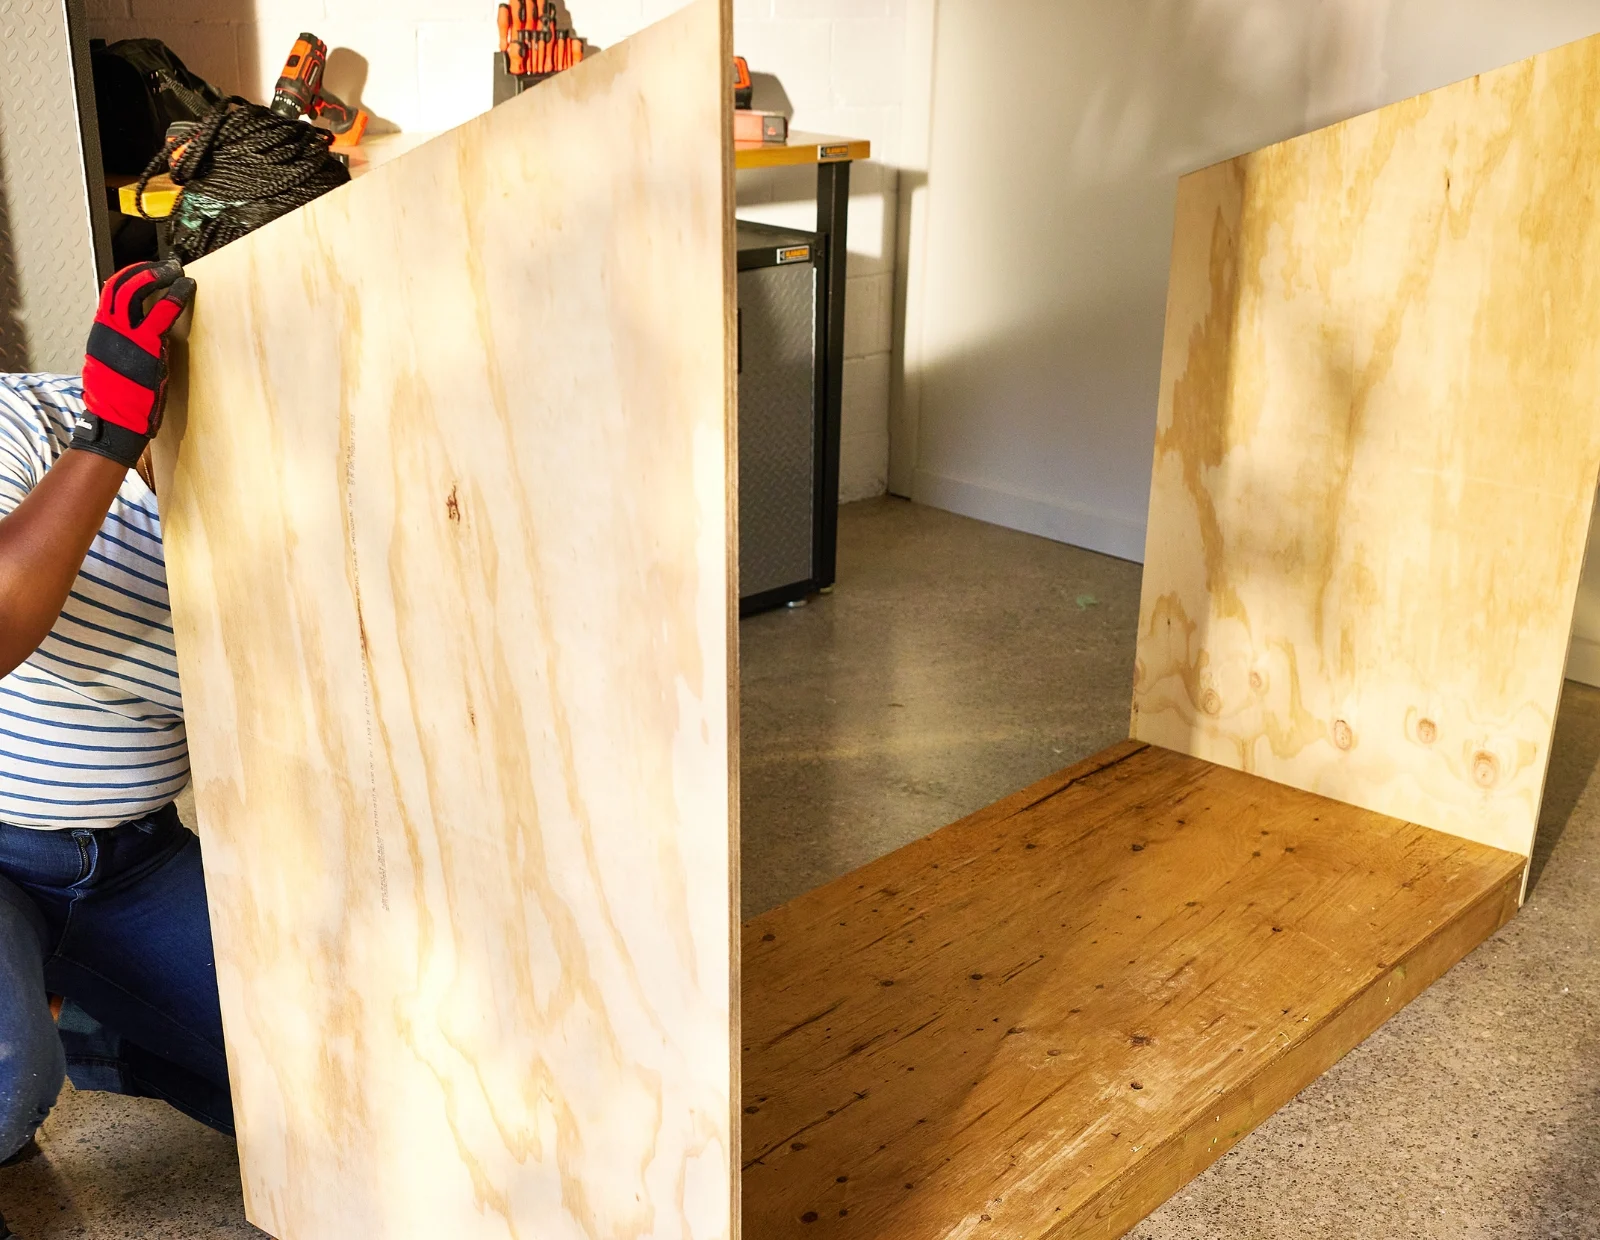
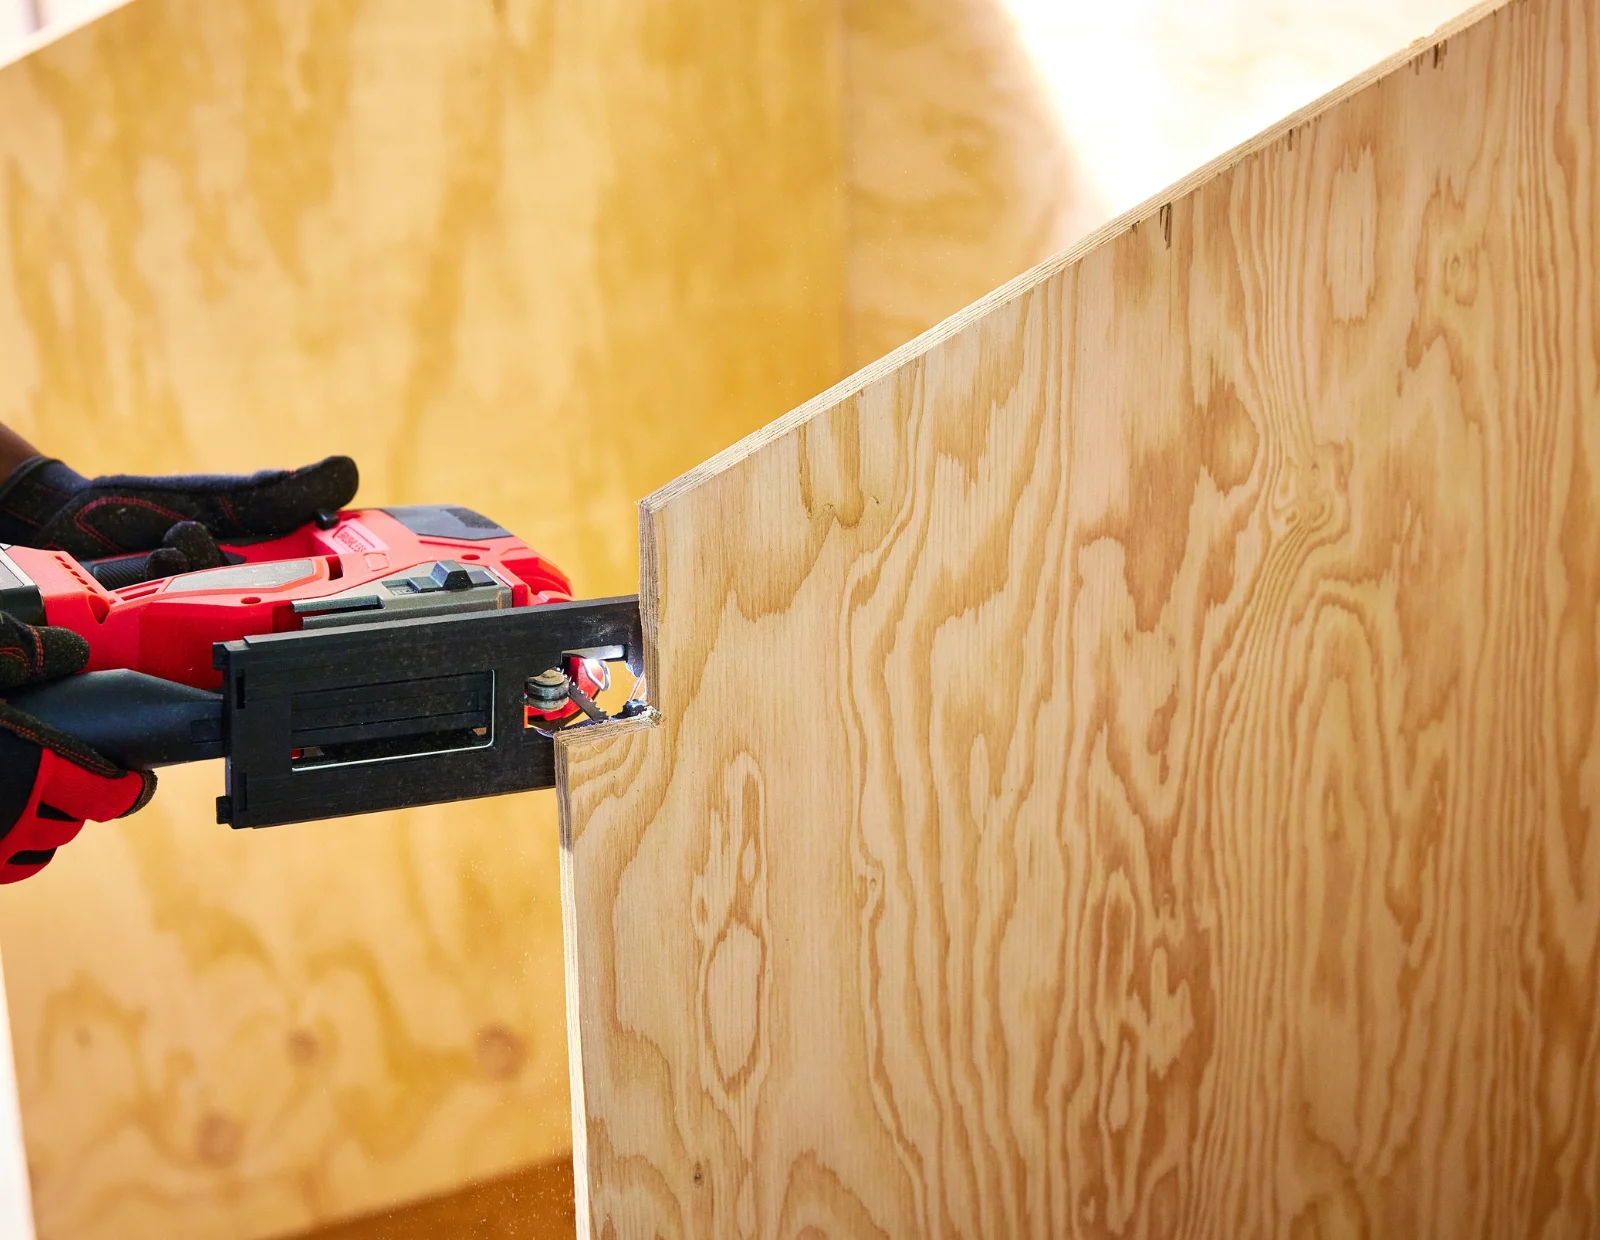
Step #3: Attach the Side Pieces
Cut and attach 2 plywood side pieces, you can use exterior glue as well as screws for additional strength. Assemble the side pieces 5/8’’ off the ground, hiding the base (use a scrap piece of plywood as a spacer). Attach the base flush to the front and back.
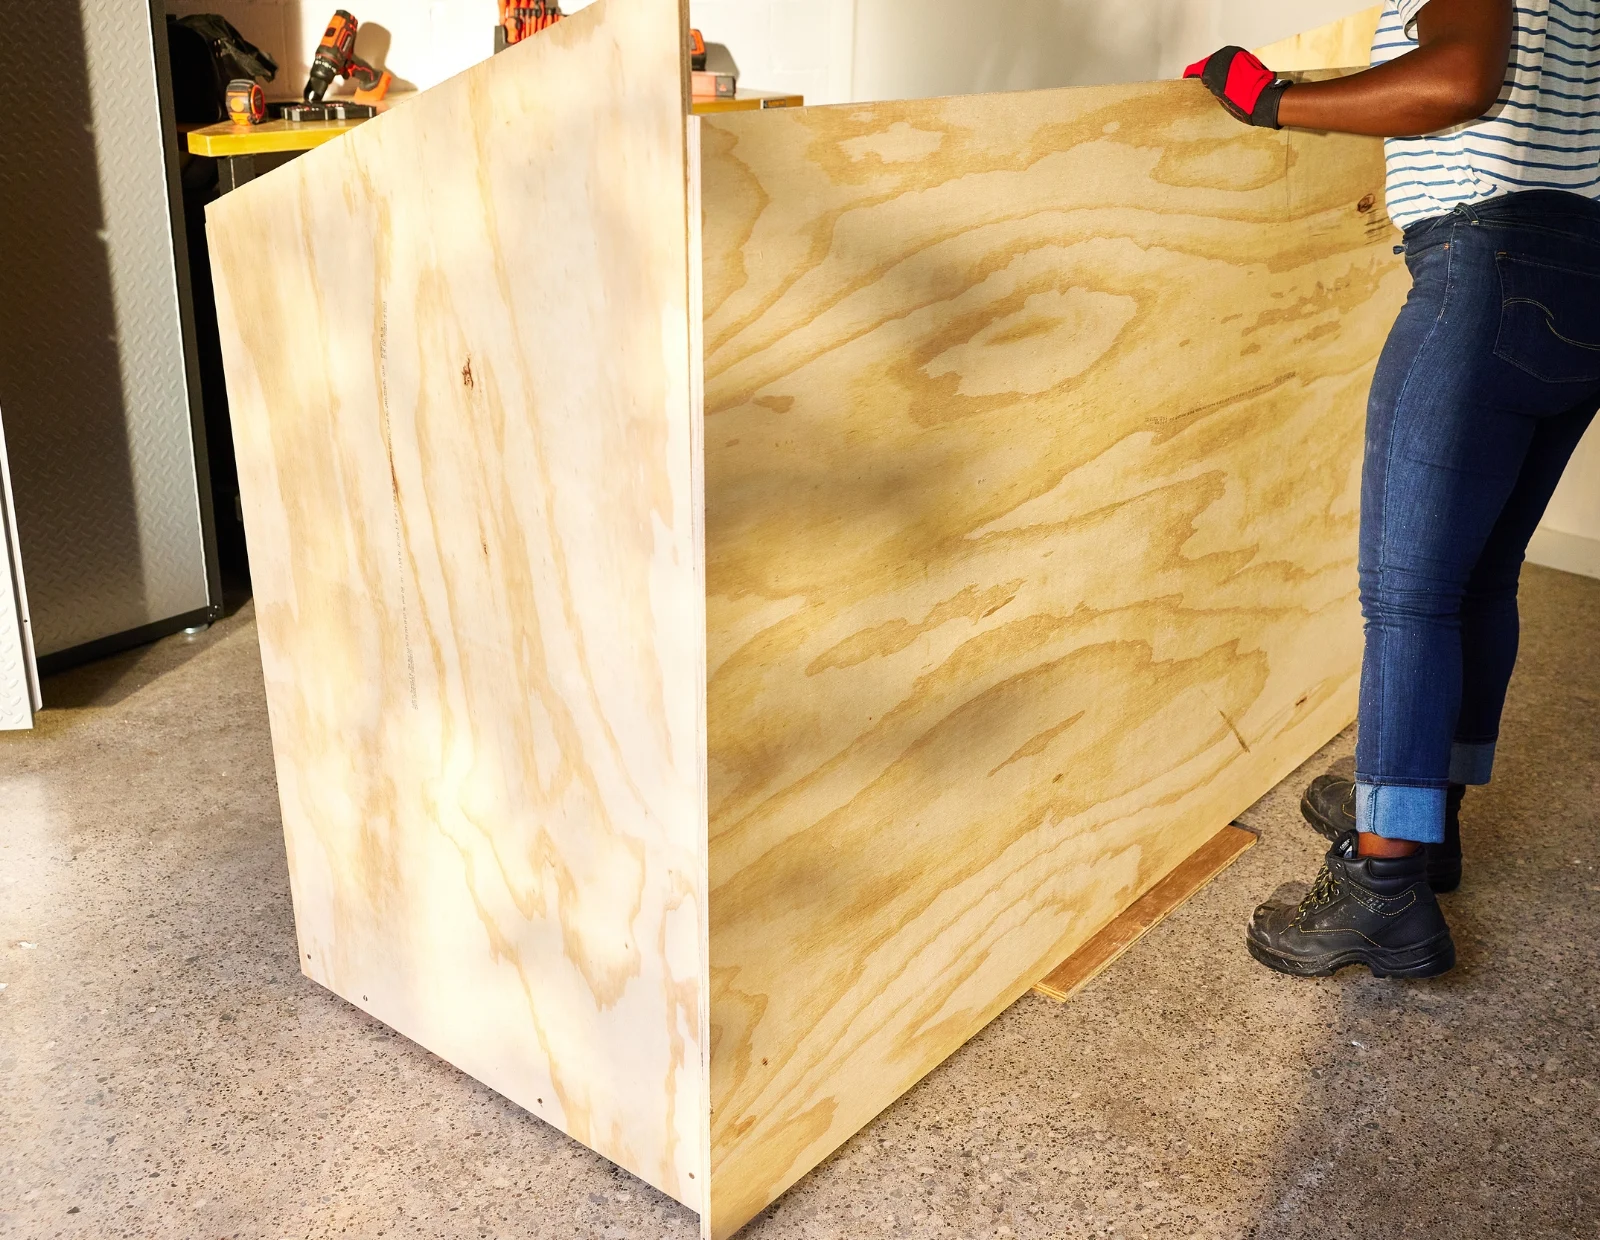
Step #4: Attach the Back of the Unit
Measure the back of the unit, plywood to plywood. Because of the height, you will need 2 pieces to cover the back. Secure the 4’ height across the bottom and then another piece to complete the back to the top.
Step #5: Install Divider Piece
Measure and create a divider piece. Place a piece of plywood up against the inside. Copy the angle. Mark a line up the back of the unit (at 44’’) and attach from the back and bottom. Once the divider piece is attached, mark and cut a notch into the divider piece (1 1/2’’ deep) to allow for the front support piece to sit into it.
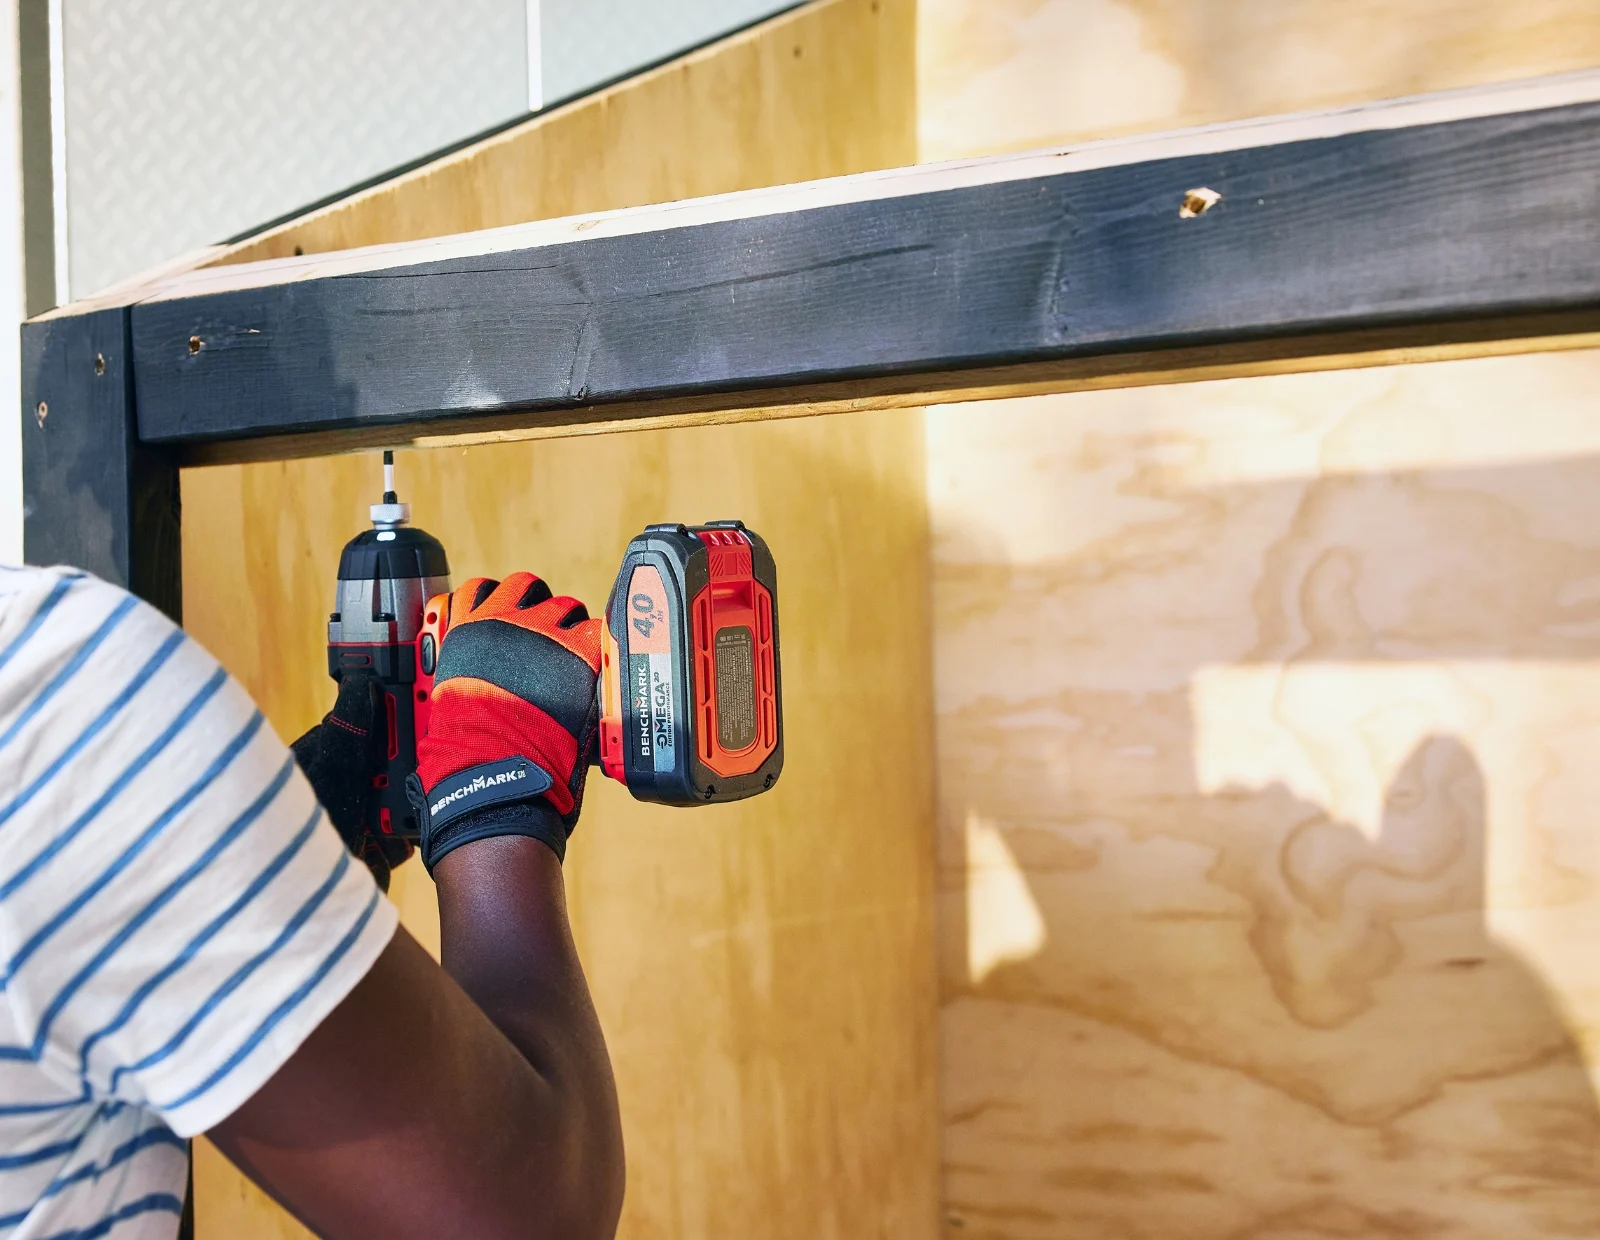
Step #6: Attach the Two Sides with a Support Piece
Measure (72’’) and cut a support piece to connect the 2 sides. Before attaching, make an angle cut on one long edge. Attach from the outsides and into the divider piece.
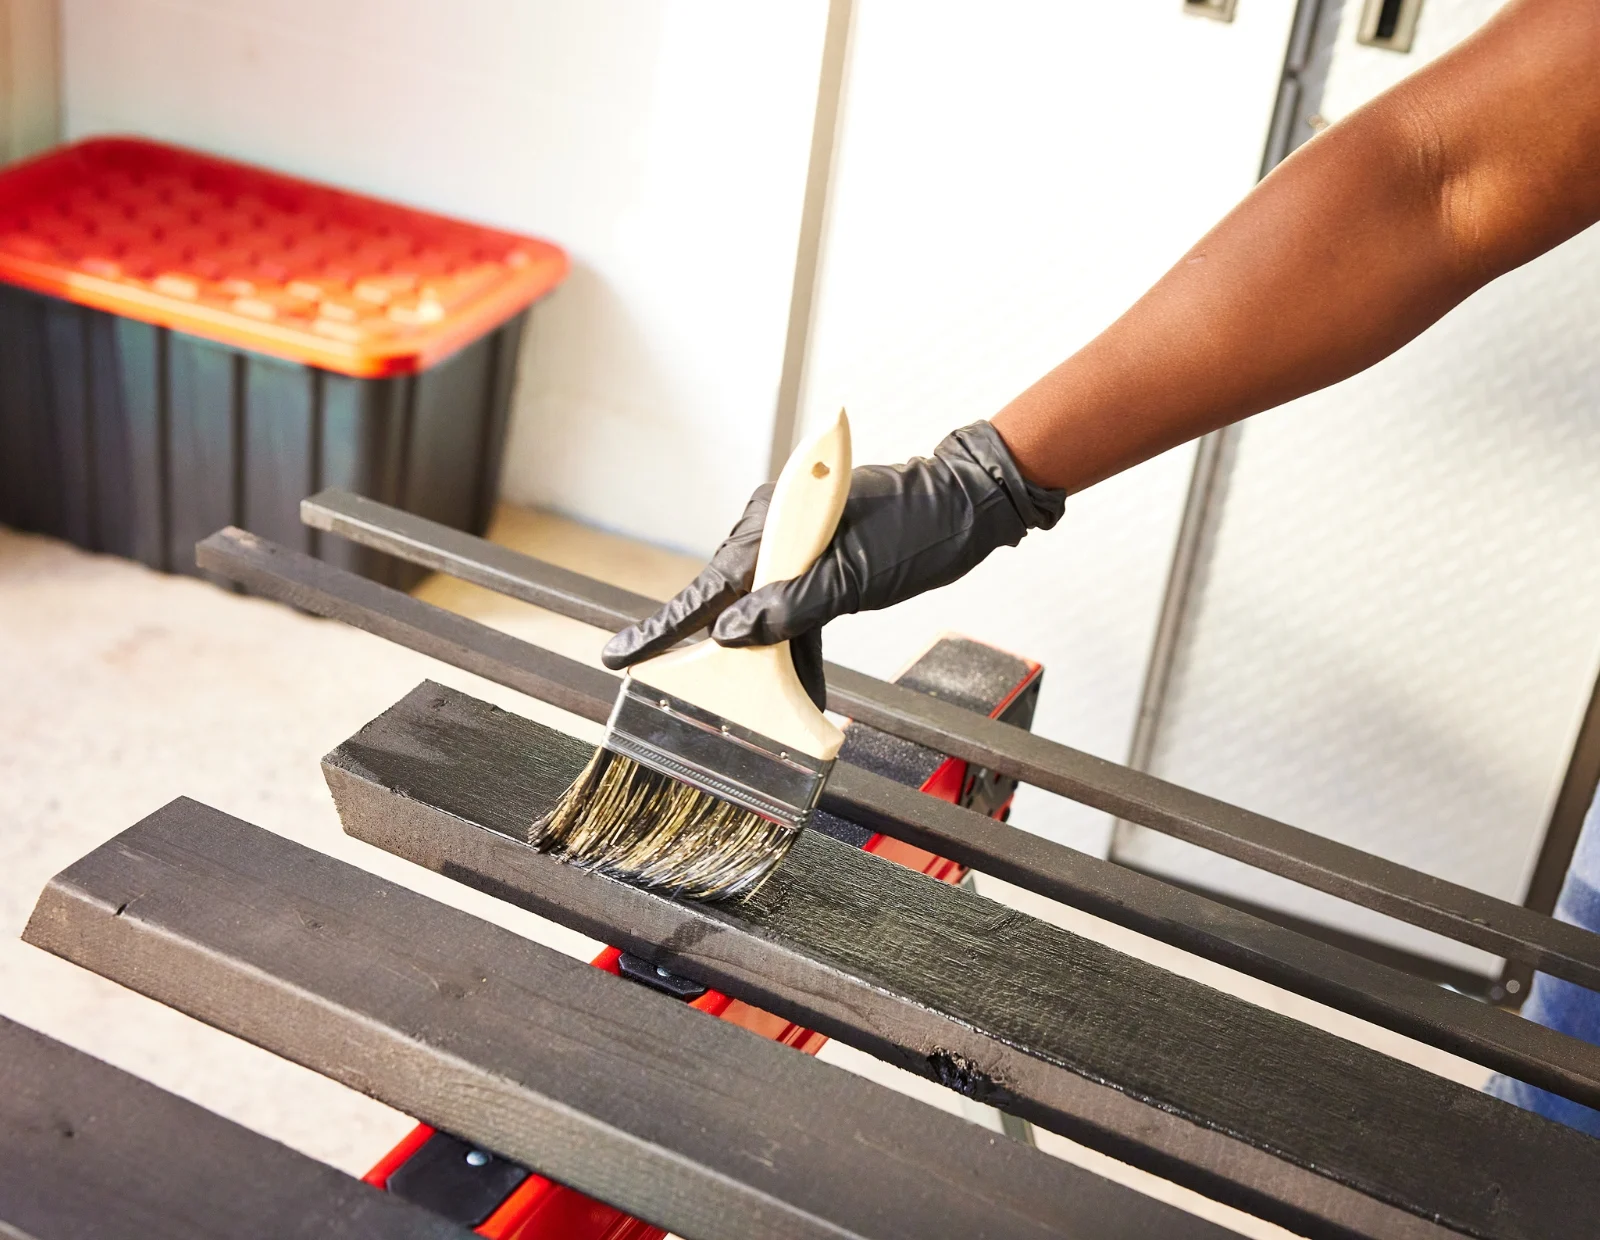
Step #7: Stain all Sides
Stain all pieces of the frame. Cut the pieces to fit around each side. Make sure to angle-cut corner pieces to match the pitch.
Once the frame pieces are all installed, fill any screw holes and lightly sand. Touch up any imperfections.

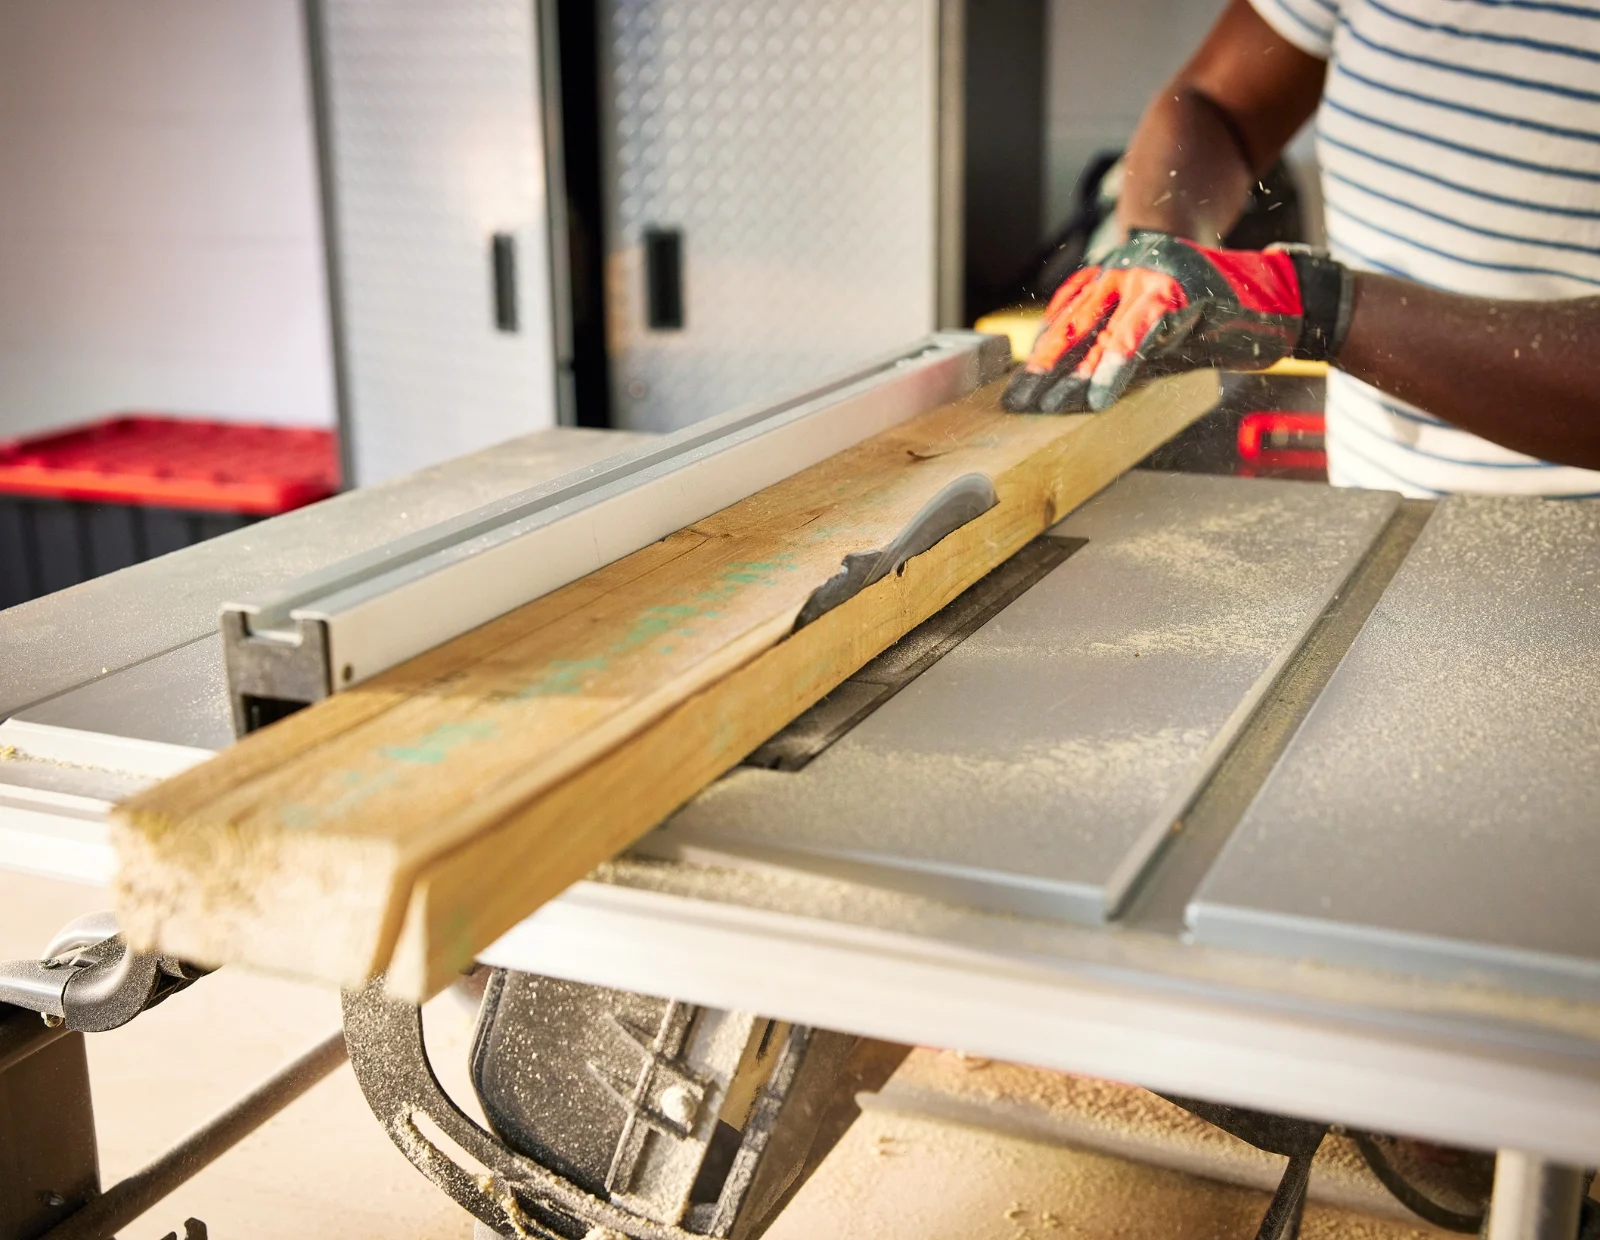
Step #8: Cut Door Fronts and Lids
Measure and cut plywood for the door fronts 2 x 22’’ x 36’’ and 1 x 28’’ x 36’’. Cut plywood for the lids allowing for a 1 ½’’ overhang on the four outer sides.
Tip: You will not require an overhang where the lids meet where the divider piece is.
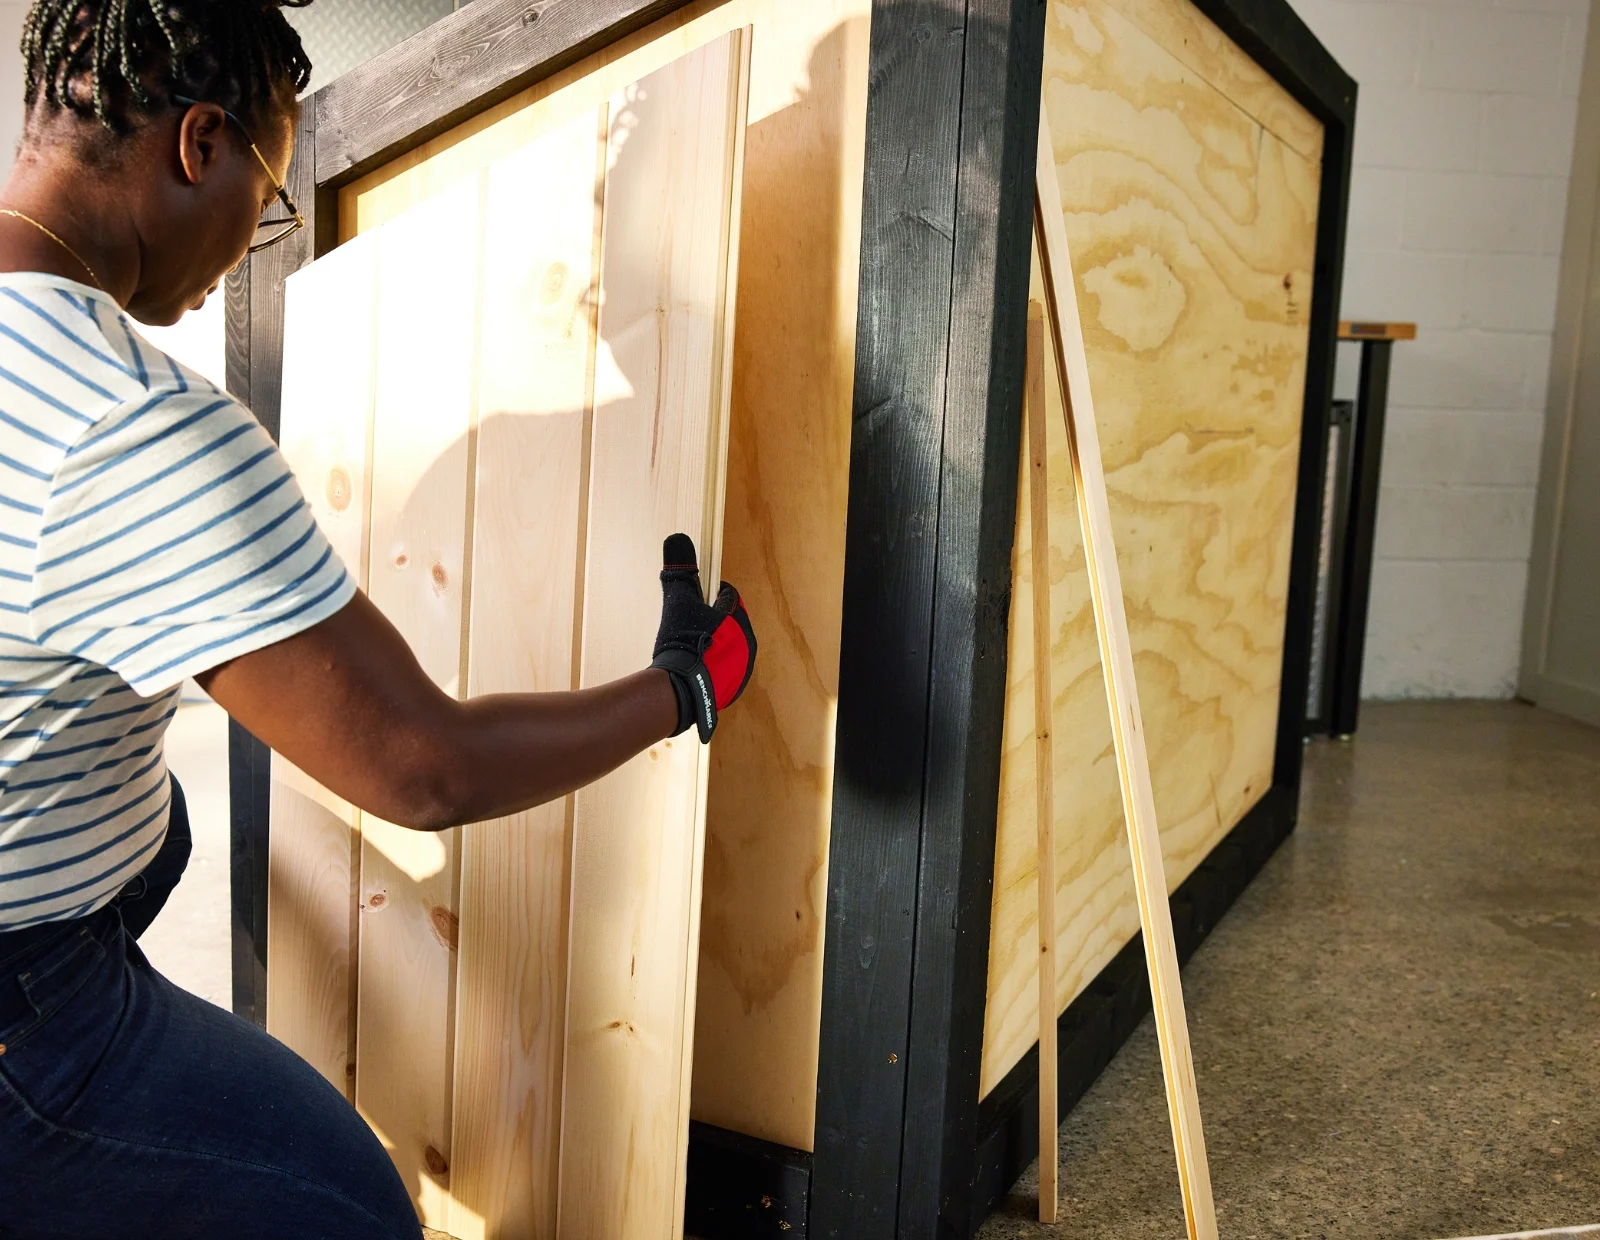
Step #9: Cut and Attach V-Groove Panels
Begin laying out the V-groove panels to the 2 sides and the back. Determine the width of the pieces within the frames and balance the boards to avoid any slivers of materials. Cut the pieces to fit, angle cutting where necessary. Seal both sides with a clear exterior sealant. Once dry, attach it with construction glue and nails.
Apply the V-groove, cut to the exact size, to the 3 door fronts ensuring the boards are visually balanced.
Step #10: Secure Door Stop and Support Pieces
Before attaching the double doors to the frame, secure an interior support piece along the inside top frame. This will prevent the doors from swinging inwards.
Add additional support pieces just inside the frame on all 4 vertical sides where hinges will be attached. Cover the gaps with another piece.
Step #11: Attach Doors to Unit
Use a shim to gauge the height and to balance the doors to the unit. Attach doors with hinges. Secure into place flush to the door support piece behind the frame. Once installed, check for any binding, and remove the door and trim as needed.
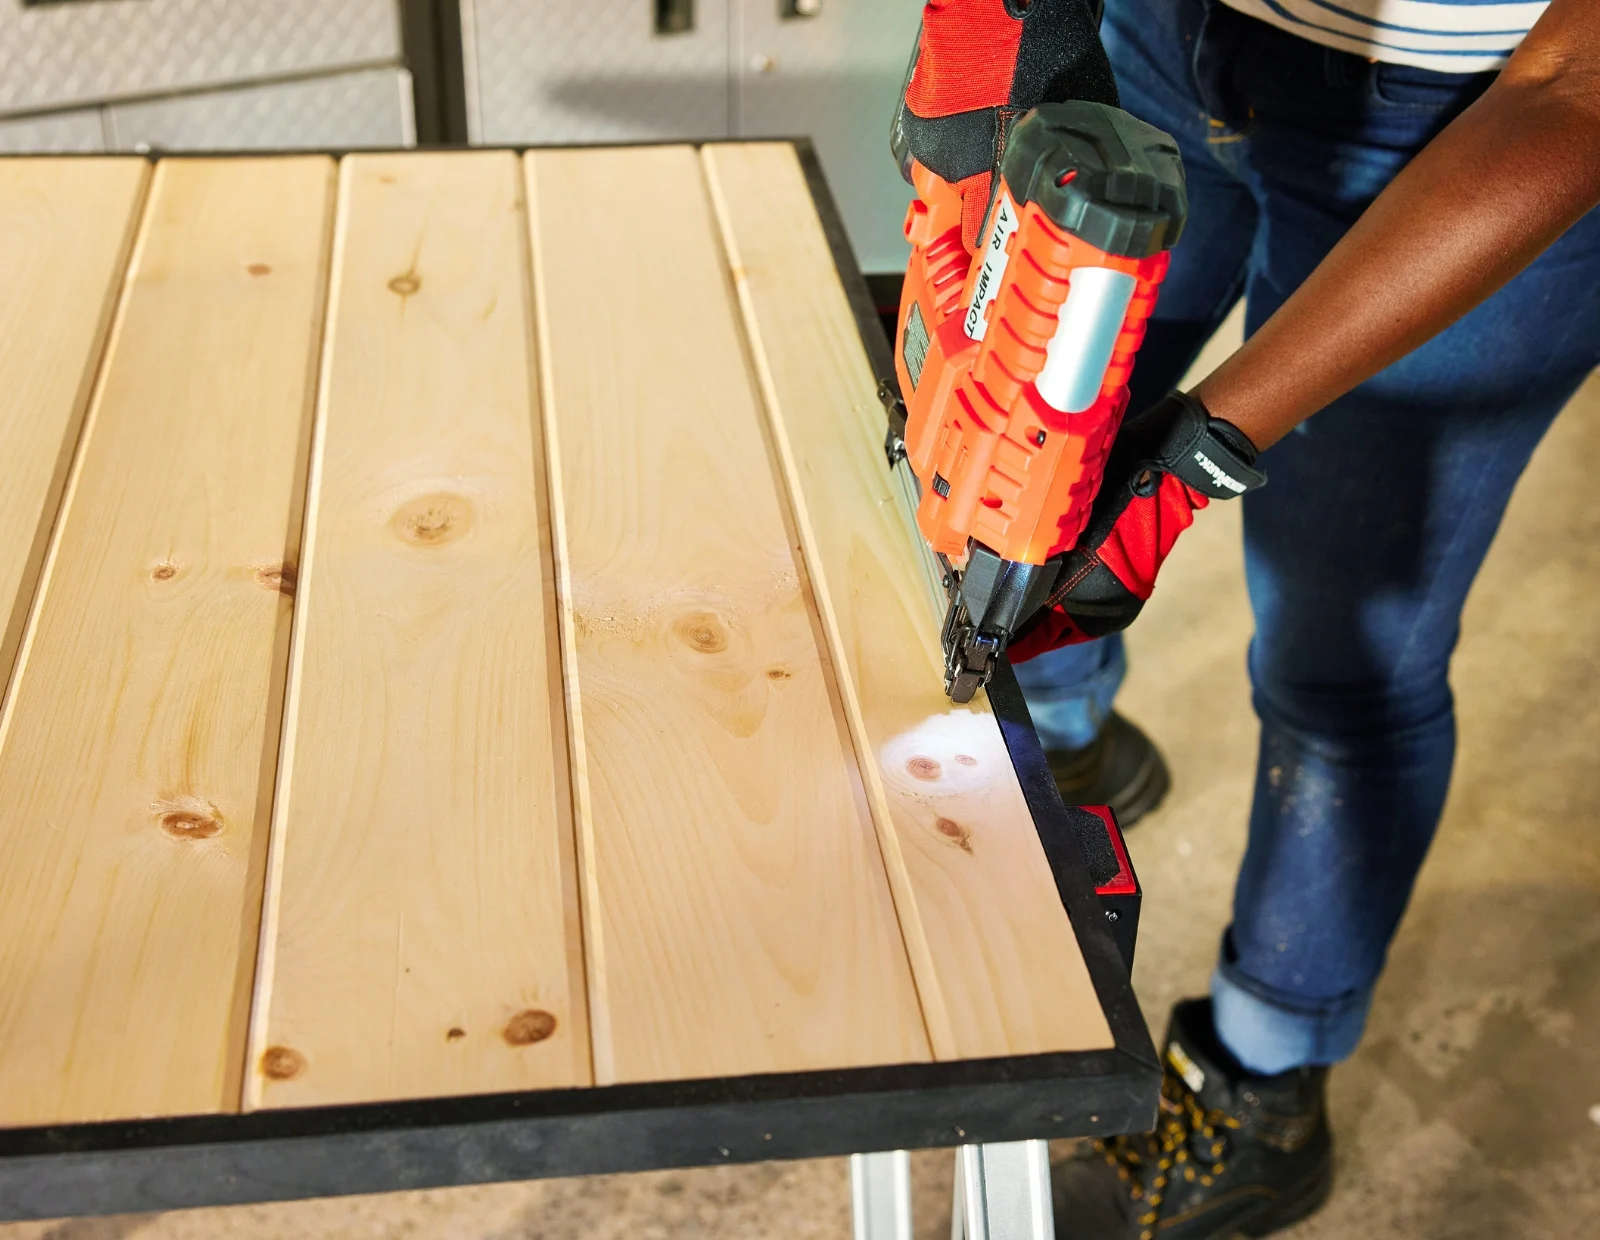
Step #12: Complete the Lids
Add a stained frame around the plywood lids flush with the bottom allowing for the depth of the V-groove. Use pressure-treated fence boards ripped to 1 ¼’’ to maximize material. Once again, measure and distribute the V-groove evenly across the lids, within the frame, and attach with glue and nails.
Carefully set the lids onto the unit. Attach hinges to the outside of the box. Lift the hinges and secure into place flush to the back and underside of the lid.
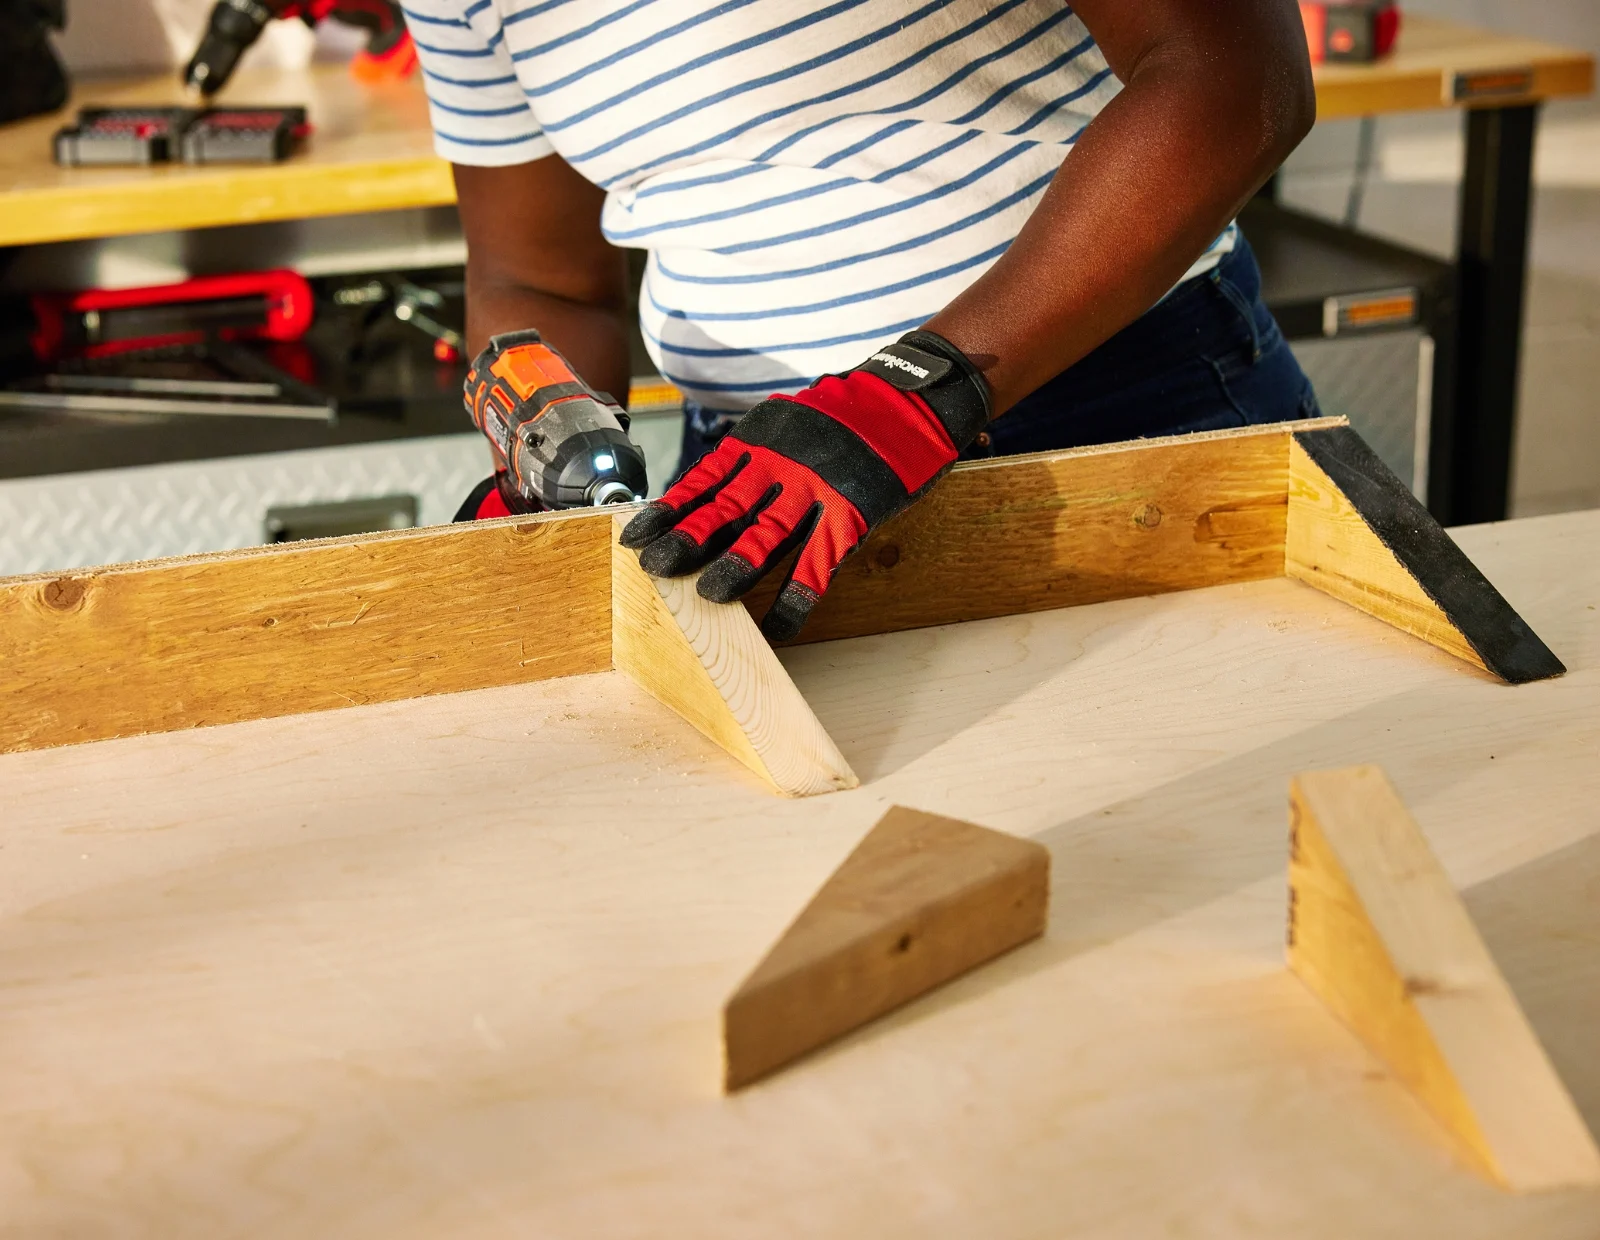
Step #13: Build the Ramp
Create a ramp for the unit. Measure and cut a piece of pressure-treated plywood to the width of the unit within the front frame. Create and cut 6 triangles (using 2” x 4"s) the height of the base. Distribute evenly and dry lay the plywood on top. Make any adjustments. Stain the pieces and let dry.
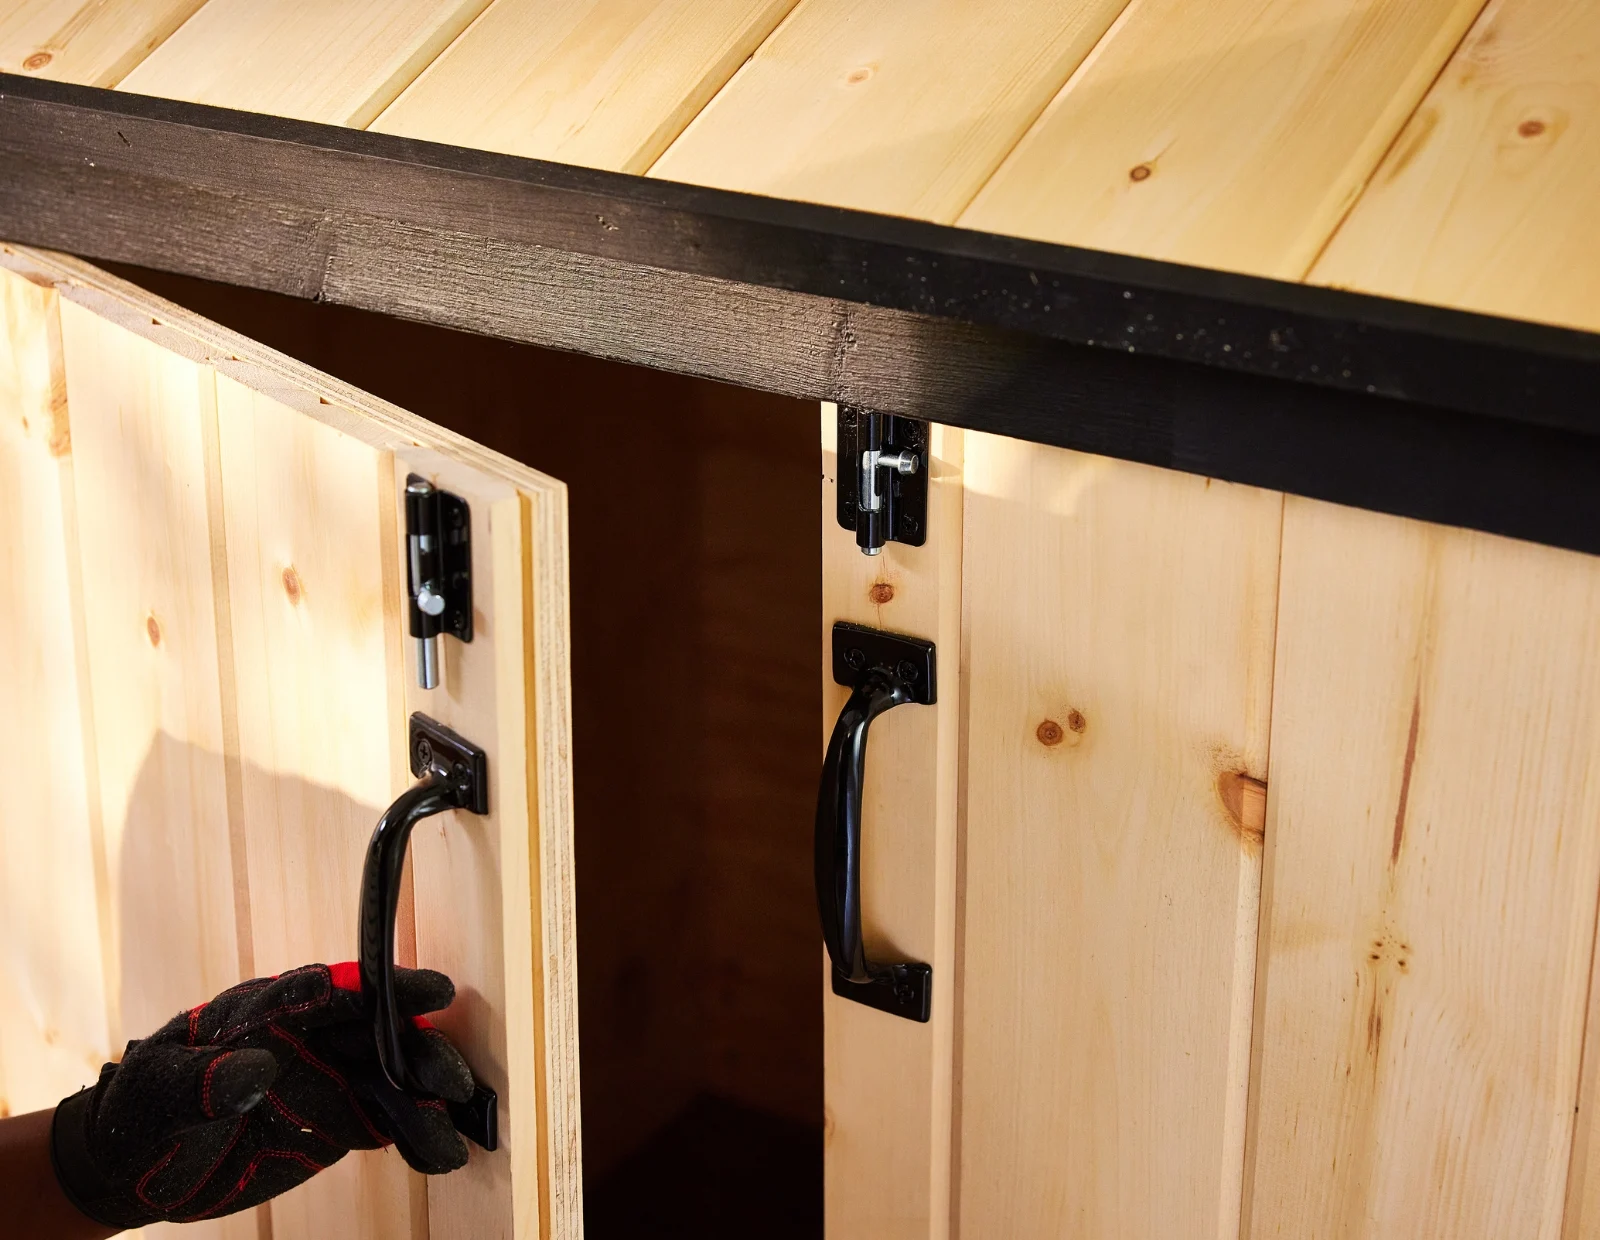
Step #14: Place Unit Outdoors and Complete Final Touchups
Once you have positioned the unit in its final place outdoors, secure the triangles to the base of the unit and attach the top with screws. Seal the surfaces with an exterior sealant. Attach door handles and barrel bolts.
Your exterior garbage and recycling unit is complete and ready to be organized.
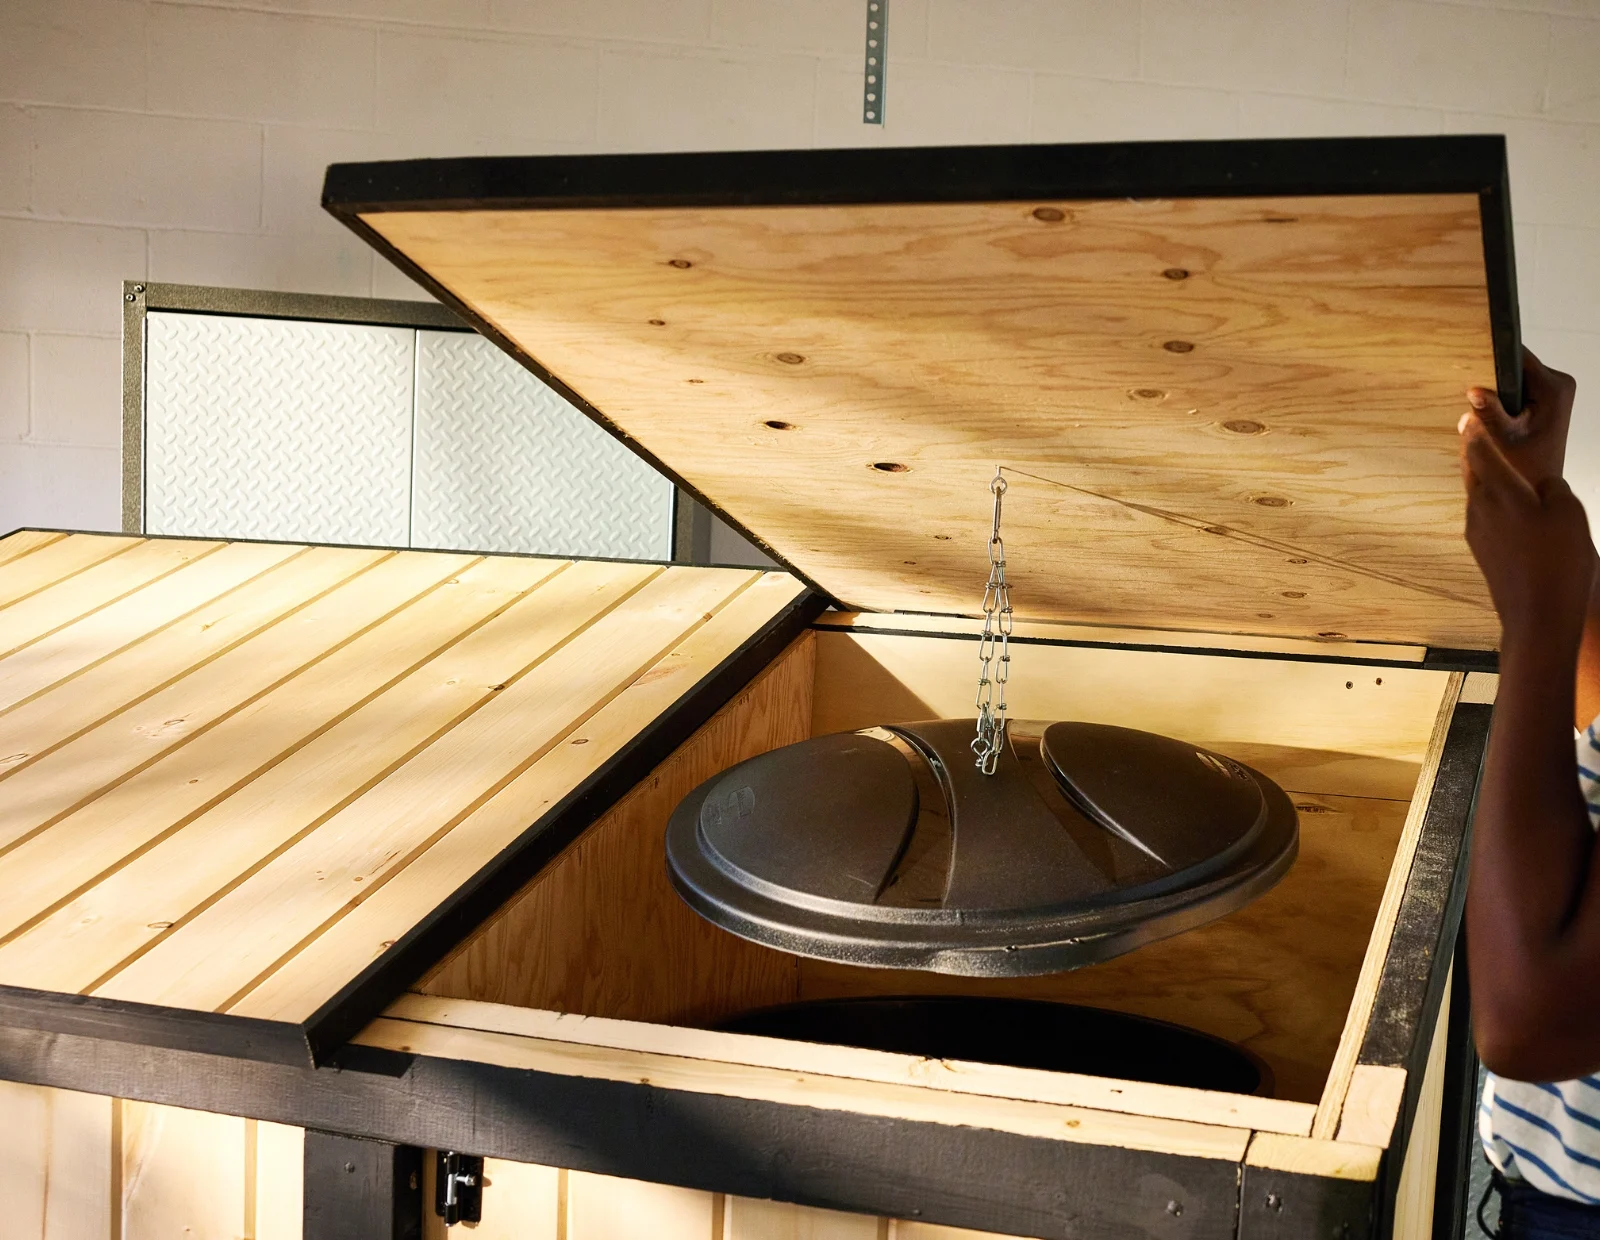
Tip: For easy access to the garbage bin, attach eye screws, carabiners, and chain to the lid of the bin and the underside of the lid of the unit.
