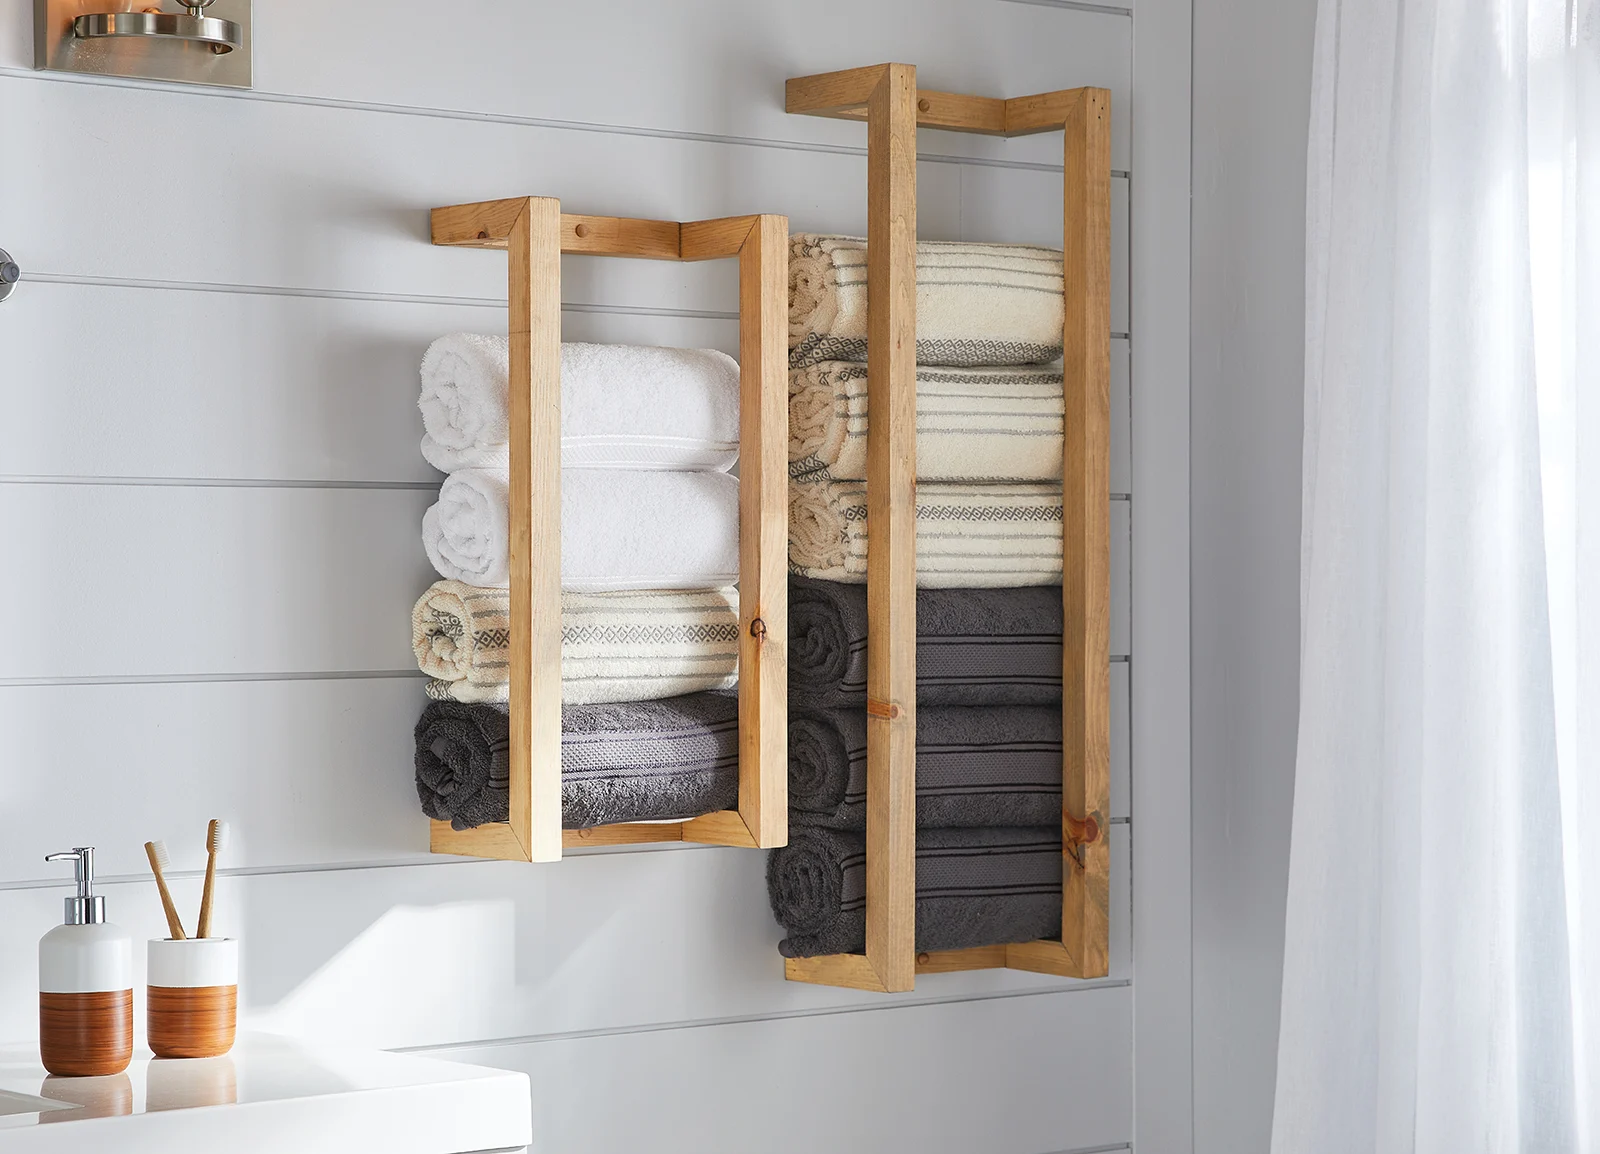
Here’s How to Add a Personal Touch to Your Bathroom with a DIY Towel Rack
Every bathroom benefits from abundant storage; this easy-to-make DIY project provides just that. Our super-simple towel racks, made using basic pine lumber, can hold a serious quantity of bath towels which is ideal if you’re outfitting a busy family bathroom. If you’re accessorizing a spa-like bath where loads of towels are part of the plush aesthetic, then the racks work there too! Minimalist in design, these towel racks can integrate with various décor styles. Paint them to match existing cabinetry and hardware, or finish them in a way that highlights the pine’s natural wood grain, and you’ll be right in stride with today’s popular rustic cottage look.
What You’ll Need*:
Supplies
(2) 2" x 2" Pine (10' lengths)
1-1/2" Wood Screws
Carpenter’s Glue
Putty Knife
Wood Plugs
Minwax Interior Stain or BeautiTone Paint
Tools
Pencil
Level
Mitre Saw
Sanding Block
Rag/Cloth
*Our full assortment of building supplies is available at Home Building Centre and Home Hardware Building Centre locations. To unlock our catalogue of building supplies online, please select your local Building Centre.
Here’s How
For this project, we are creating a pair of towel racks, one 12" x 36" x 6-1/4" and the other 12" x 24" x 6-1/4". To finish the racks, we have chosen to stain ours, but you can choose to paint yours to match or contrast with your room décor.
Steps:
Assemble all the materials and tools for your project.
Measure the space where you’d like to install your towel rack or racks.
Measure, mark and cut your pine pieces. For the 12" x 36" towel rack, you will require the following pieces:
(2) 36" with both ends cut at 45°
(2) 12" with both ends cut at 45°
(4) 6-1/4" with one end cut at 45° and the other end cut at 45° on the side
For the 12" x 24" towel rack, you will require the following pieces:
(2) 24" with both ends cut at 45°
(2) 12" with both ends cut at 45°
(4) 6-1/4" with one end cut at 45° and the other end cut at 45° on the side
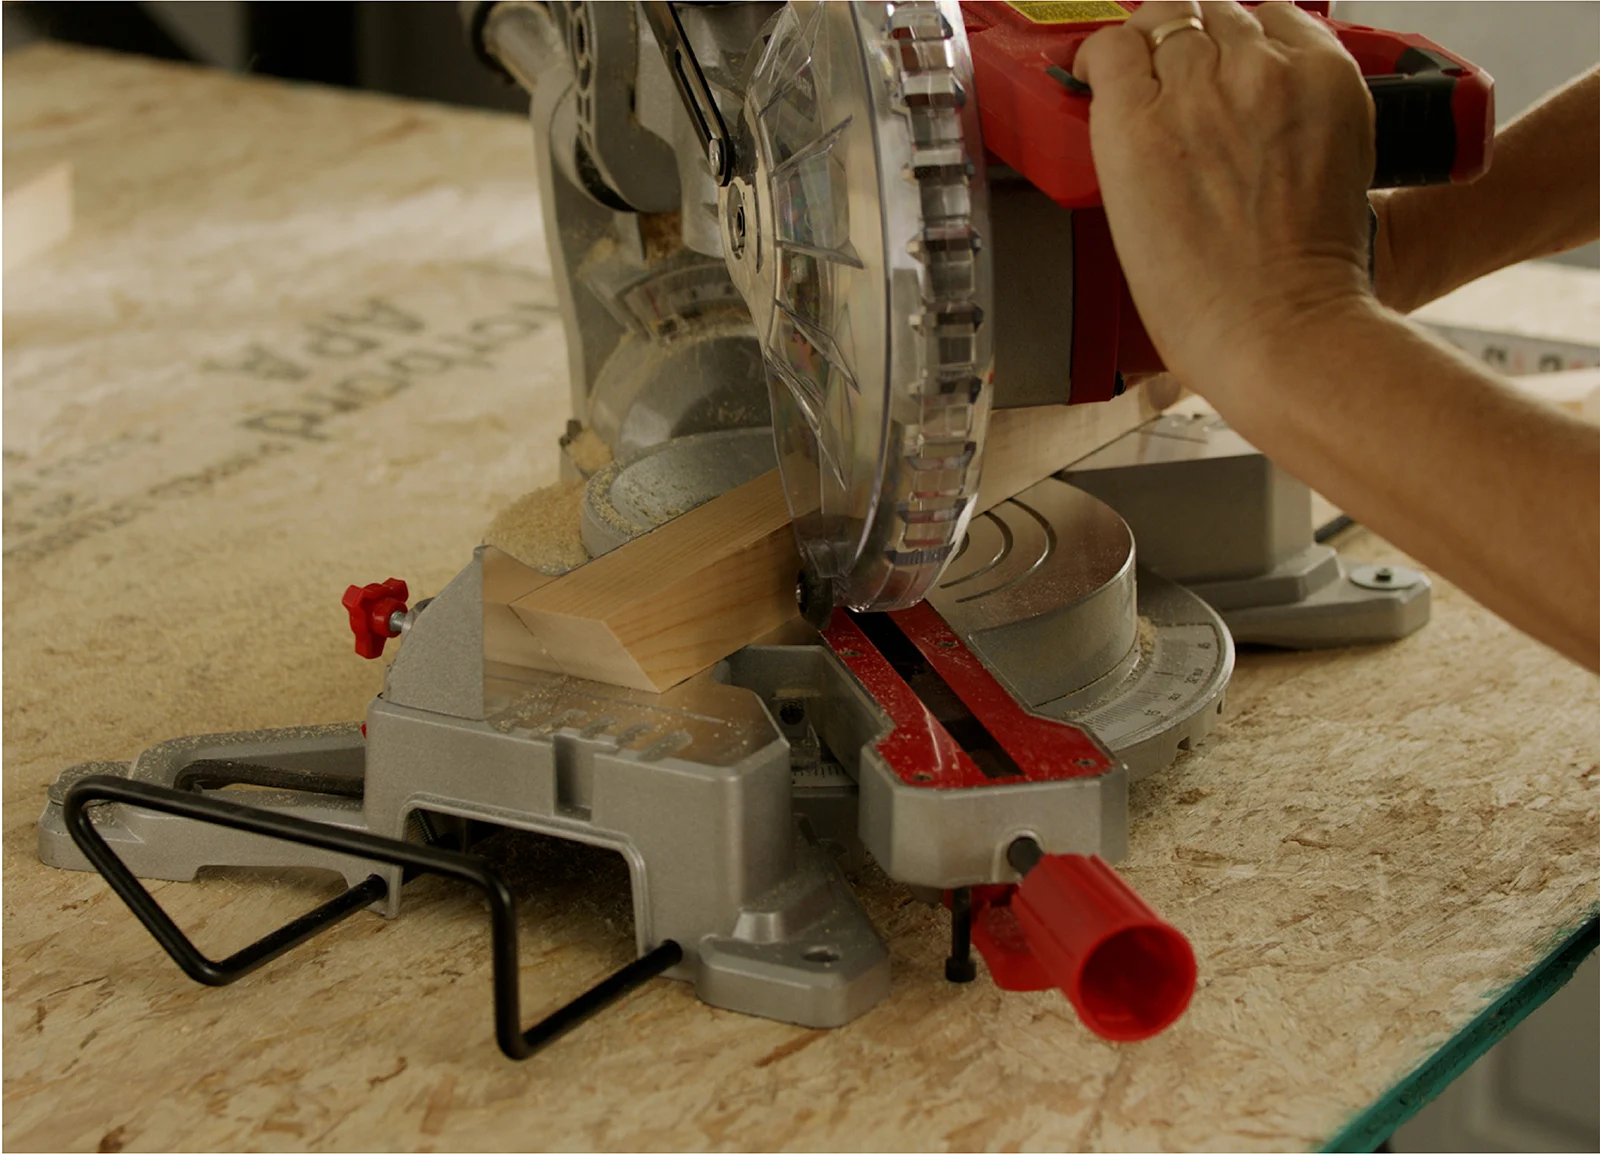
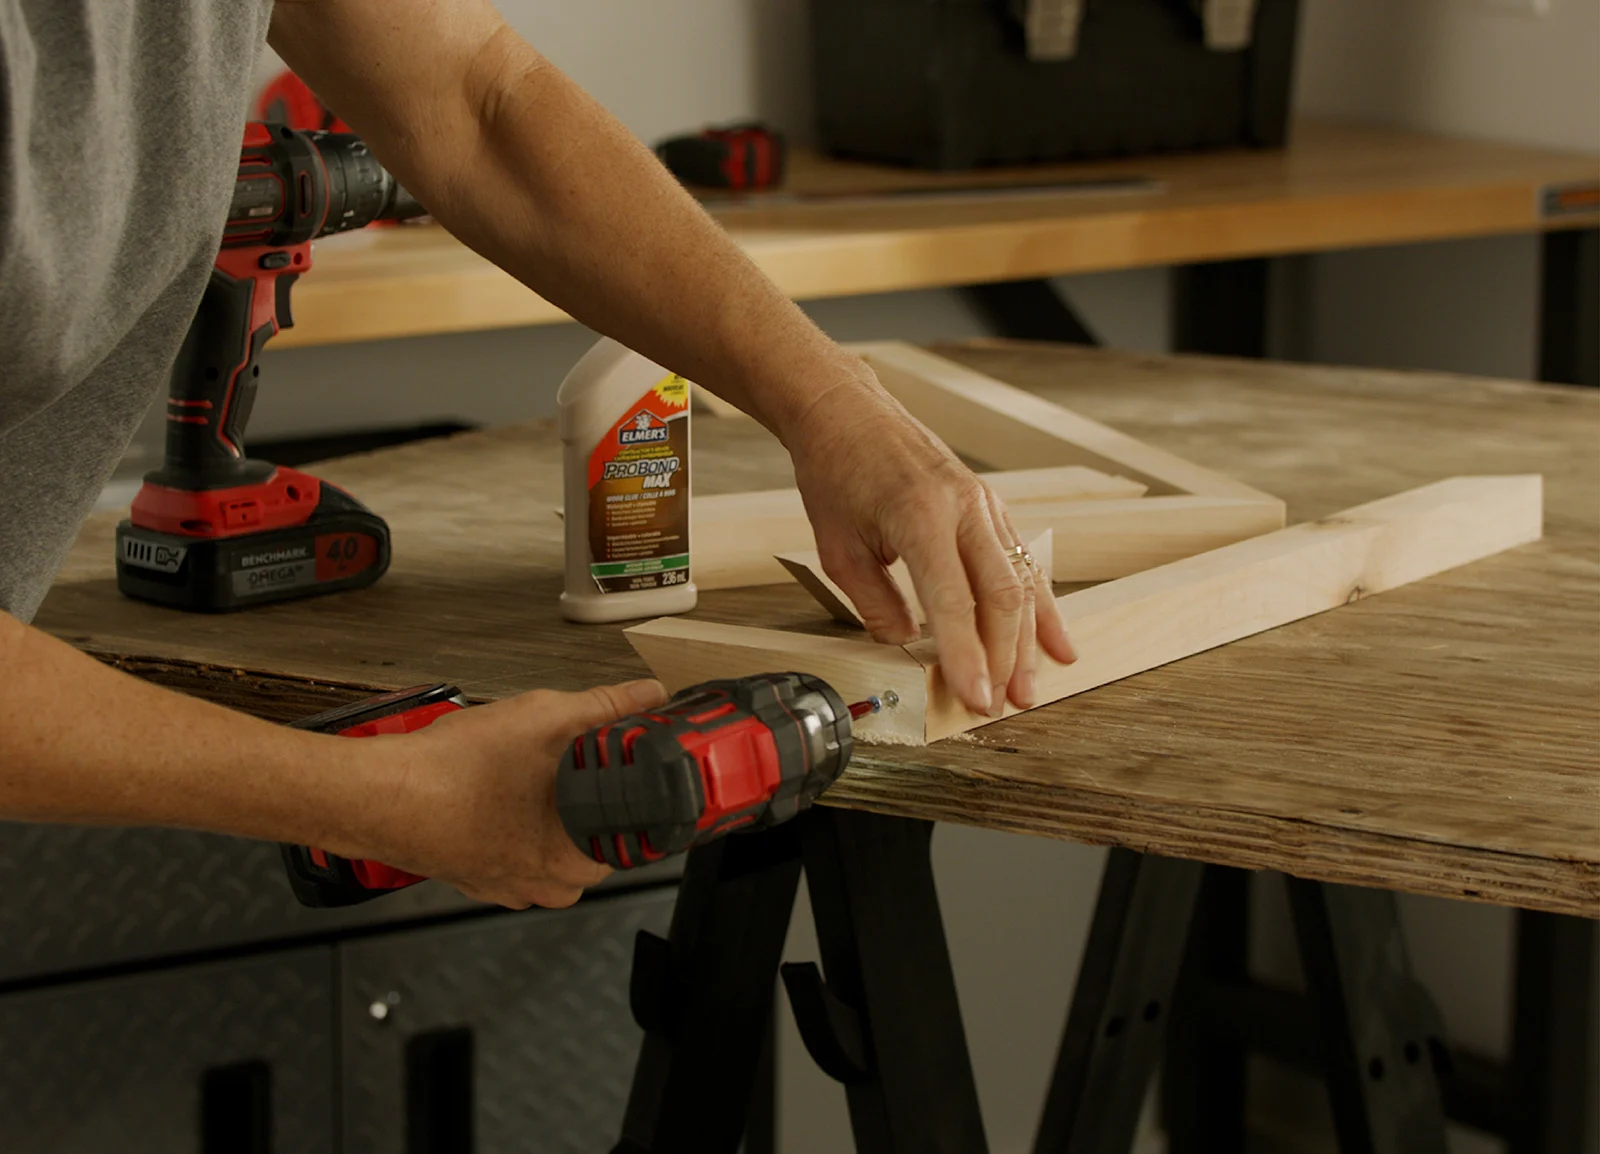
4. To build the 12" x 24" x 6-1/4" towel rack, gather the two 24" pieces of pine and the four 6-1/4" pieces. Apply glue to both ends of the longer pieces and attach the smaller pieces, then countersink for the screws and screw together.
5. Take the two 12" pieces and apply glue on both ends. Attach the 12" pieces to the 6-1/4" pieces, countersink and screw together.
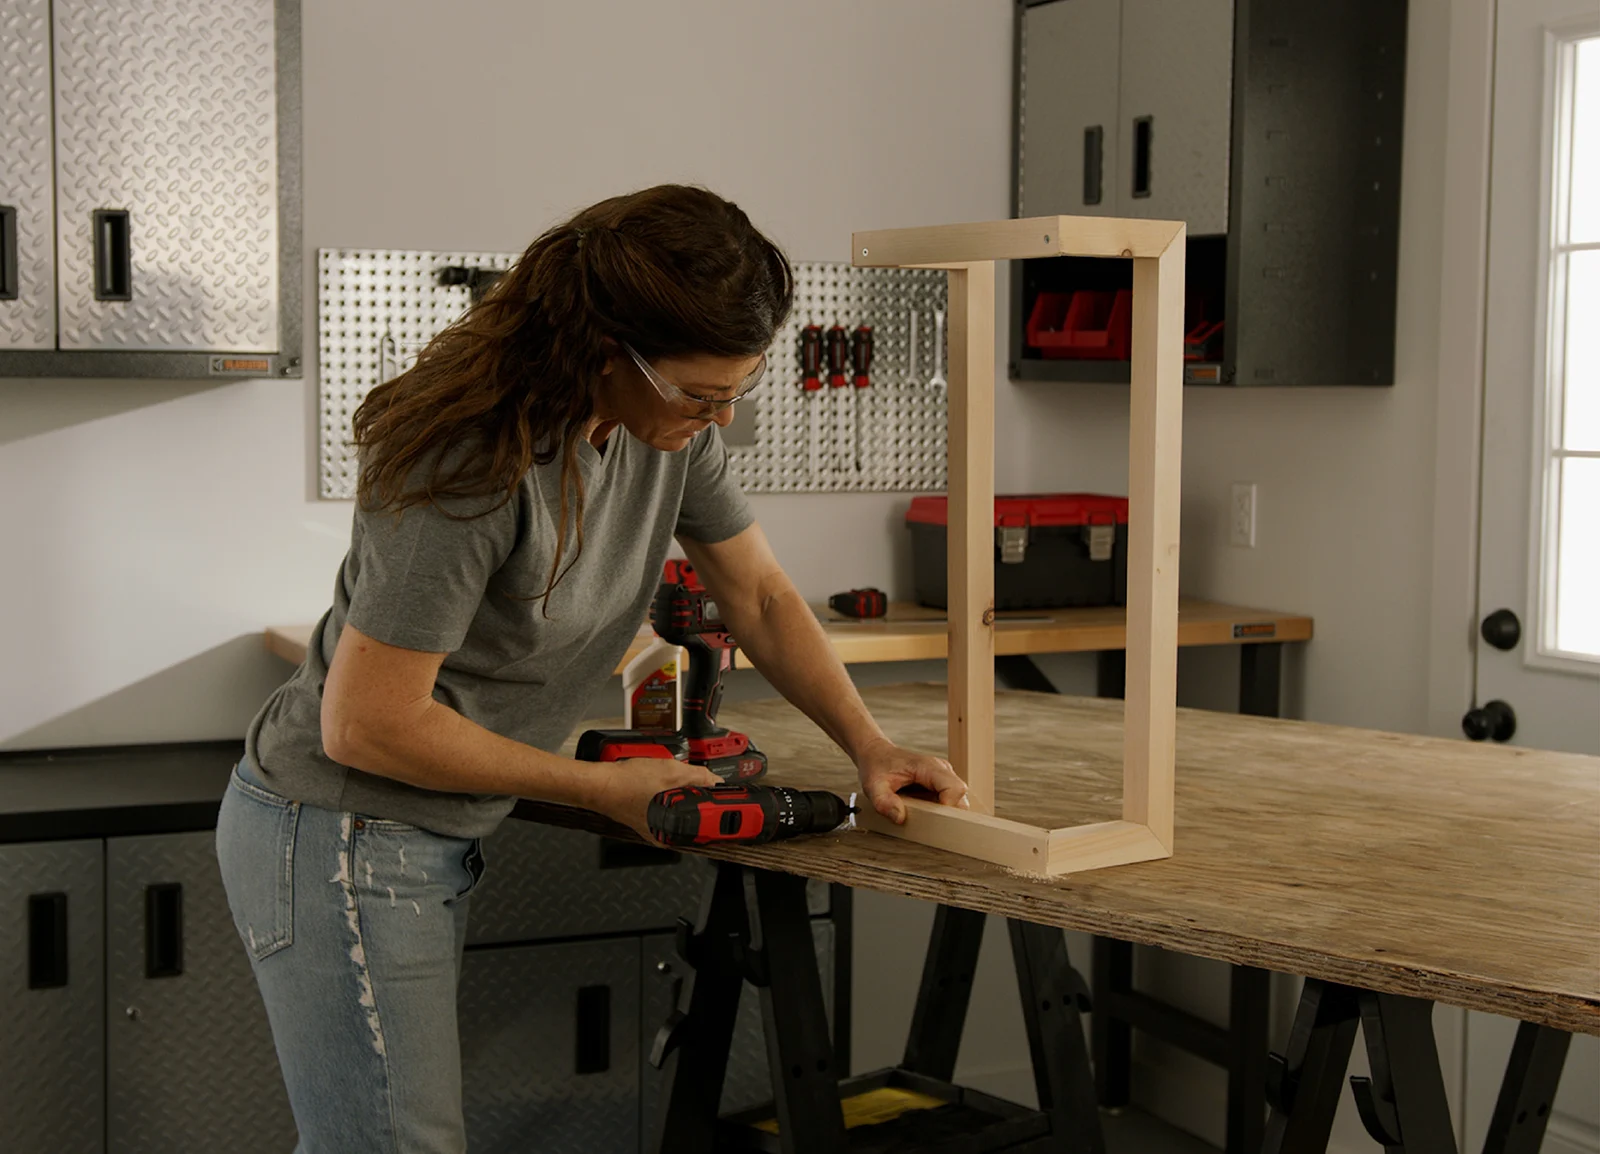
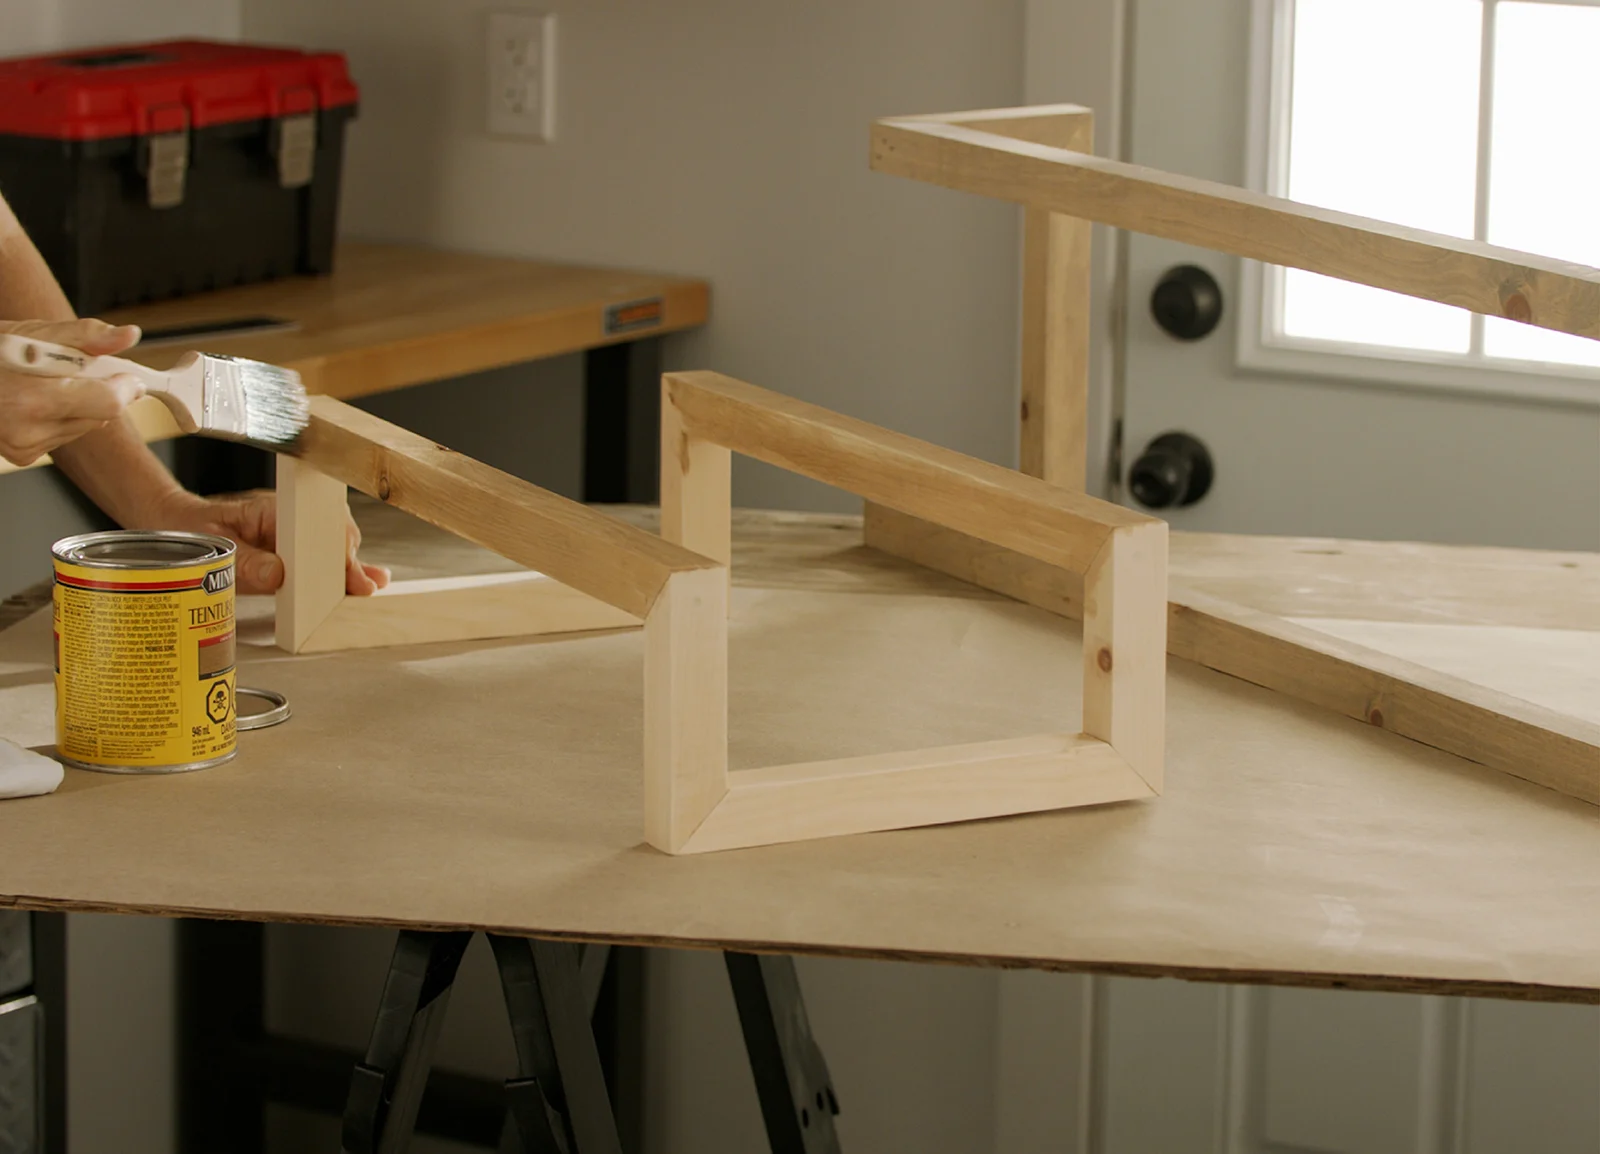
6. Fill all holes and seams with wood filler. Smoothen with your putty knife. Let dry.
7. Sand all sides and edges with a sanding block and wipe clean.
8. Stain or paint your towel rack; wipe excess stain away with a rag. Apply as many coats as needed to achieve your desired look. Let dry overnight.
9. Repeat steps 4-8 to build your 36" towel rack.
10. Using a stud finder, locate your studs. Level and screw each rack into place on your wall. Cover screw holes with wood plugs.
11. Now you’re ready to fill your racks. Gather your favourite towels and roll each one. Stack in place within the rack. Fill both racks and voilà: Your bathroom is fully stocked for bath time.
Total time: 3 hours
Difficulty: Beginner
