Here's How to Make a Murphy Desk
Maximize Your Home Office Space with A DIY Hidden Desk
Looking for a versatile and stylish solution for your at-home workspace? Try this hidden desk DIY project; it not only provides ample storage and workspace but also doubles as a captivating piece of art when not in use.
What You’ll Need
Steps
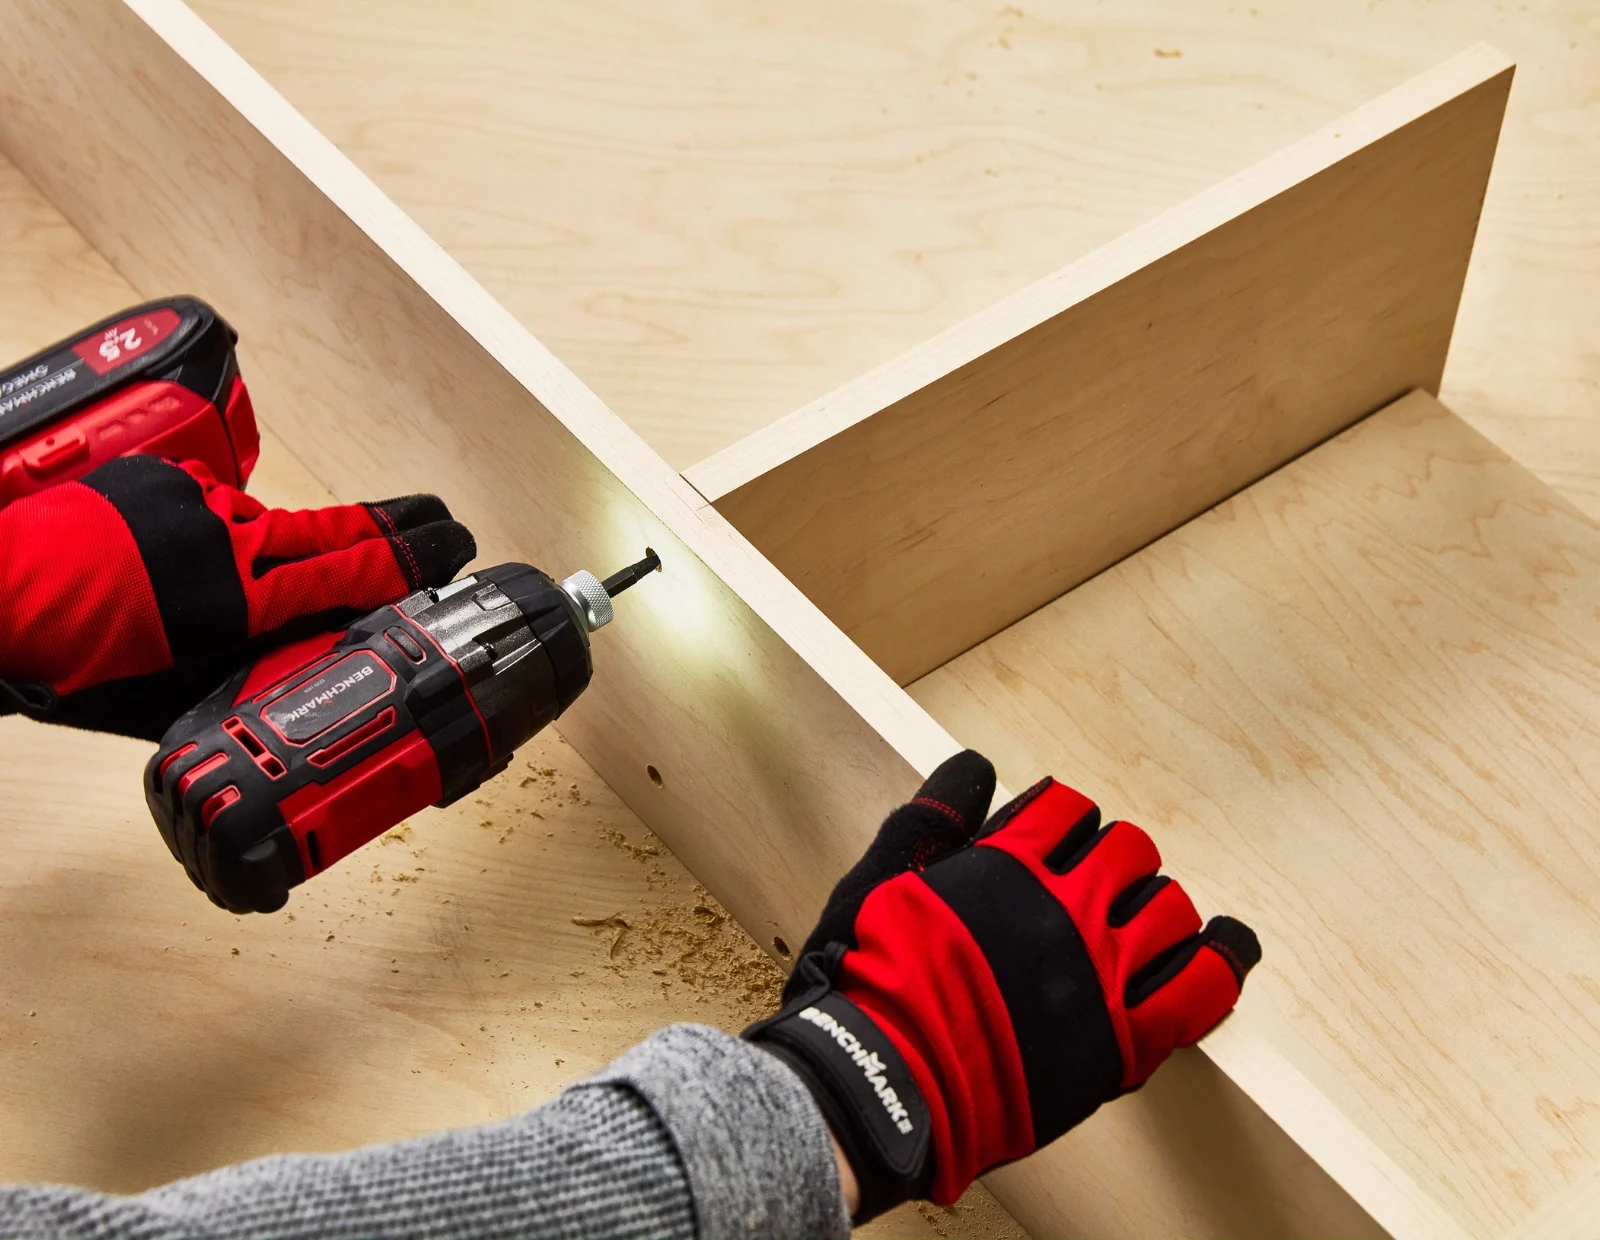
Step #7: Frame & Structure Assembly
Assemble the top and two sides of the frame using wood glue and screws. Attach one of the back pieces to the side and top of the frame. With one back piece attached, you can now slide the divider piece into place against the back piece. Attach the divider piece to the top with glue and screws. Now go ahead and attach the second back piece and remaining bottom pieces to complete the frame.
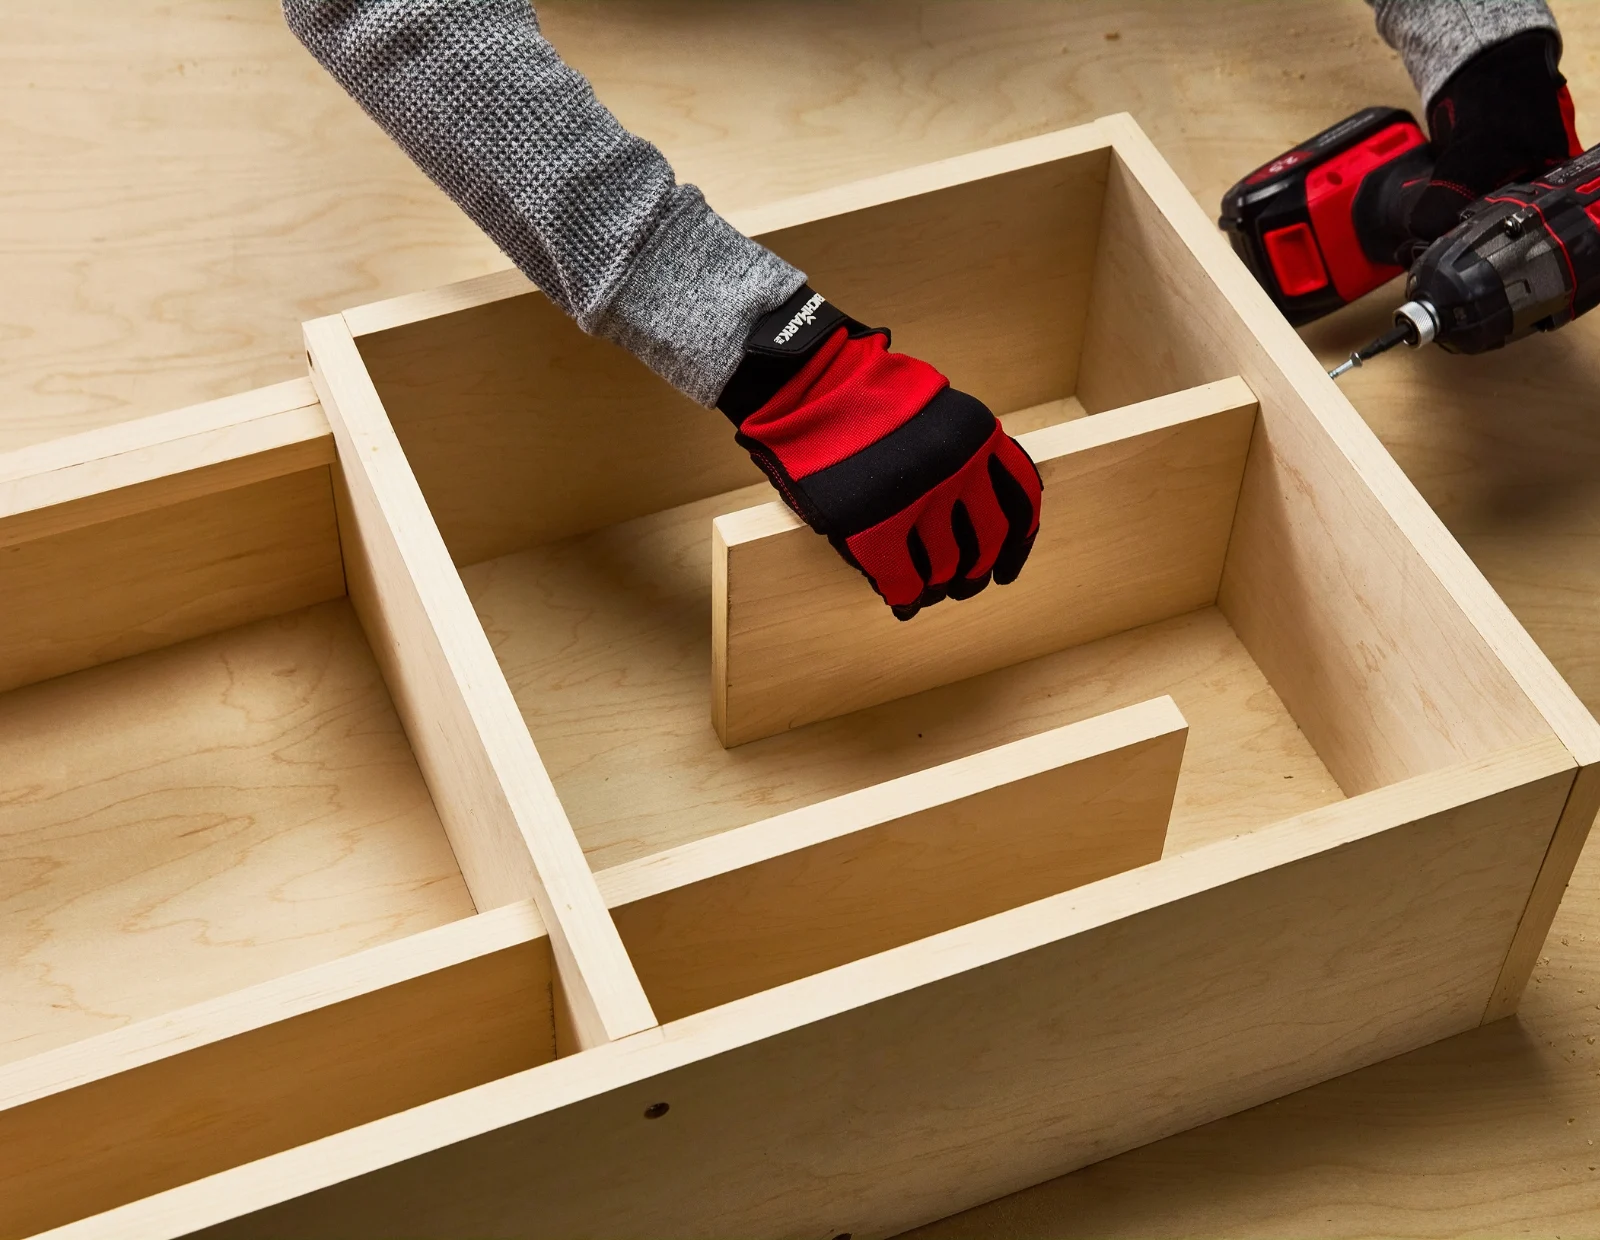
Step #8: Floating Shelves & Stopper Installation
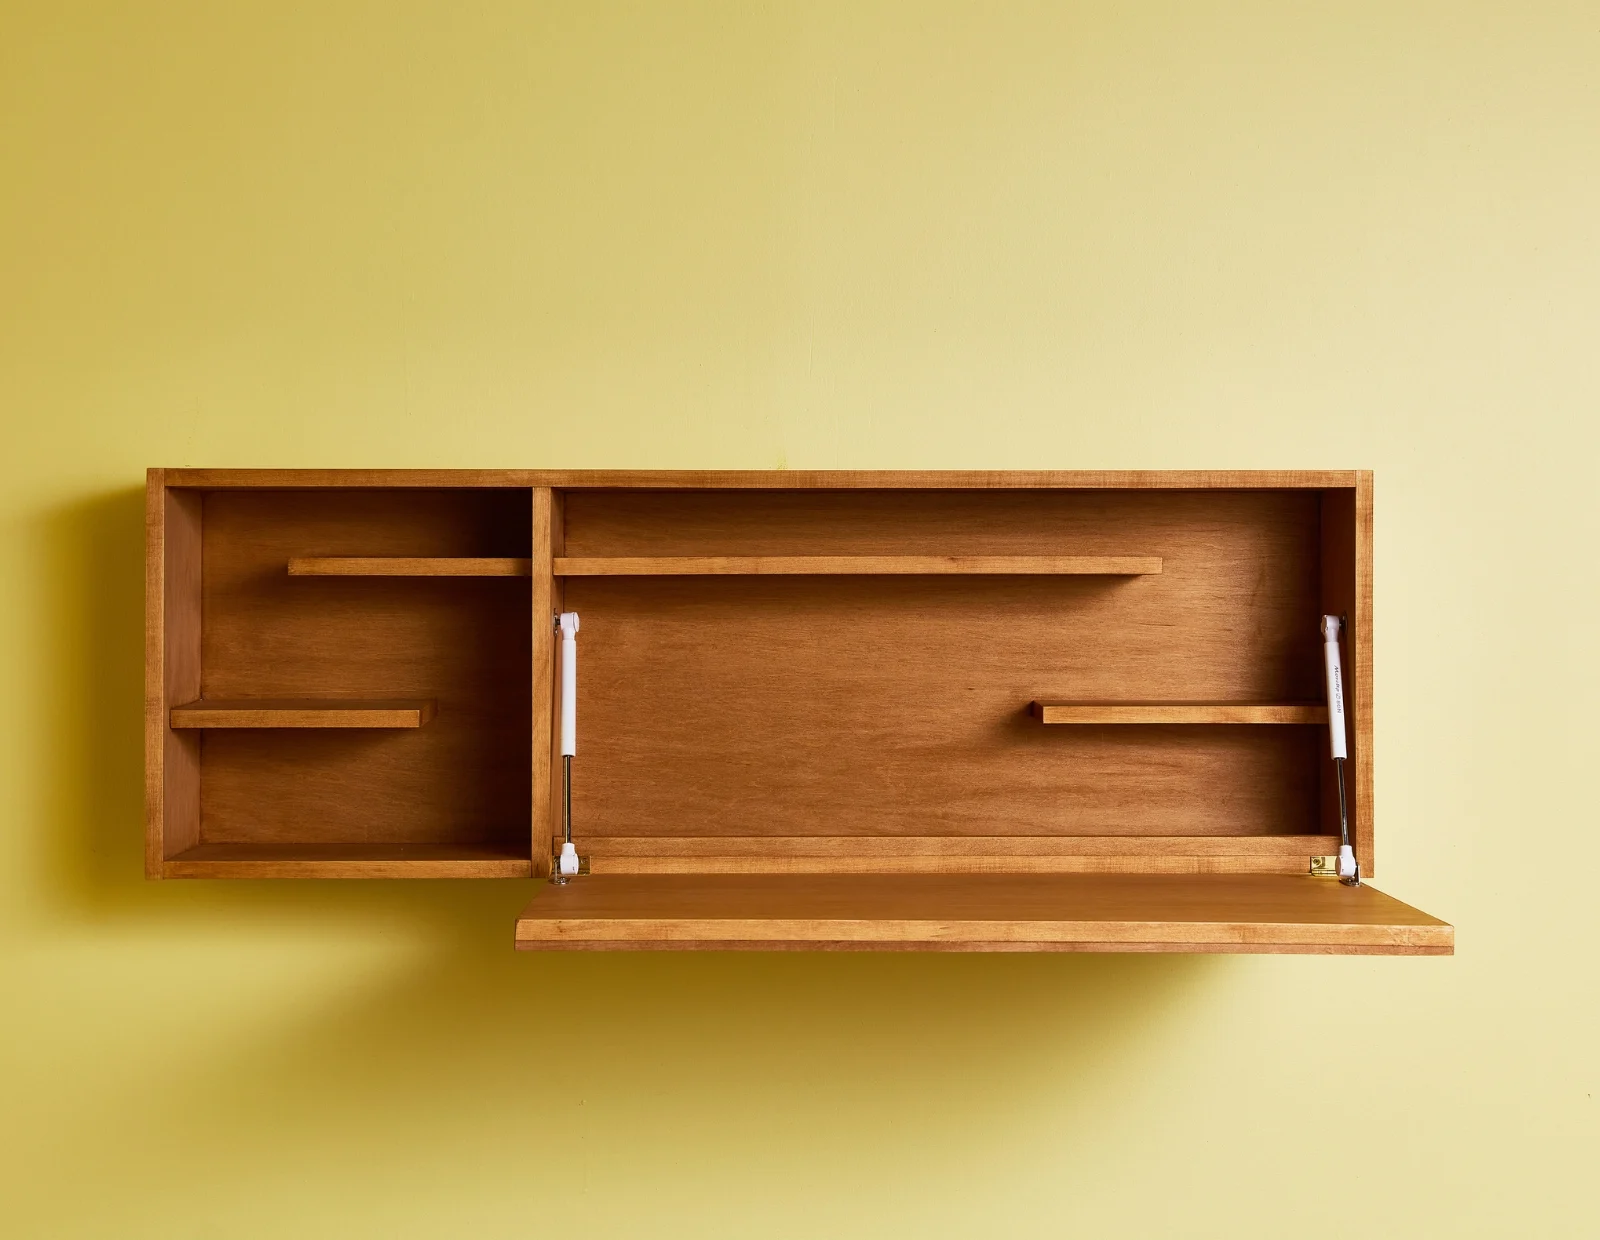
Secure the floating shelves within the frame to create additional storage space. Install a stopper on the inside edge of the desk frame to prevent items from sliding out when the door front is open.
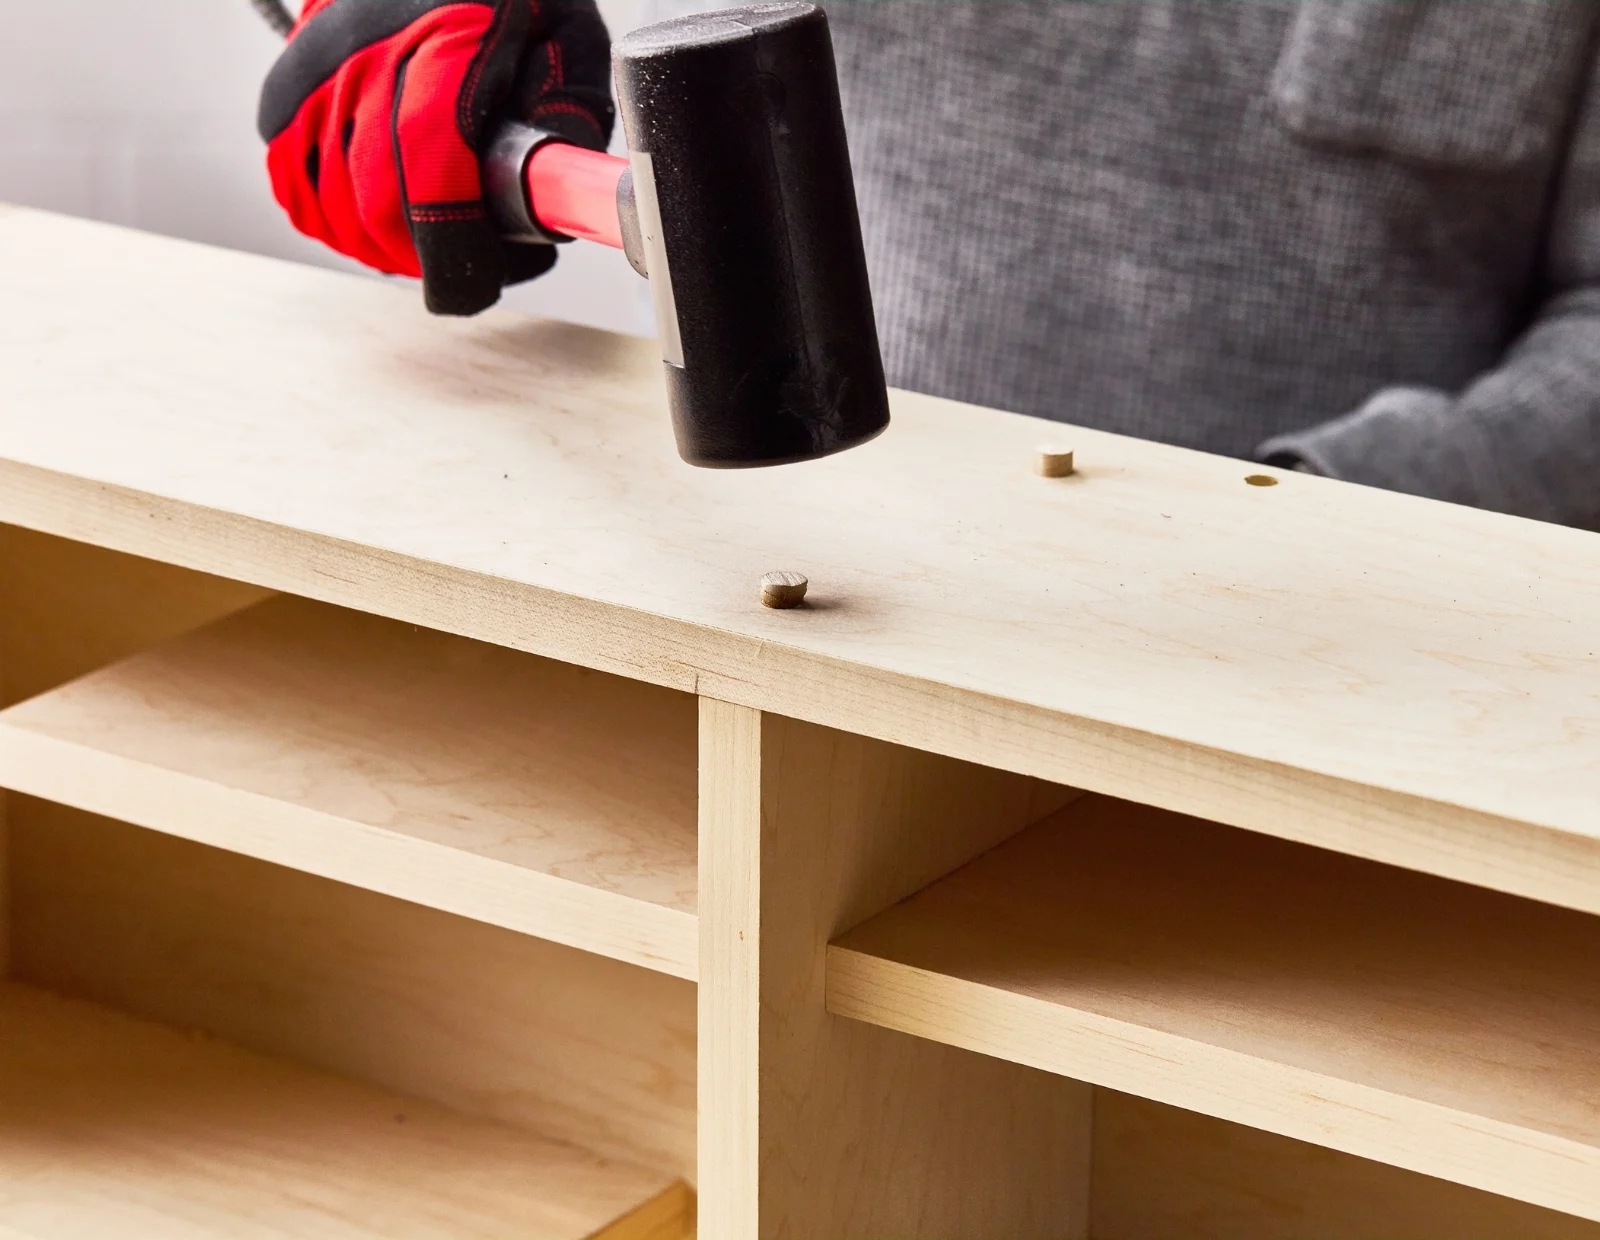
Step #9: Finishing Touches
Cover screw holes with birch plugs, use a mallet to secure and then trim them flush to the surface. Then sand all surfaces for a smooth finish, fill imperfections with wood filler and stain all exterior and interior surfaces but hold off from staining the exterior door.
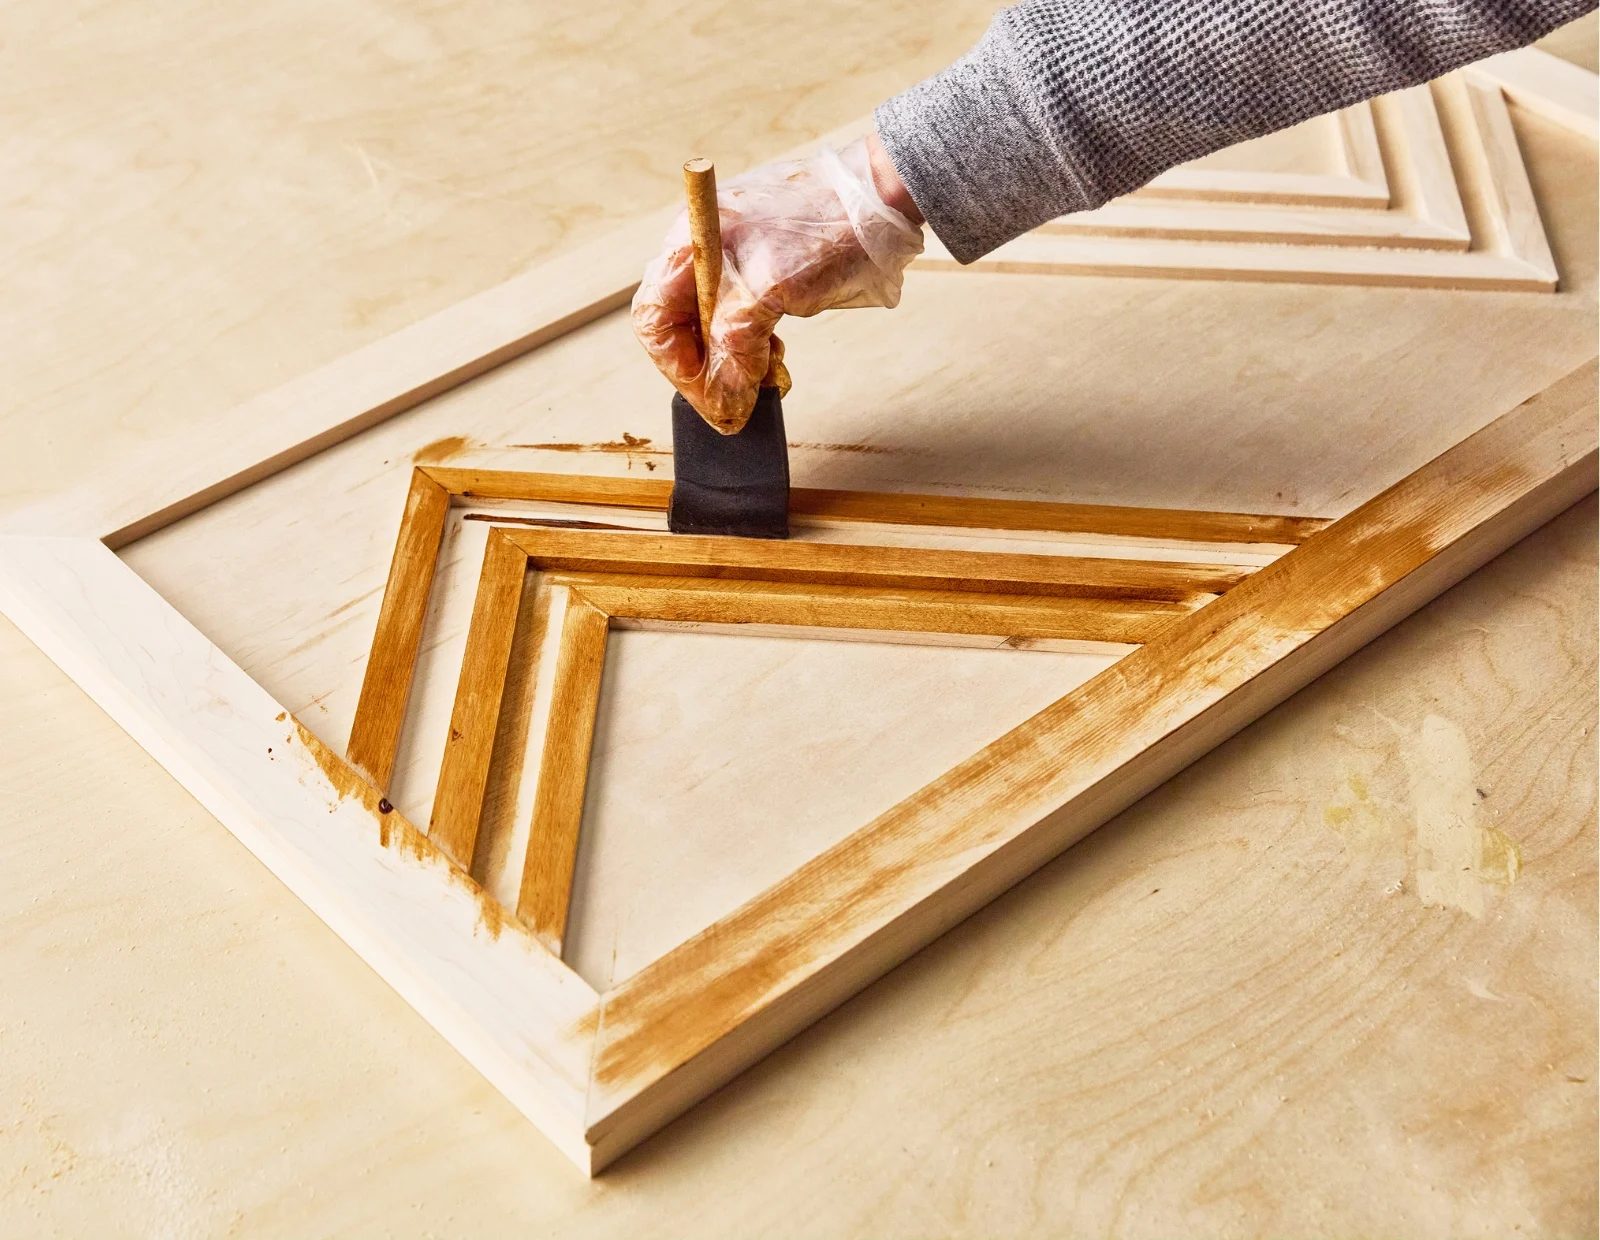
Step #10: Door Front & Geometric Pattern
Next attach the frame pieces flush to the outside edge of the door front with glue and a nailer. Arrange the geometric pattern within the frame and secure the pattern with glue and pin nails, then sand and stain the door front surfaces.
Tip: Dry lay the geometric pattern before securing, to make sure everything fits.
Step #11: Final Assembly
Attach brass hinges to the inside edge and back of the door front. Install pneumatic hinges on the door and inside frame. Test the functionality of the desk to ensure everything works seamlessly.

Step #12: Enjoy your New Workspace
With these simple steps, you've transformed basic materials into a functional and visually appealing hidden desk.